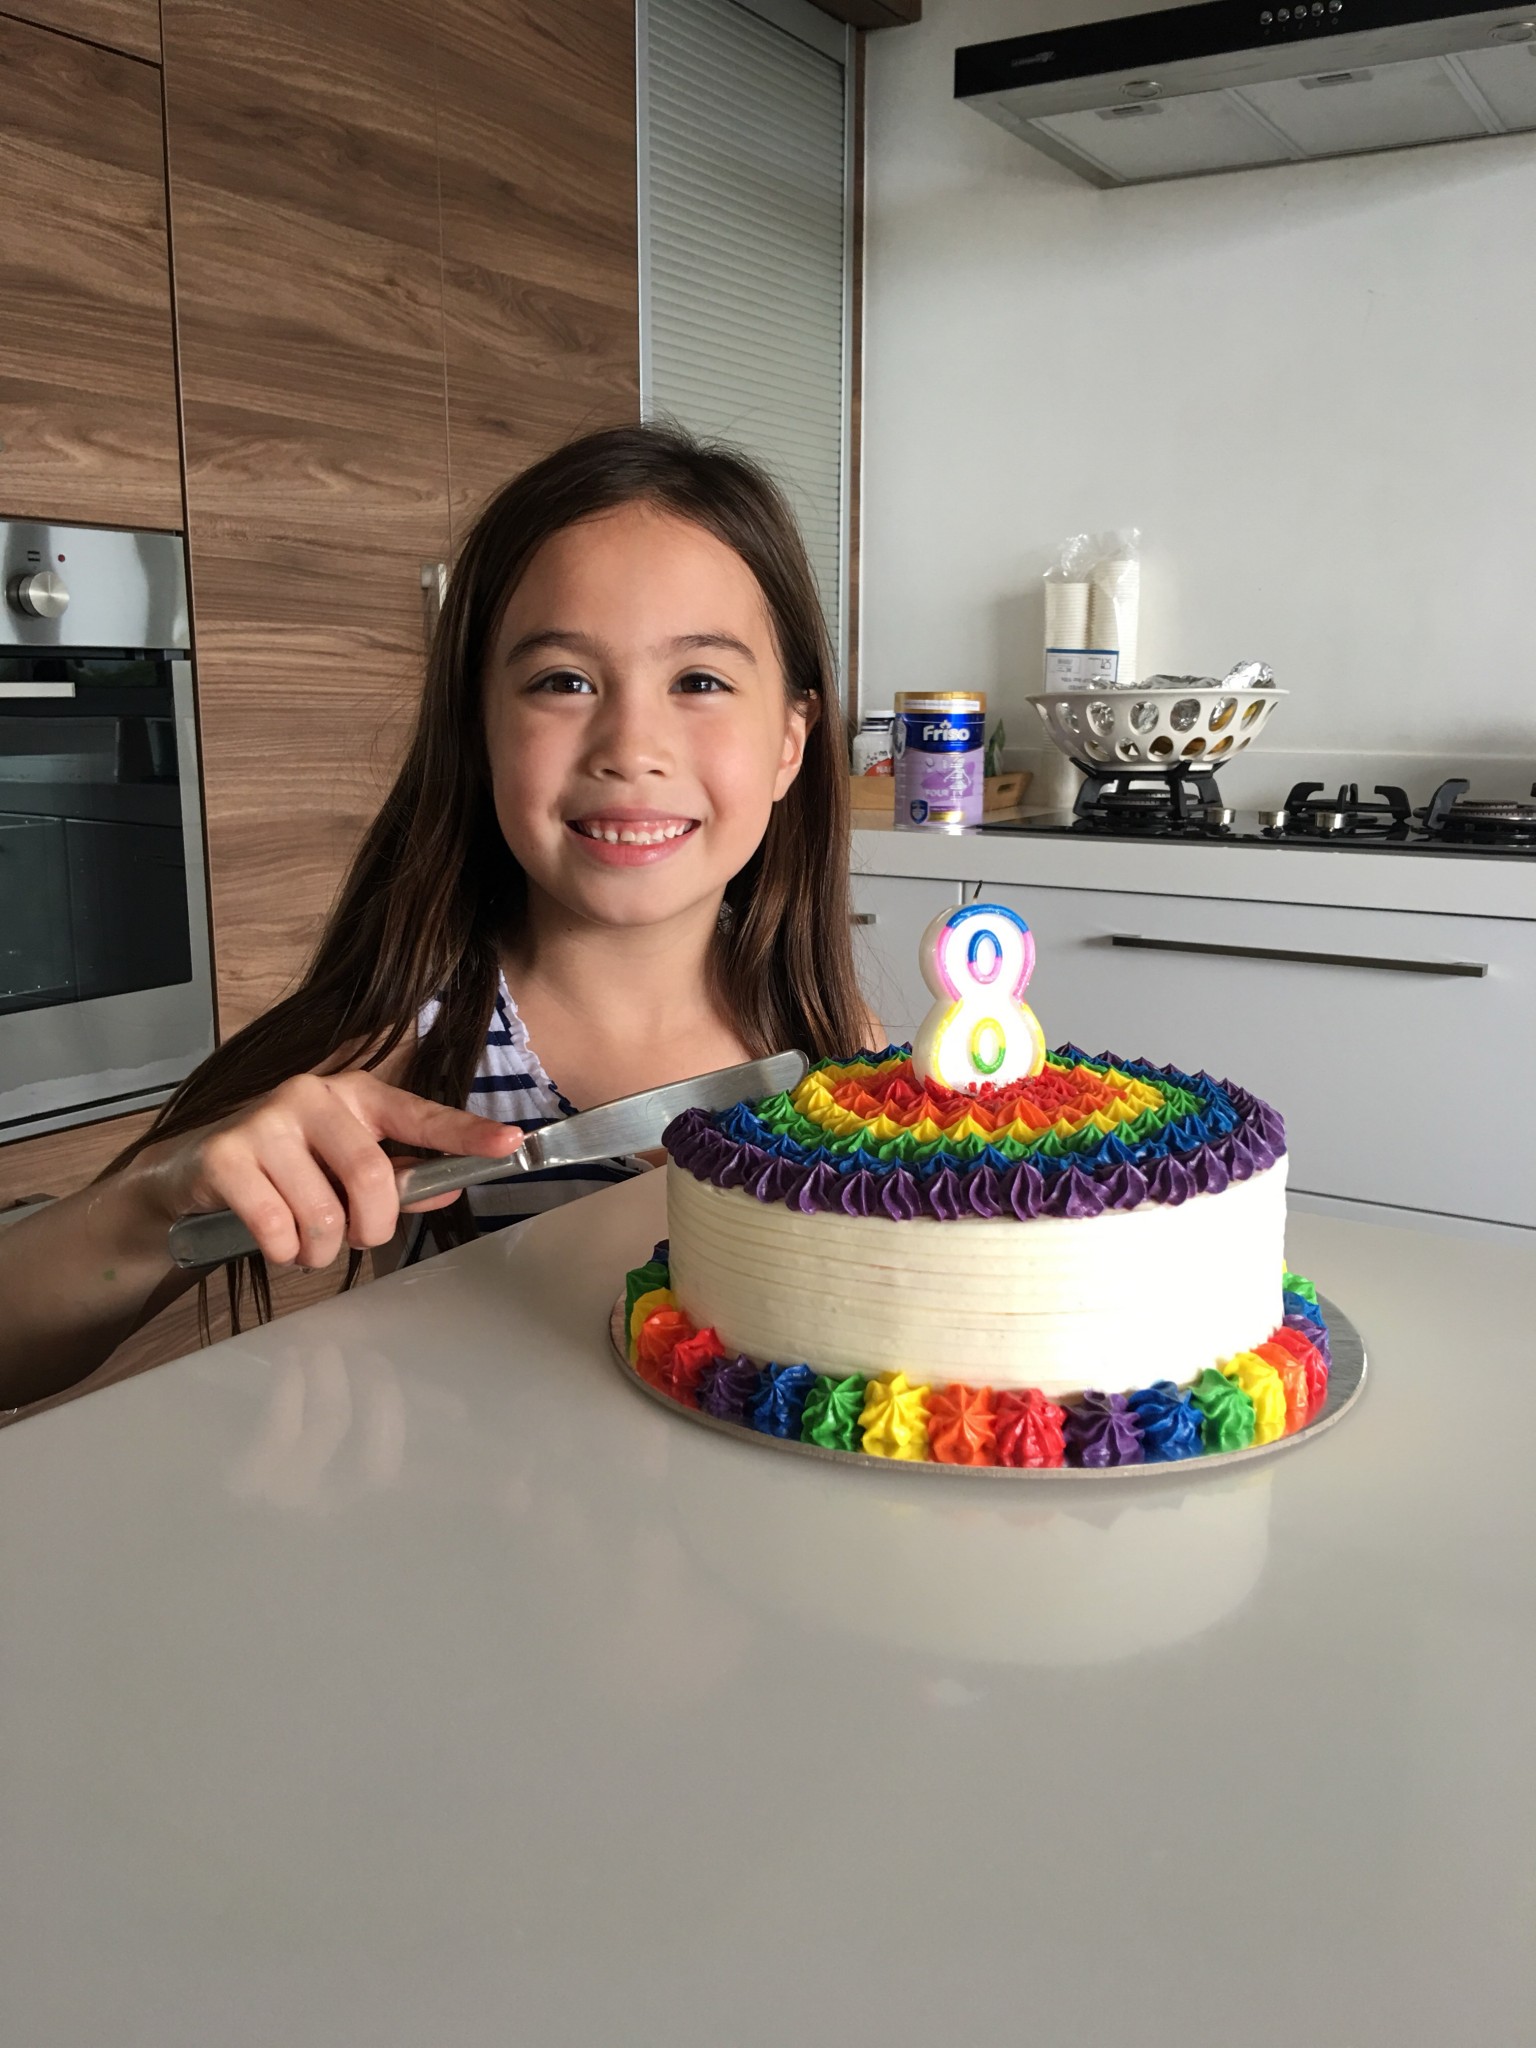
One of my secret joys is DIY parties. Since I have received a number of questions about where I got this and that for Tiana’s birthday, I decided to share the process here…
Step 1: Decide on a budget. Since it’s a DIY party you may be able save on certain items but you may have spend on other details, too. Most party planners and organizations have a list of suppliers, as well as decor items on hand that sometimes make it much simpler to hire them. So the costly part for a DIY is going to be time, effort, investing in some of the decor, and dealing with Pinterest fails (I had one with the rice crispy brushes that fell apart.)
Step 2: Invite your guests. Tiana specifically asked to have just her girl friends at this party. However, I had to consider siblings and moms for the menu (not the giveaways). The list turned into 40 people.
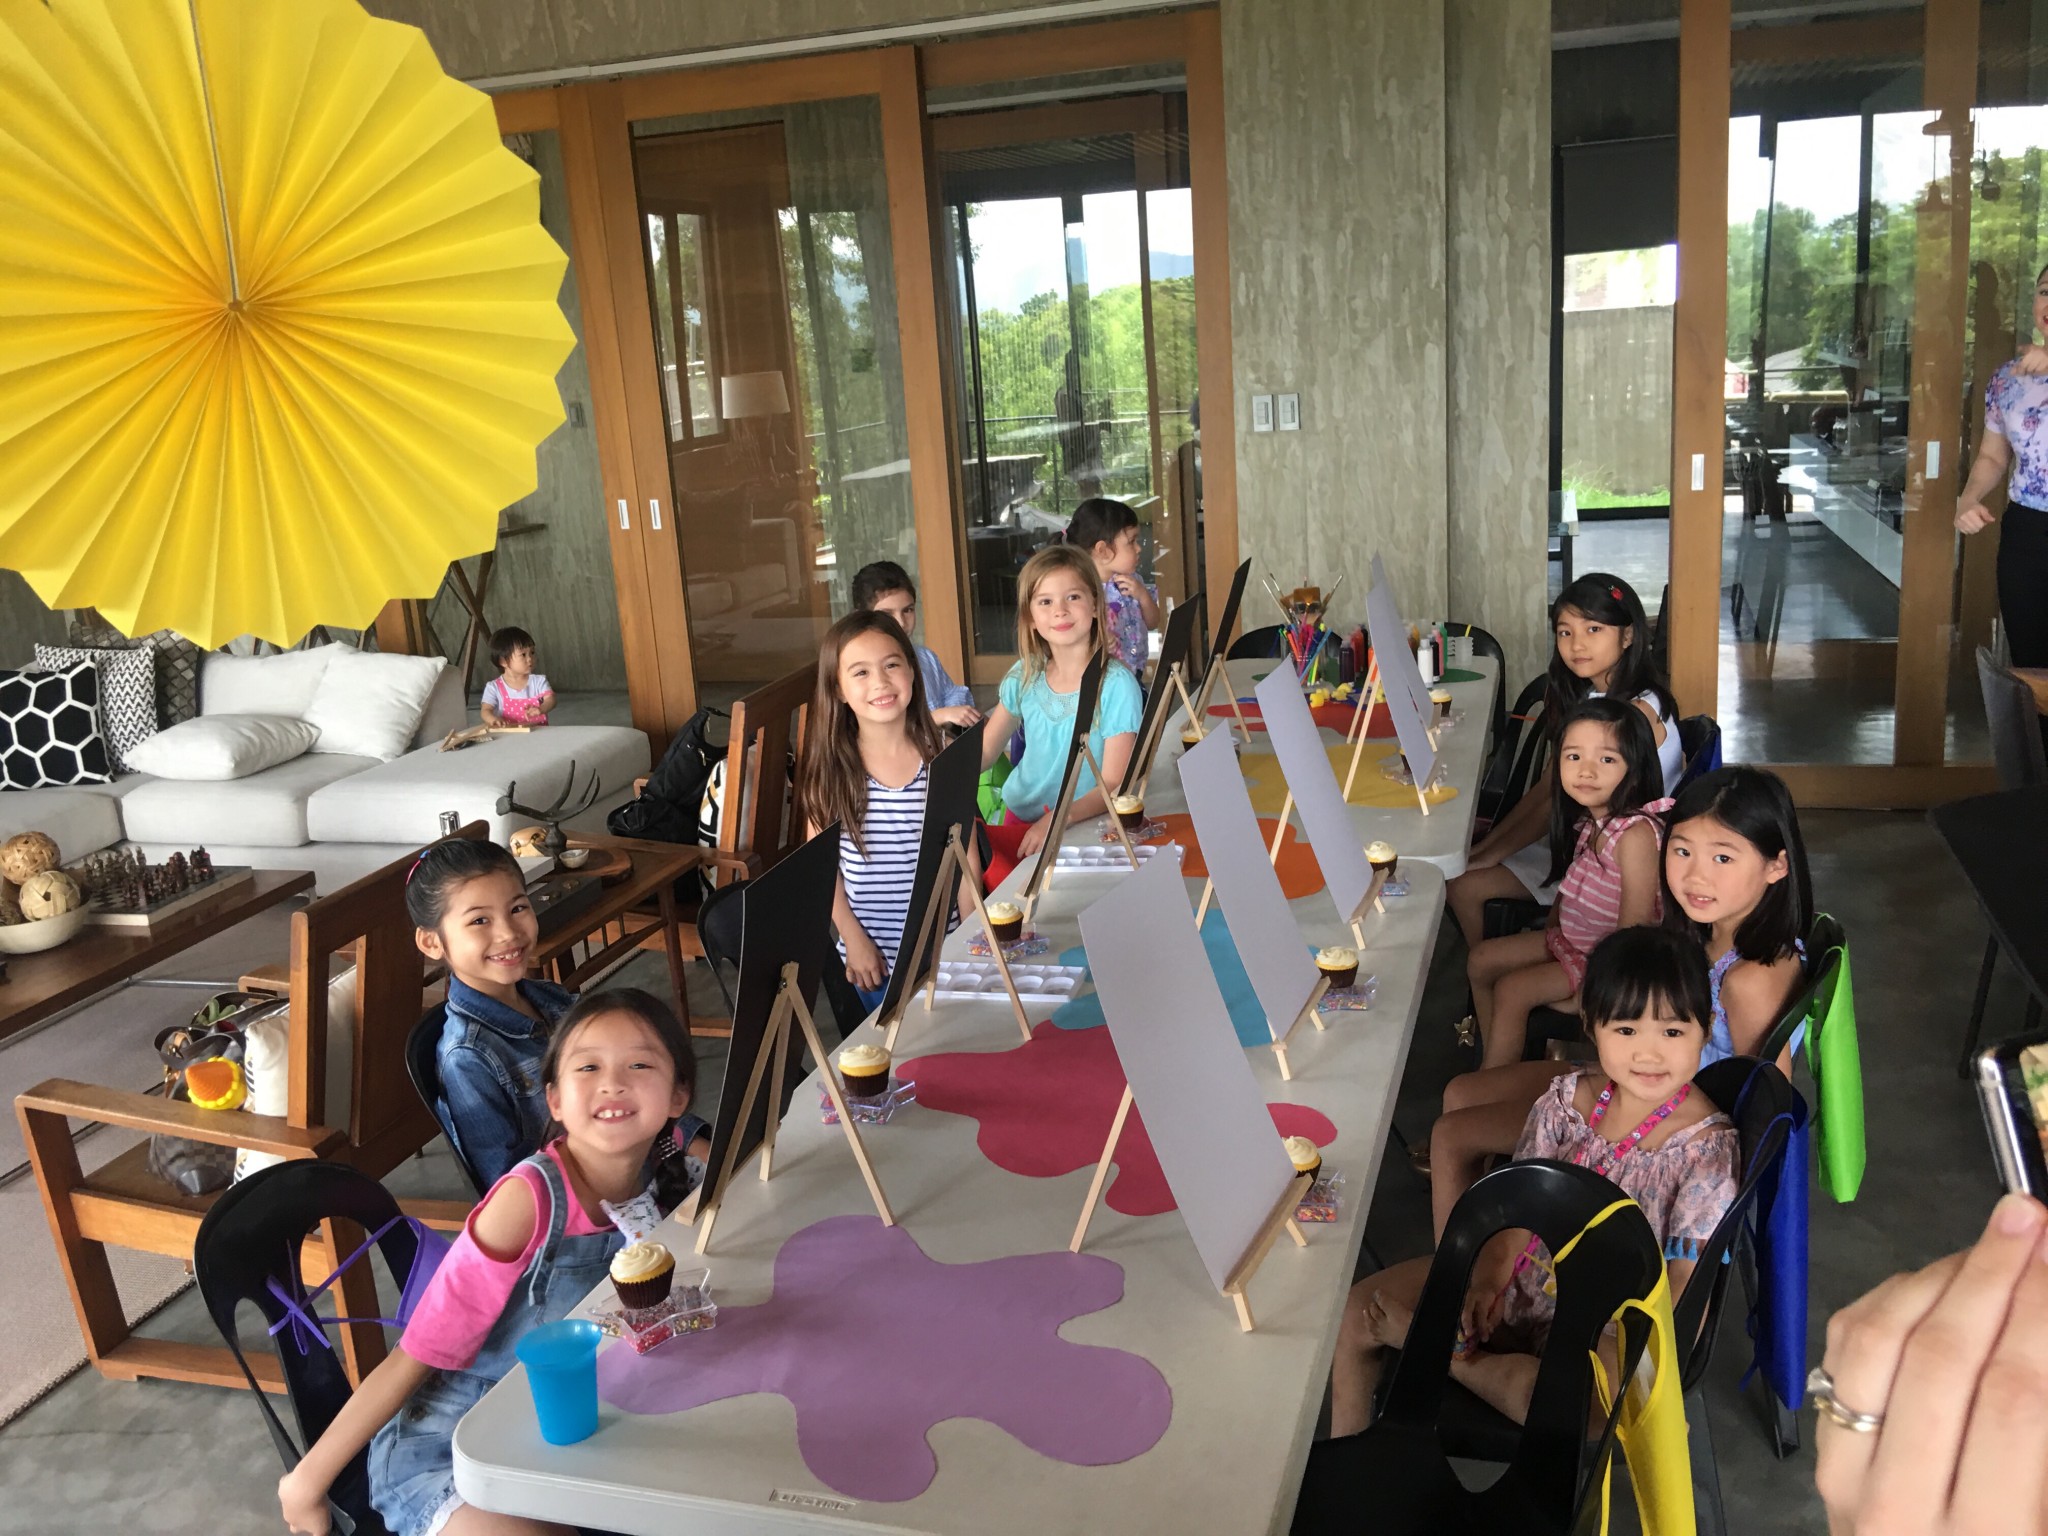
Step 3: Pick a theme and motif. Since Tiana wanted an art party, I headed to Pinterest for inspiration. It never disappoints! Although I vacillated between a pastel-oriented color motif and primary and secondary colors, I went with the latter to stay true to the common paint palette.
Step 4: Make a list of what you will need to get done. Here are the major things I had to think through…
– Buffet table (chicken wrapped with bacon, potato soup, barbecue, spaghetti, salad, chips, drinks, cutlery, plates and cups, glass milk bottles, straws, paper napkins)
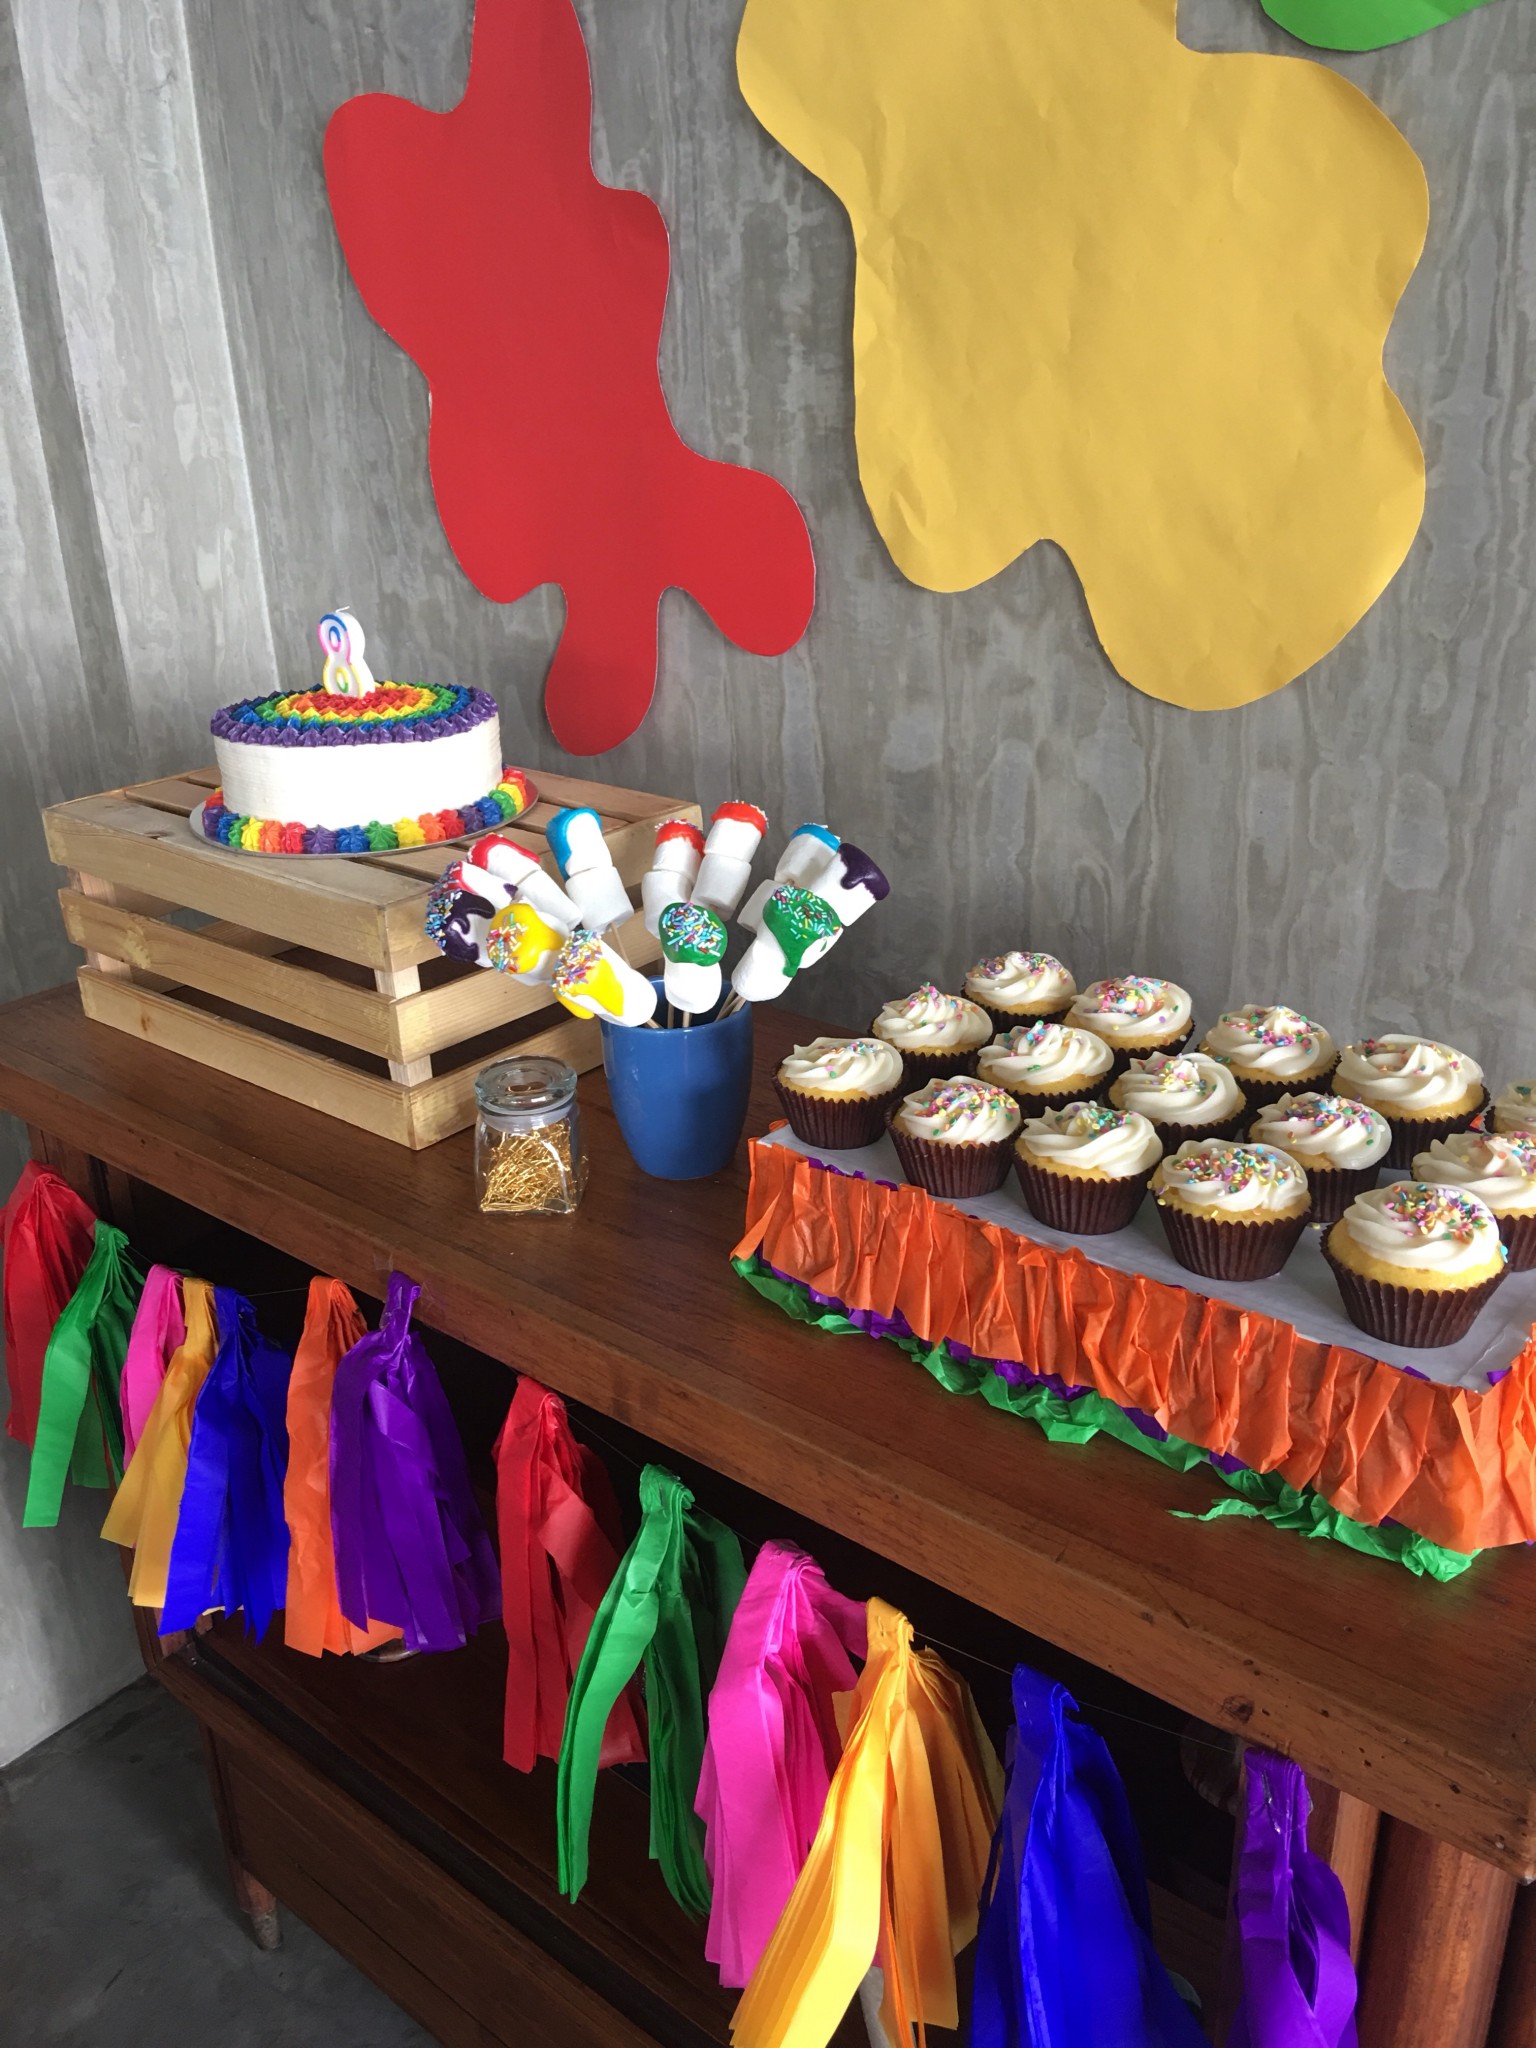
– Dessert table (cake, cupcakes, icing covered marshmallows, chocolate chip cookies)
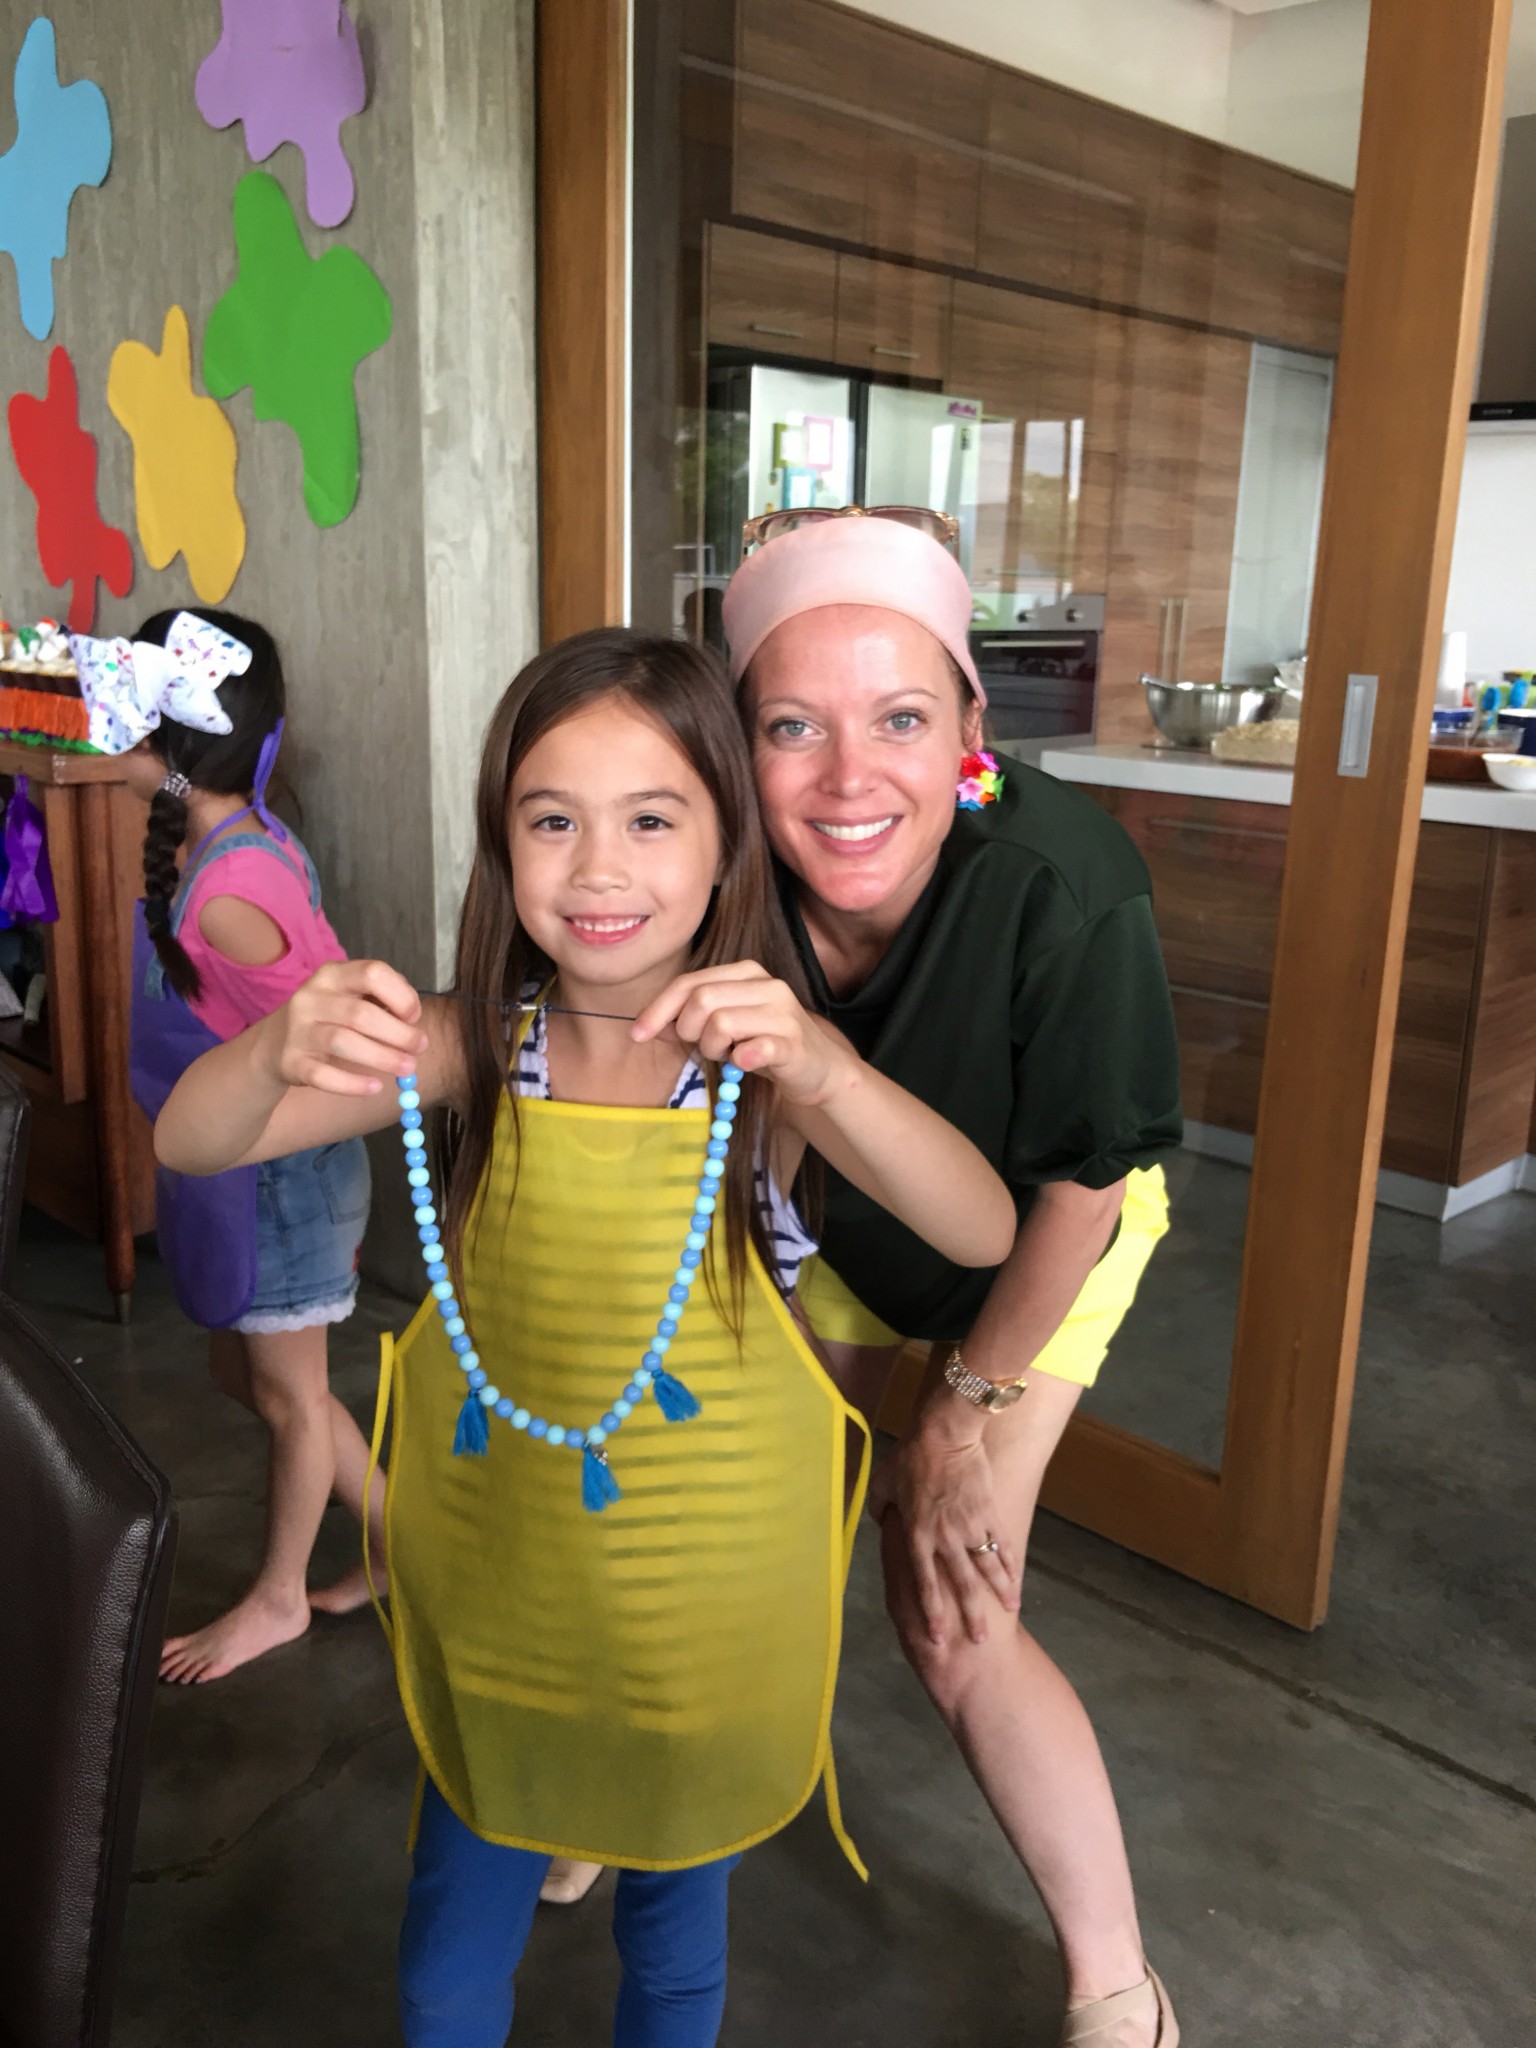
– Activities (painting, beading, cupcake decorating, sand art, earrings)
– Materials for the activities
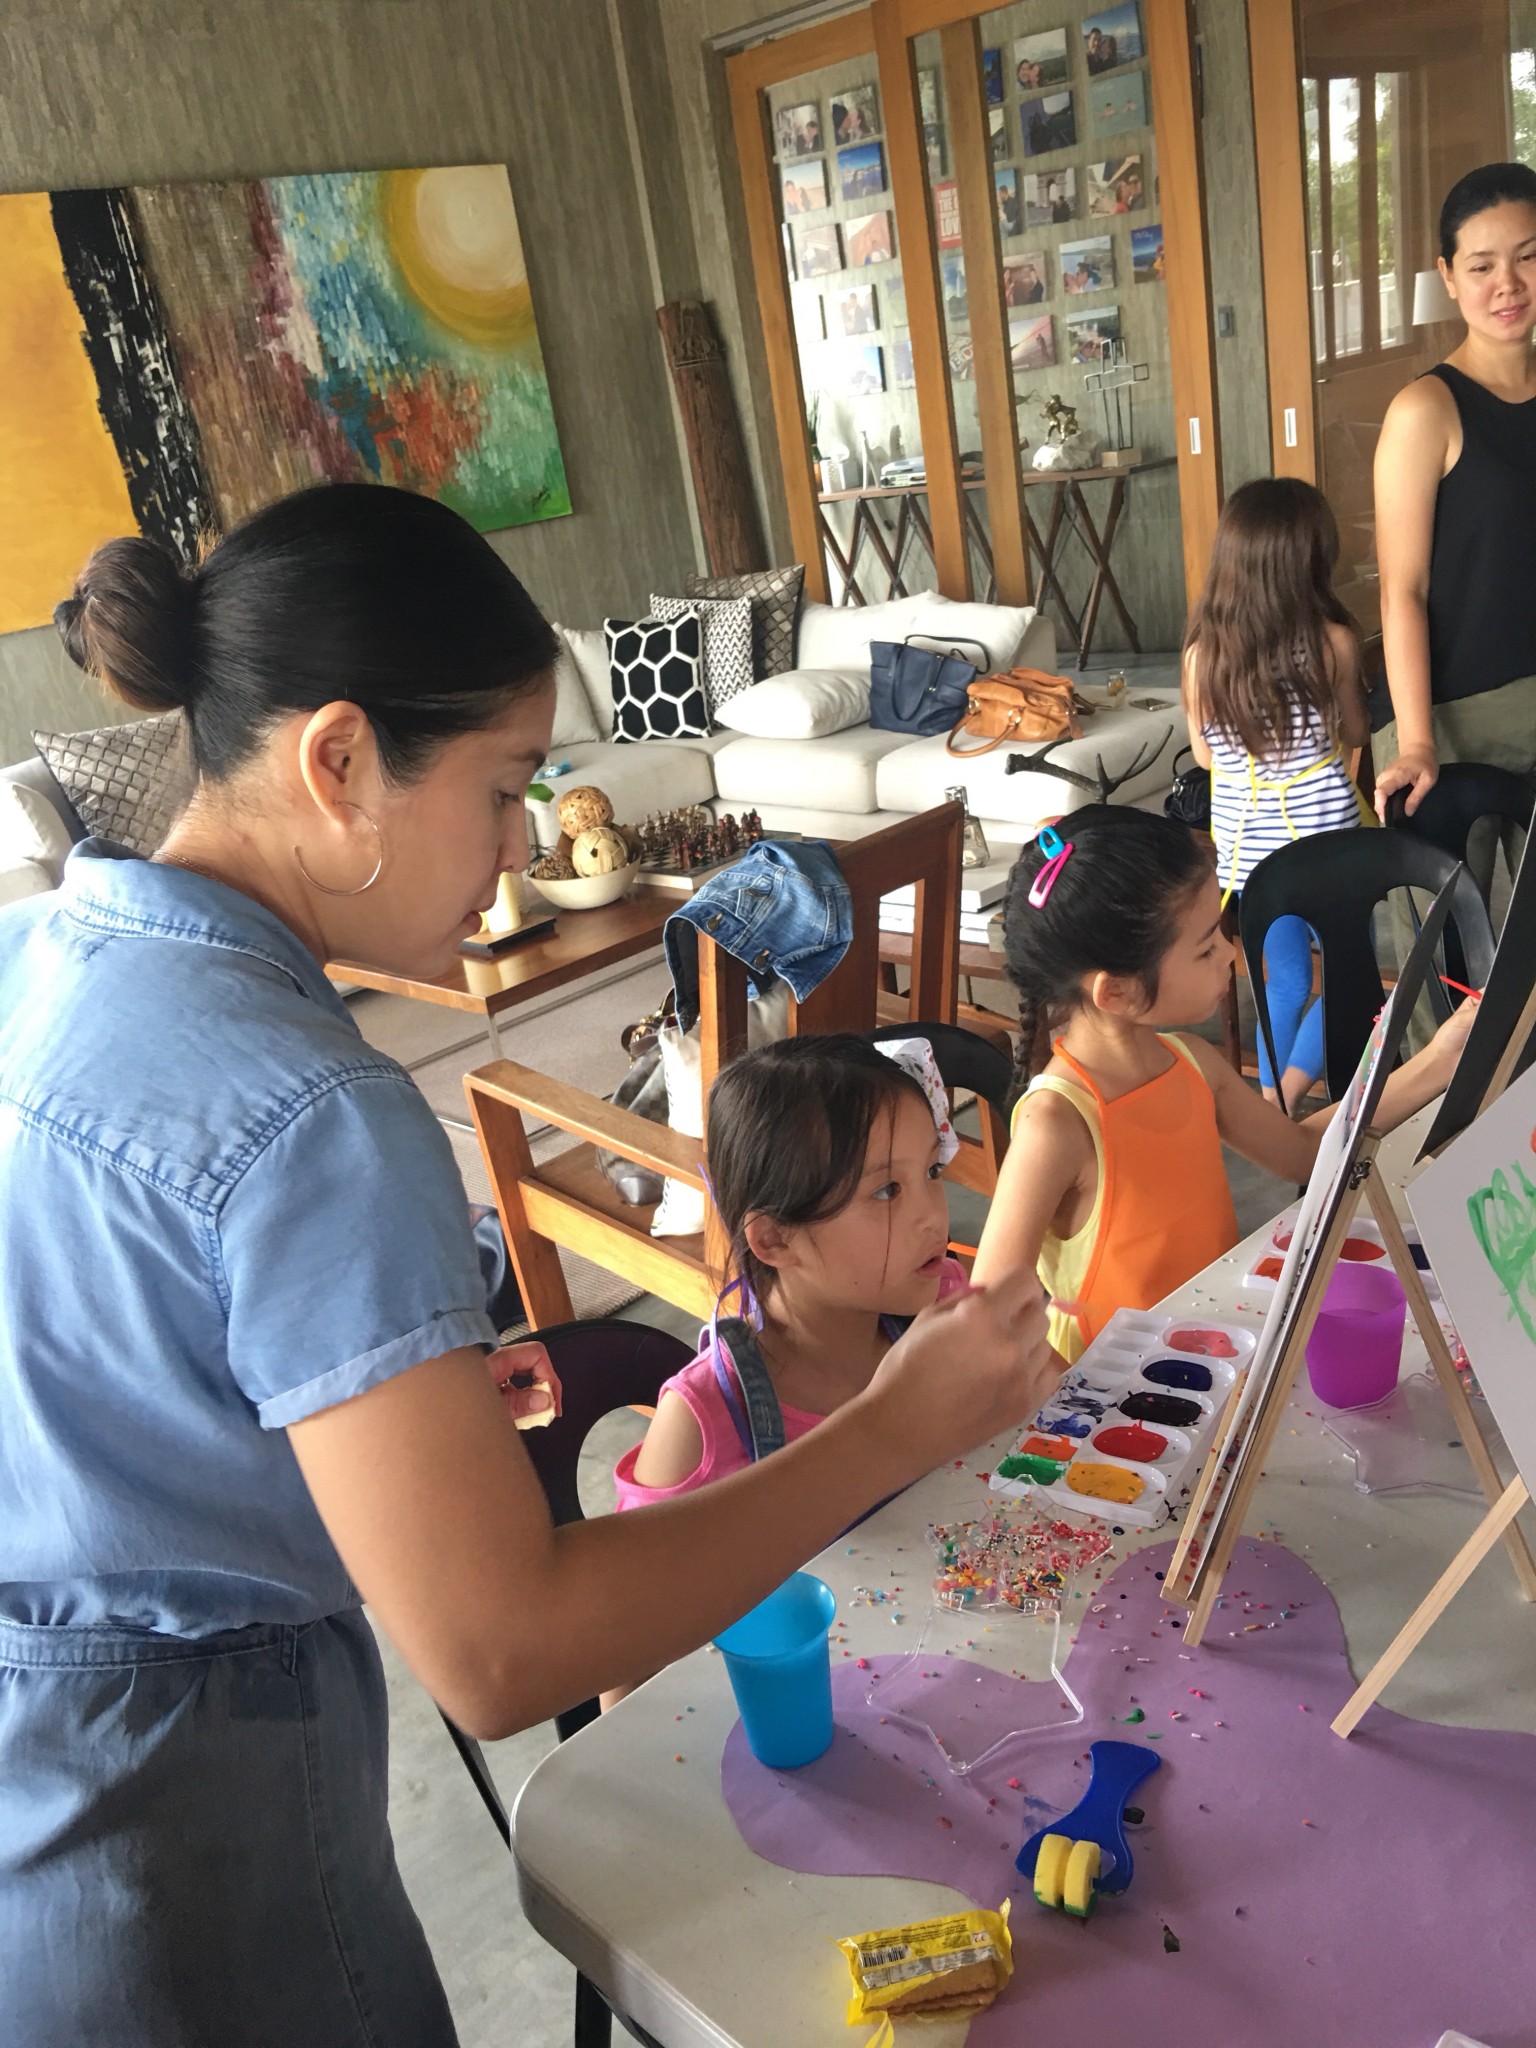
For painting – (easels, paint, brushes, aprons, paint trays, paper, illustration board, cups for water)
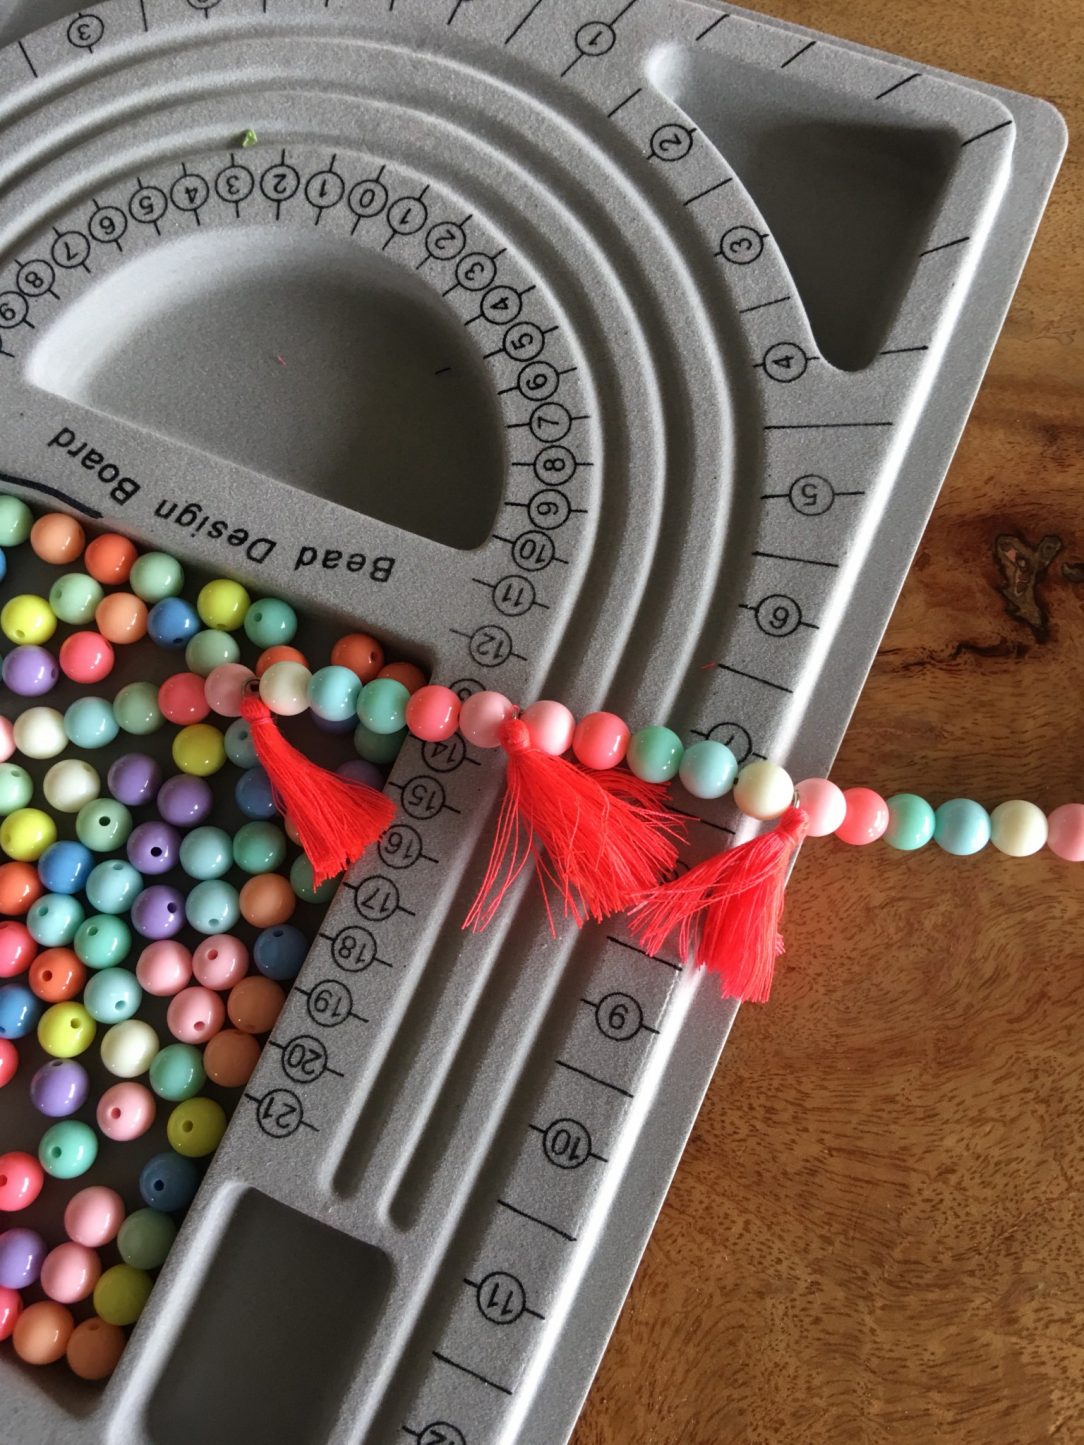
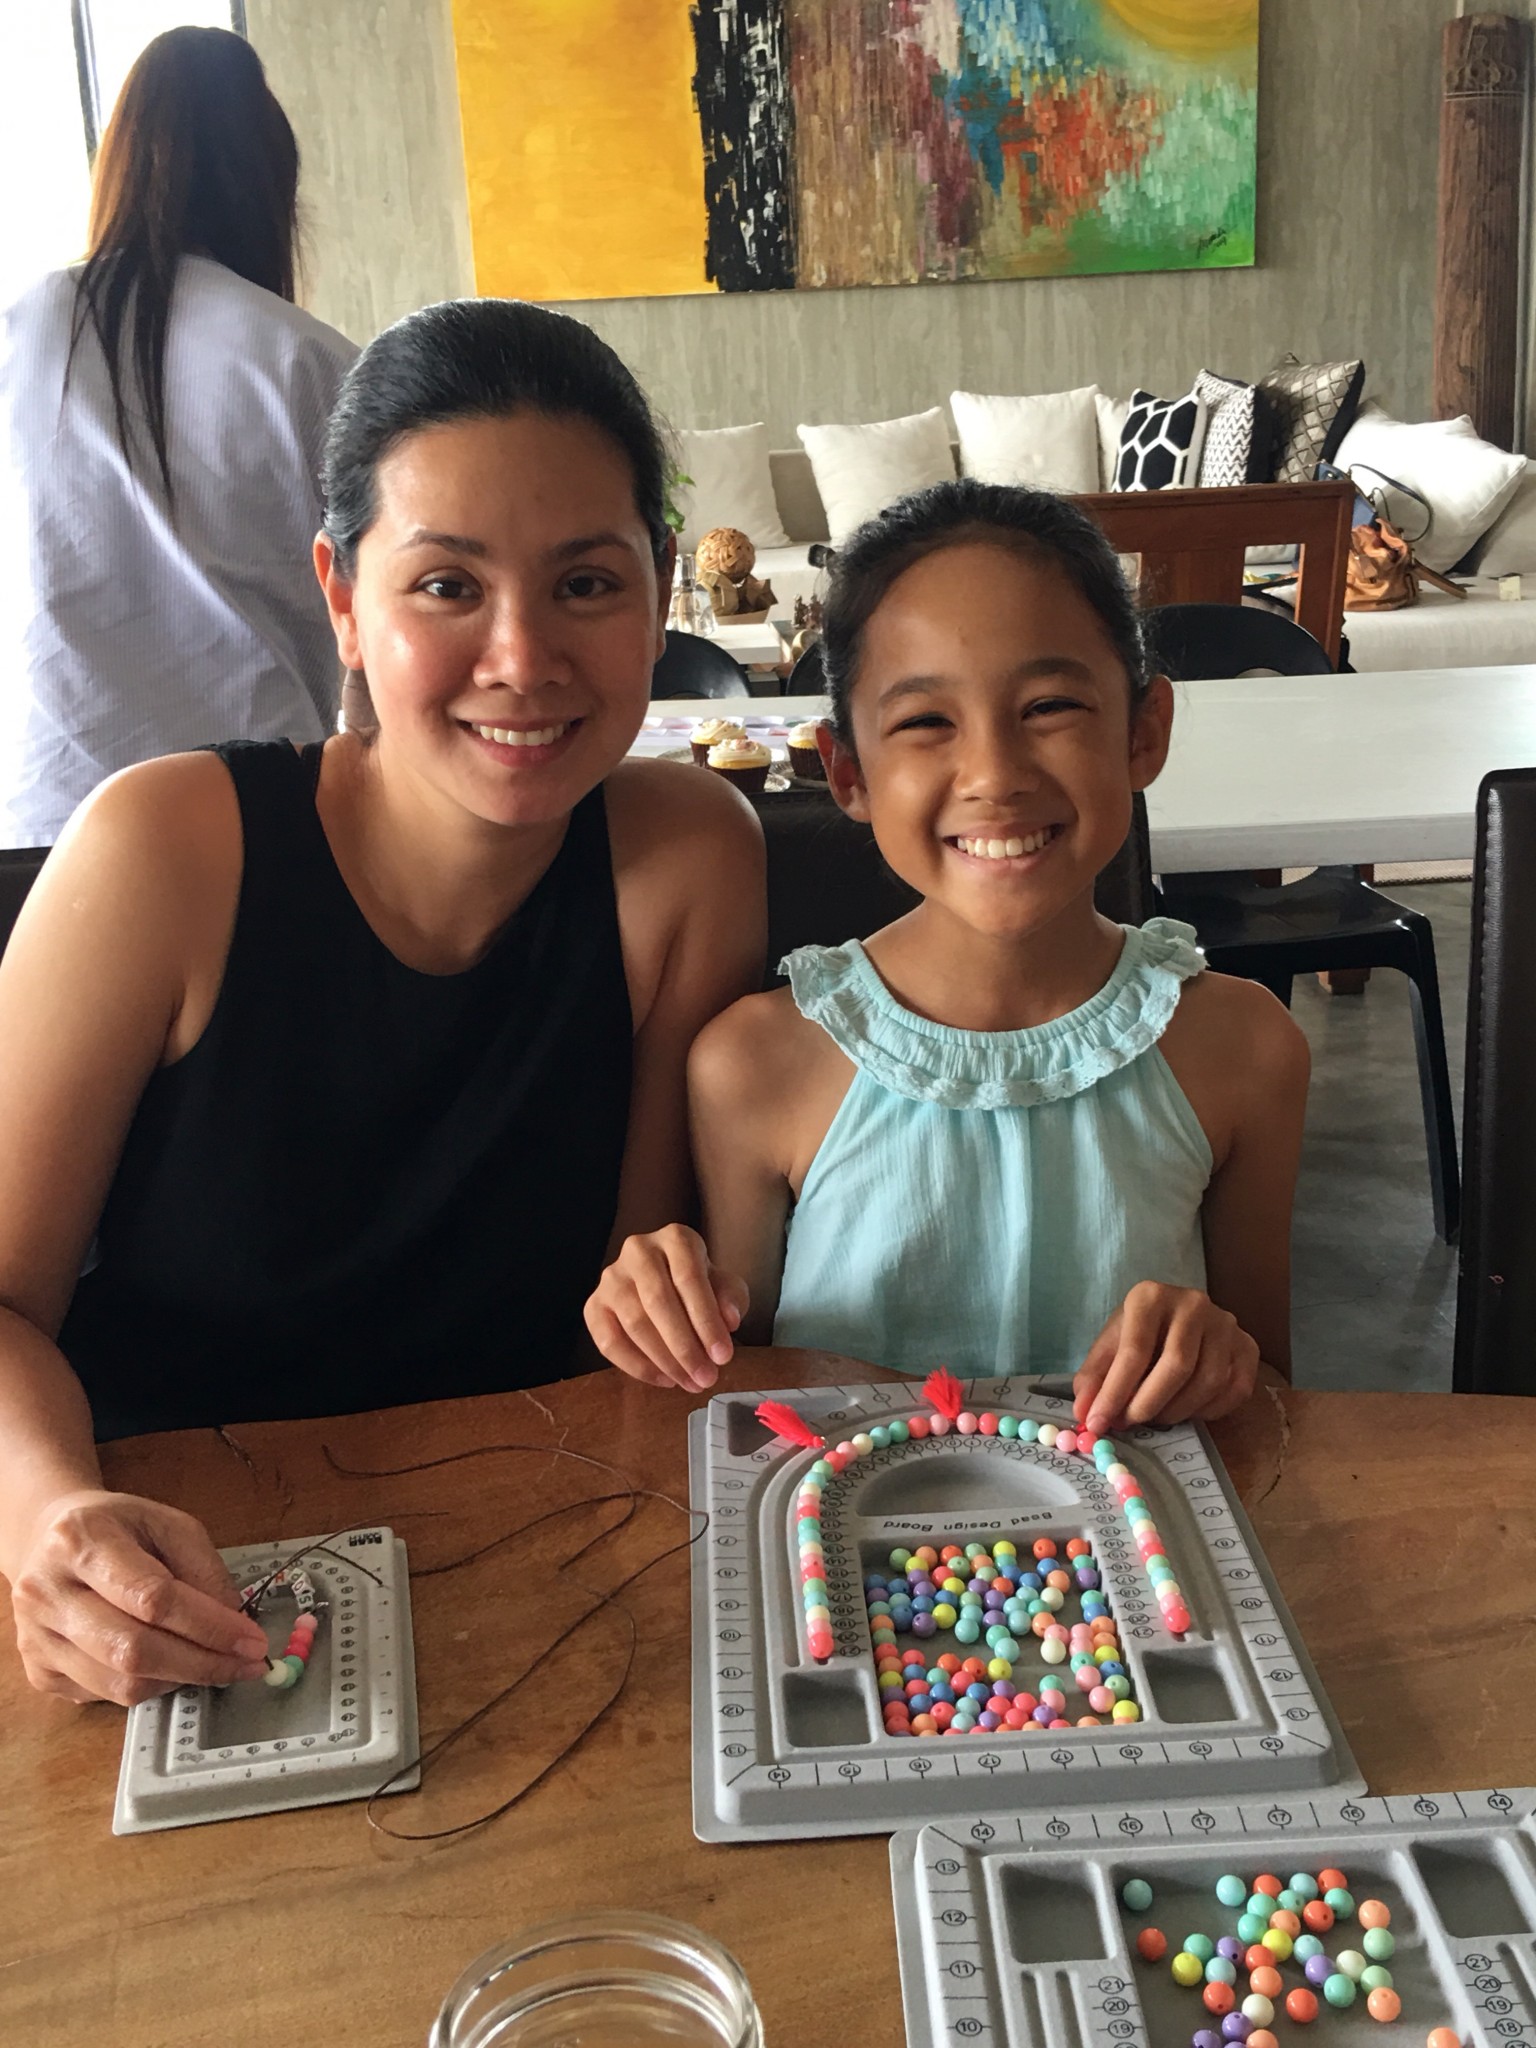
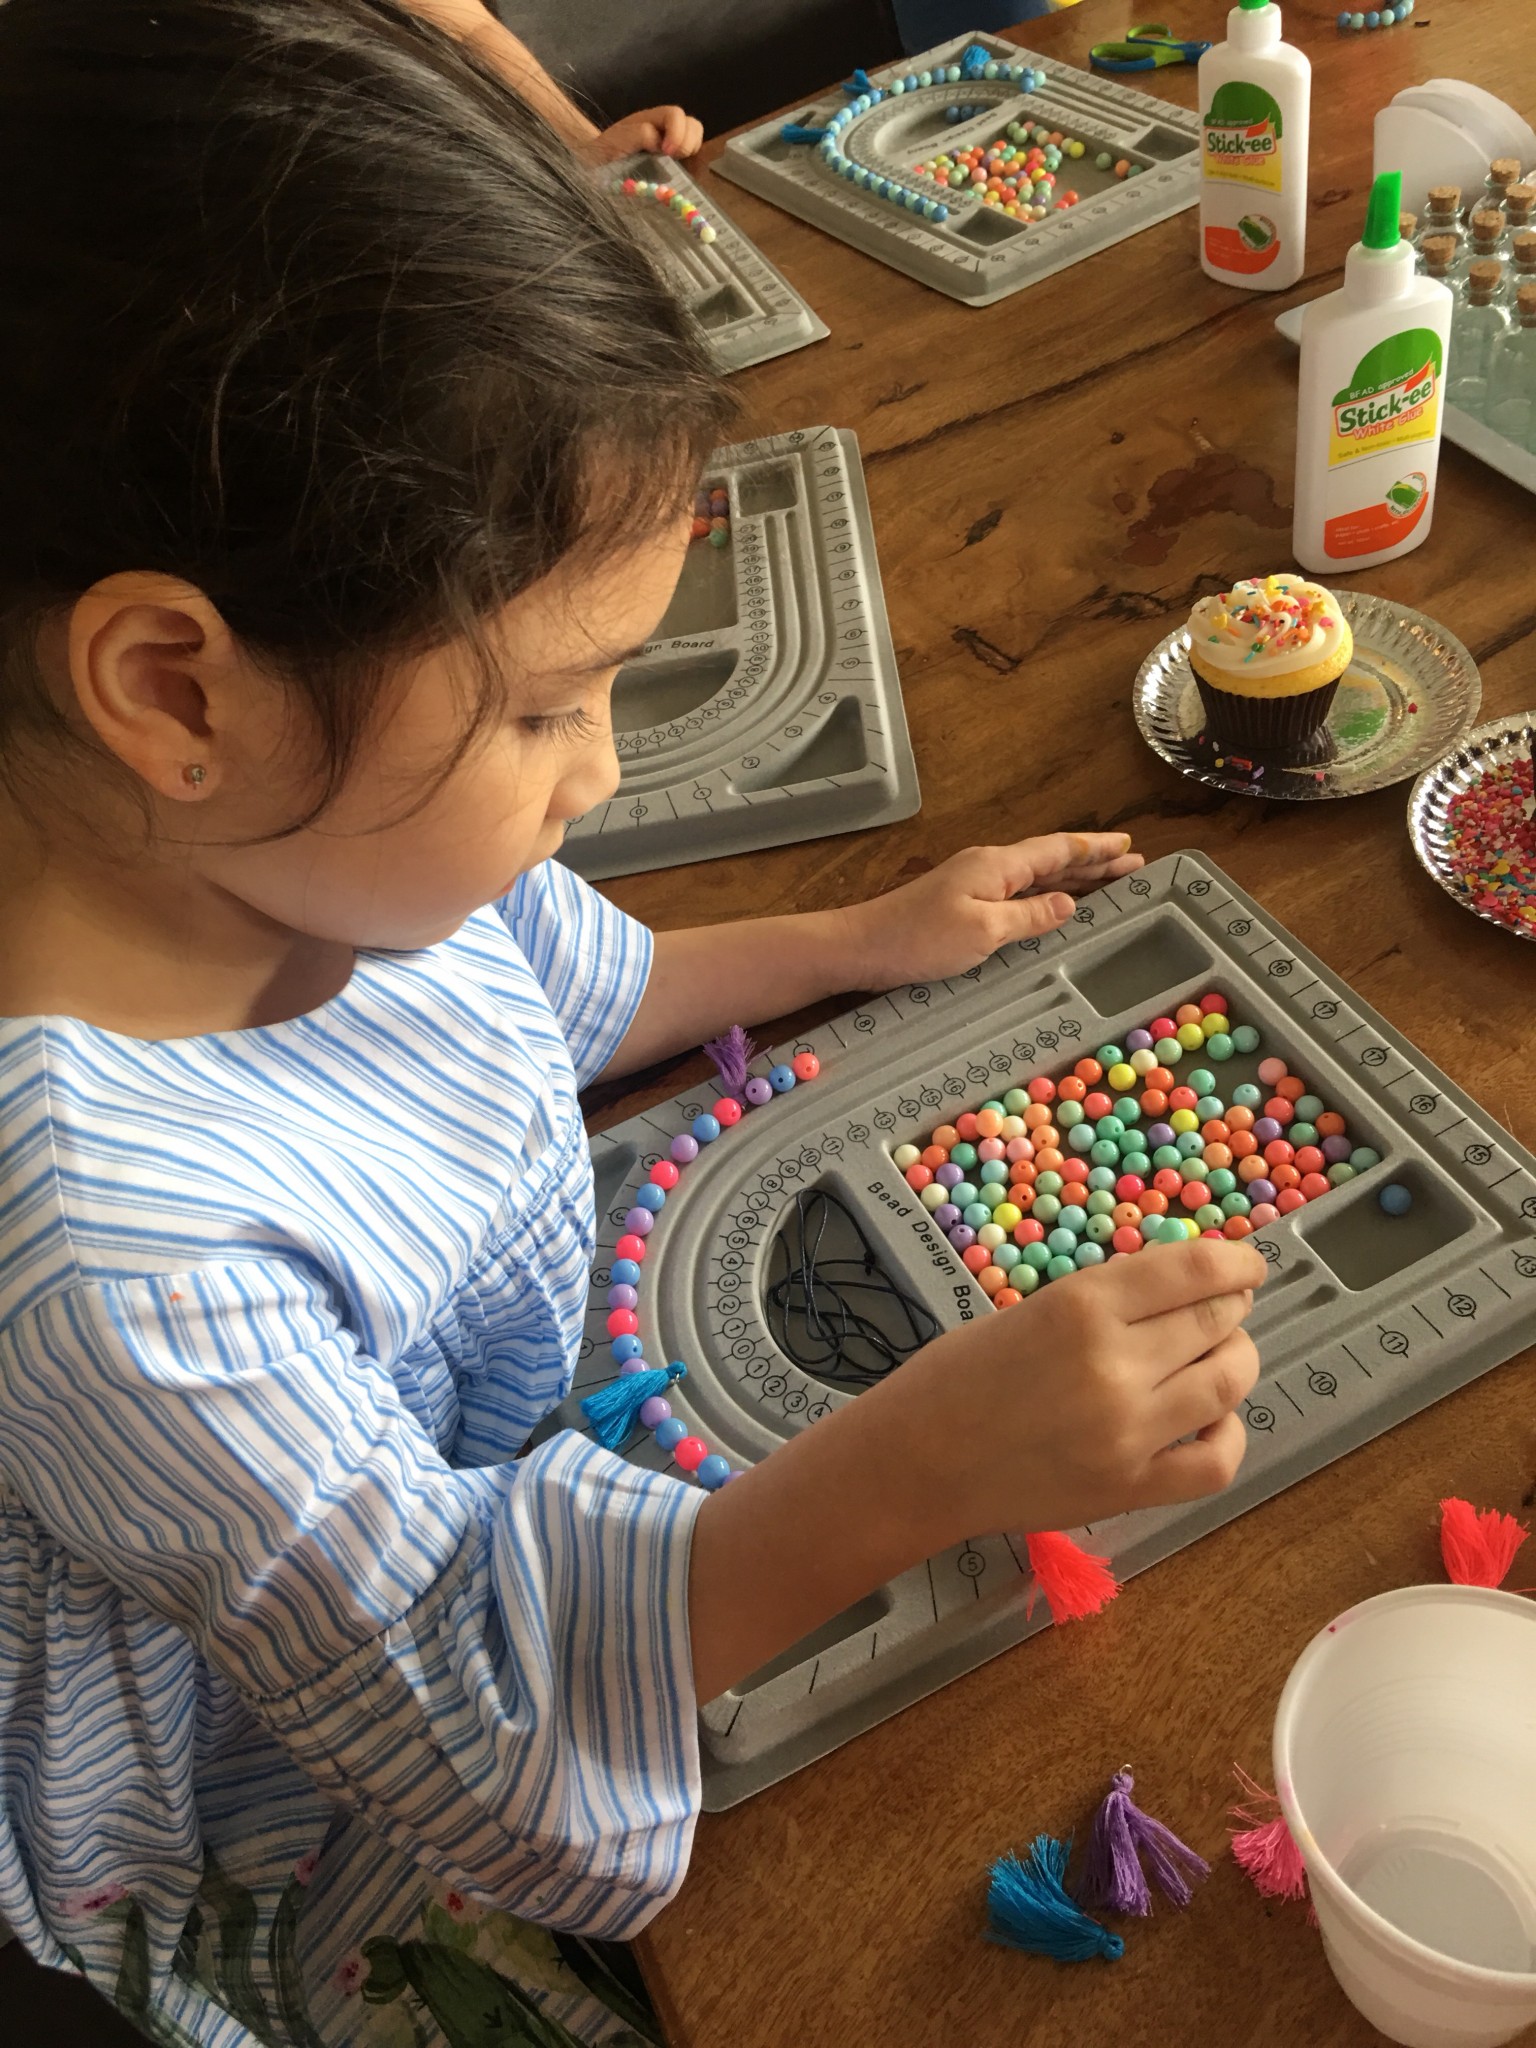
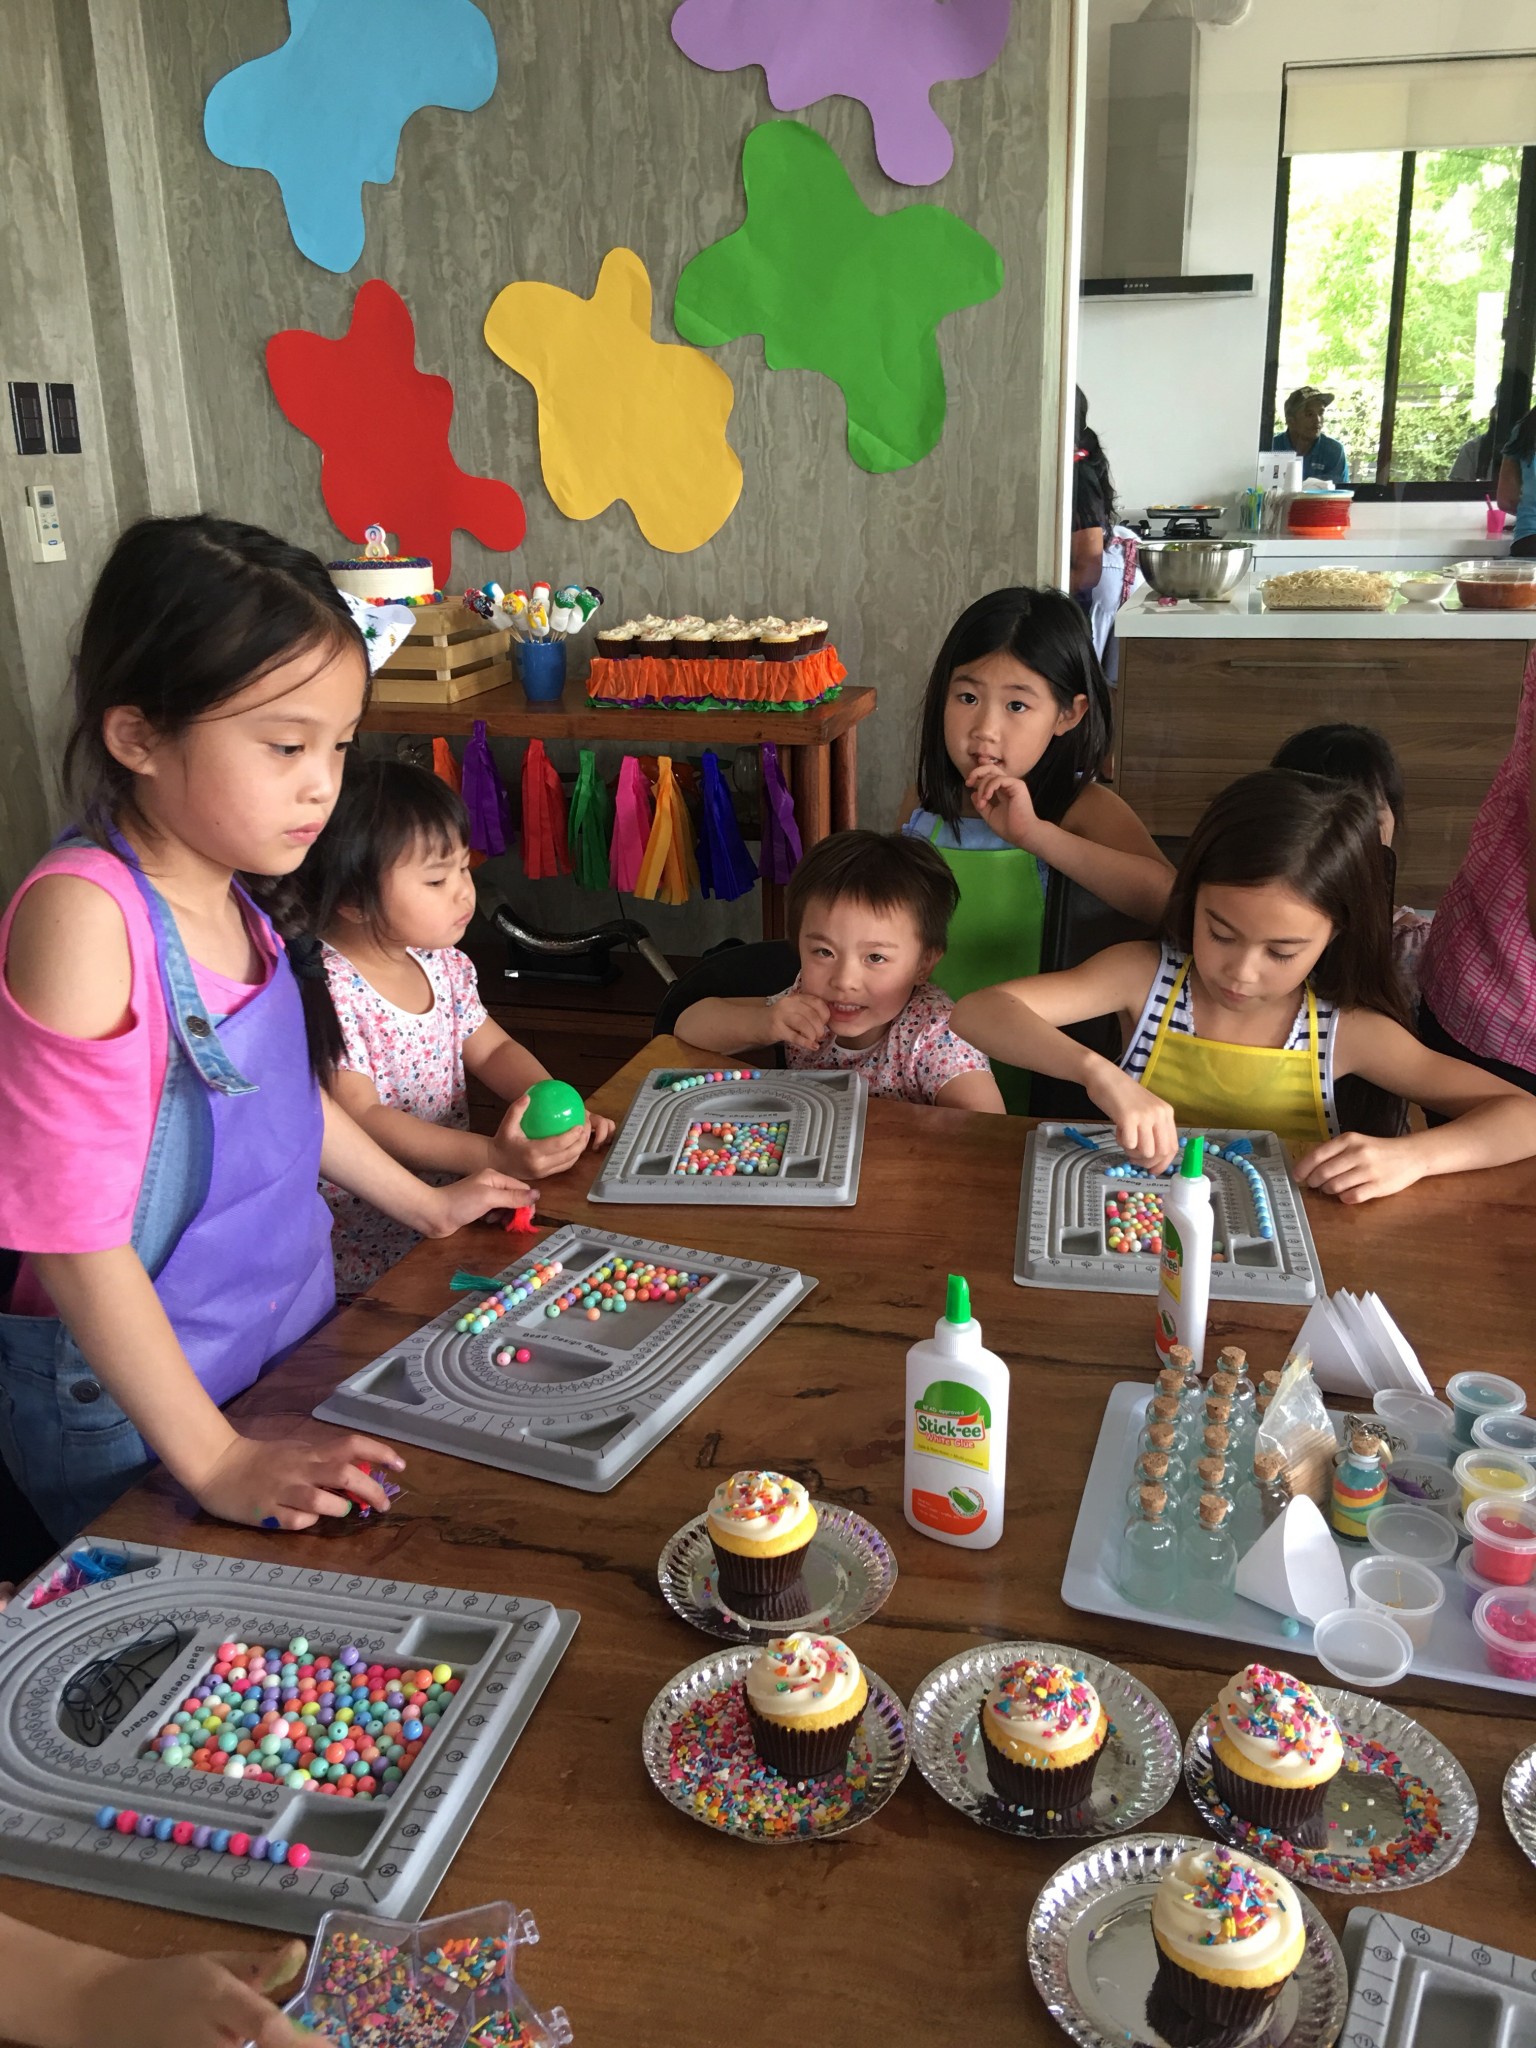
For beading – (different beads, string, tassels, clasps)
For cupcake decorating – (cupcake holders, ingredients, different sprinkles)
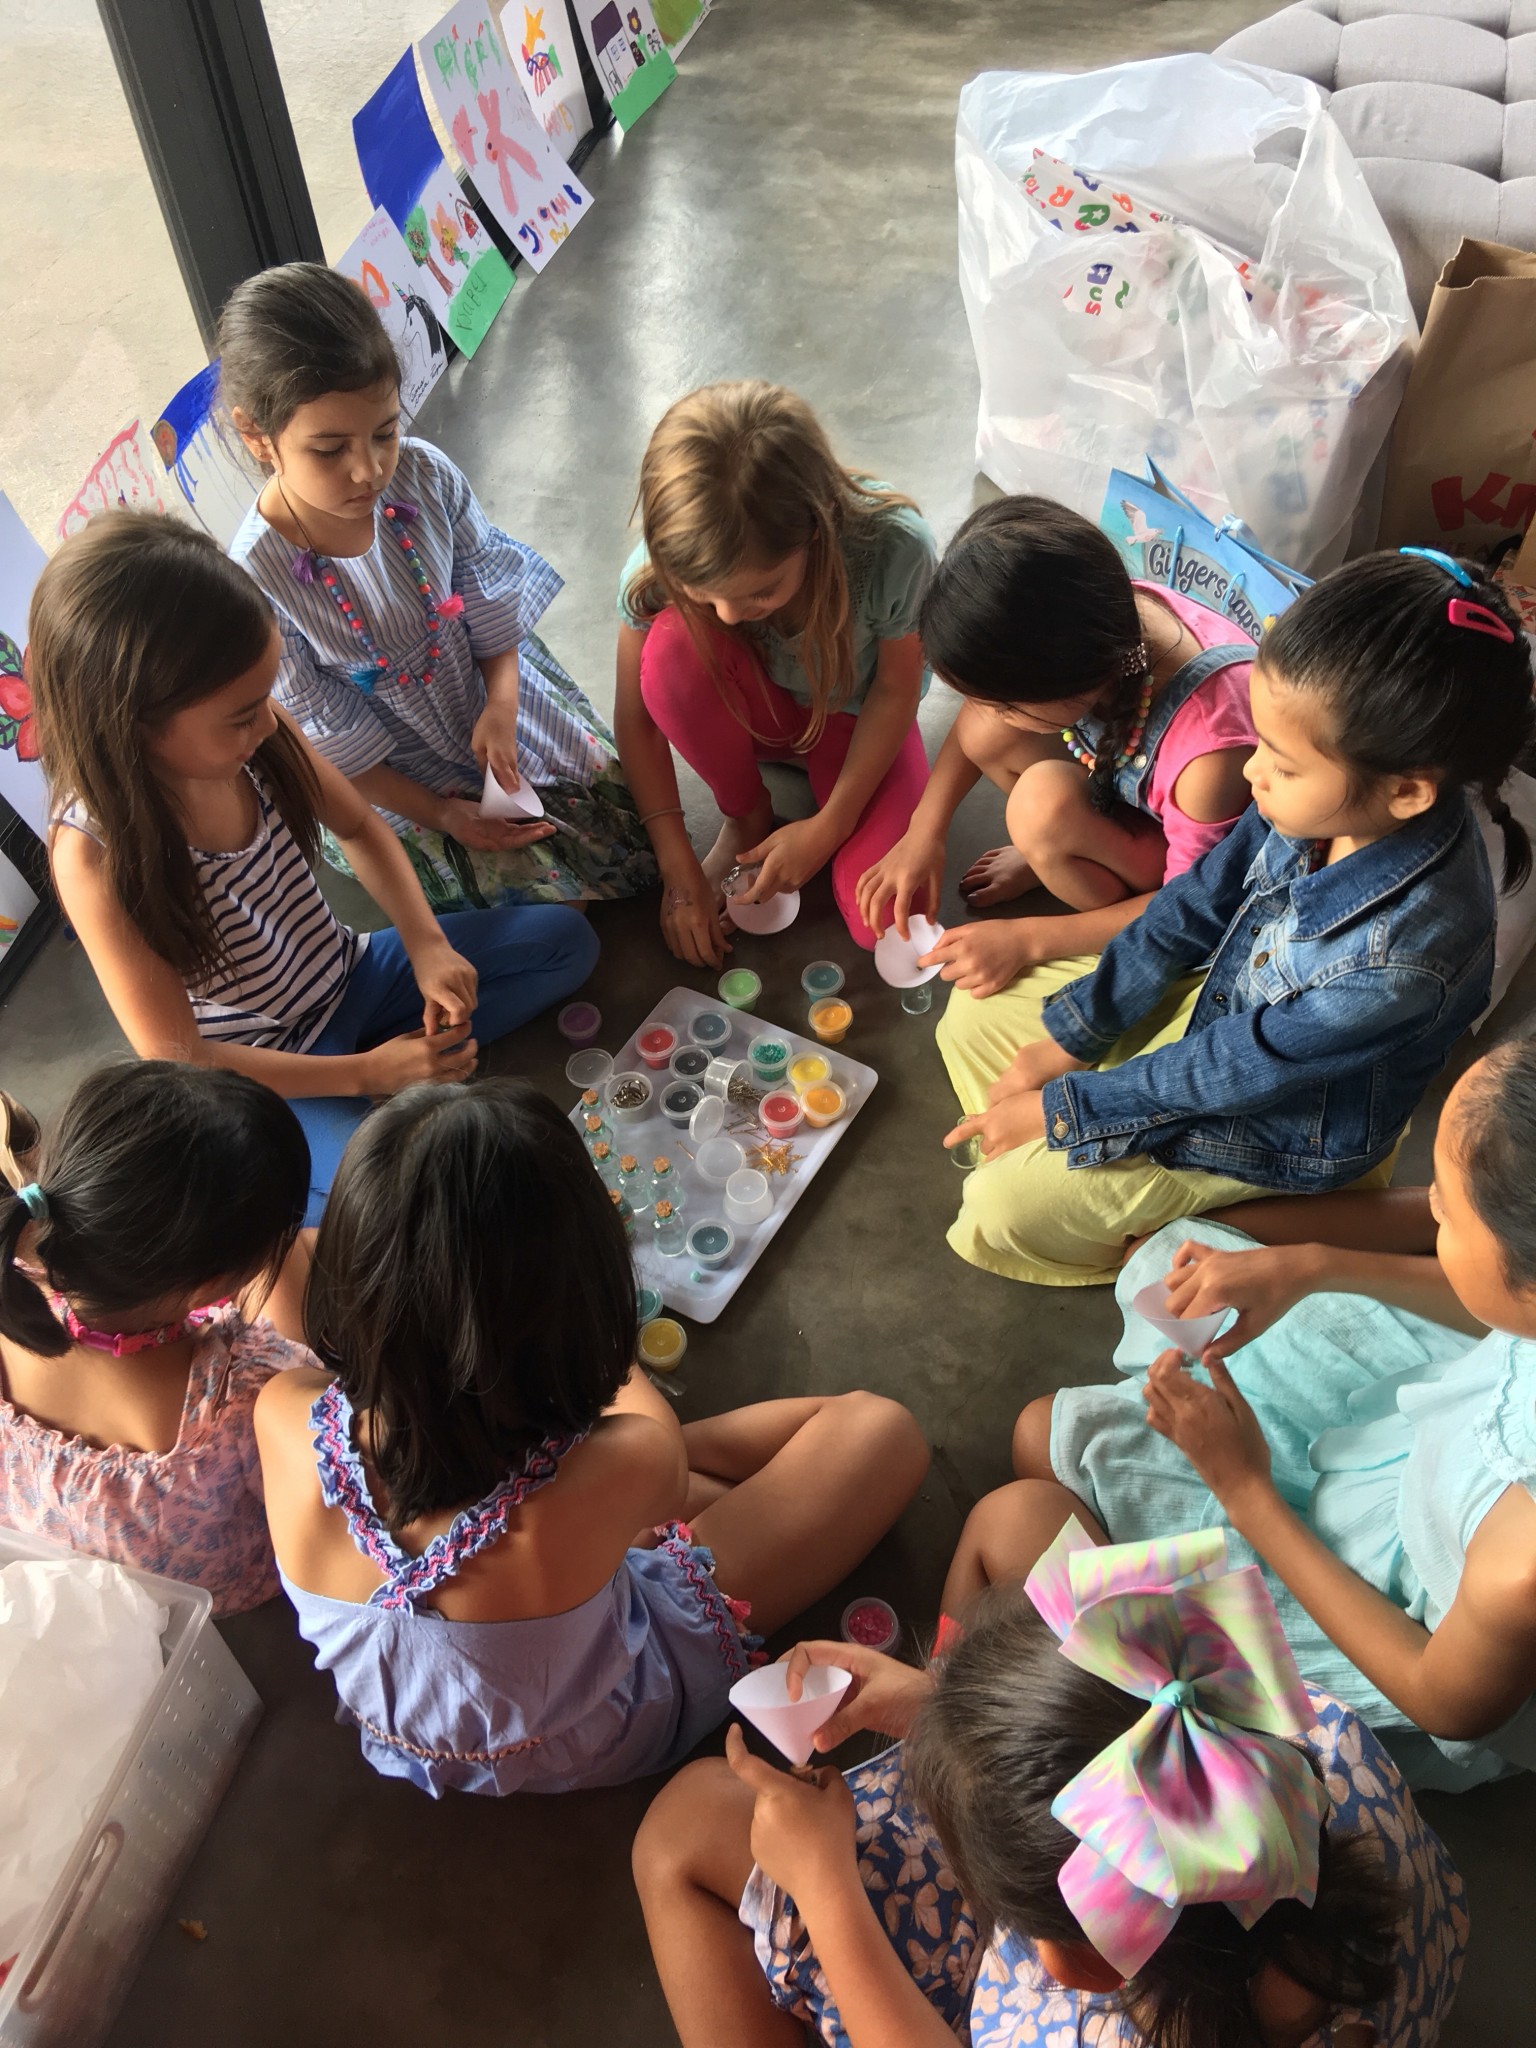
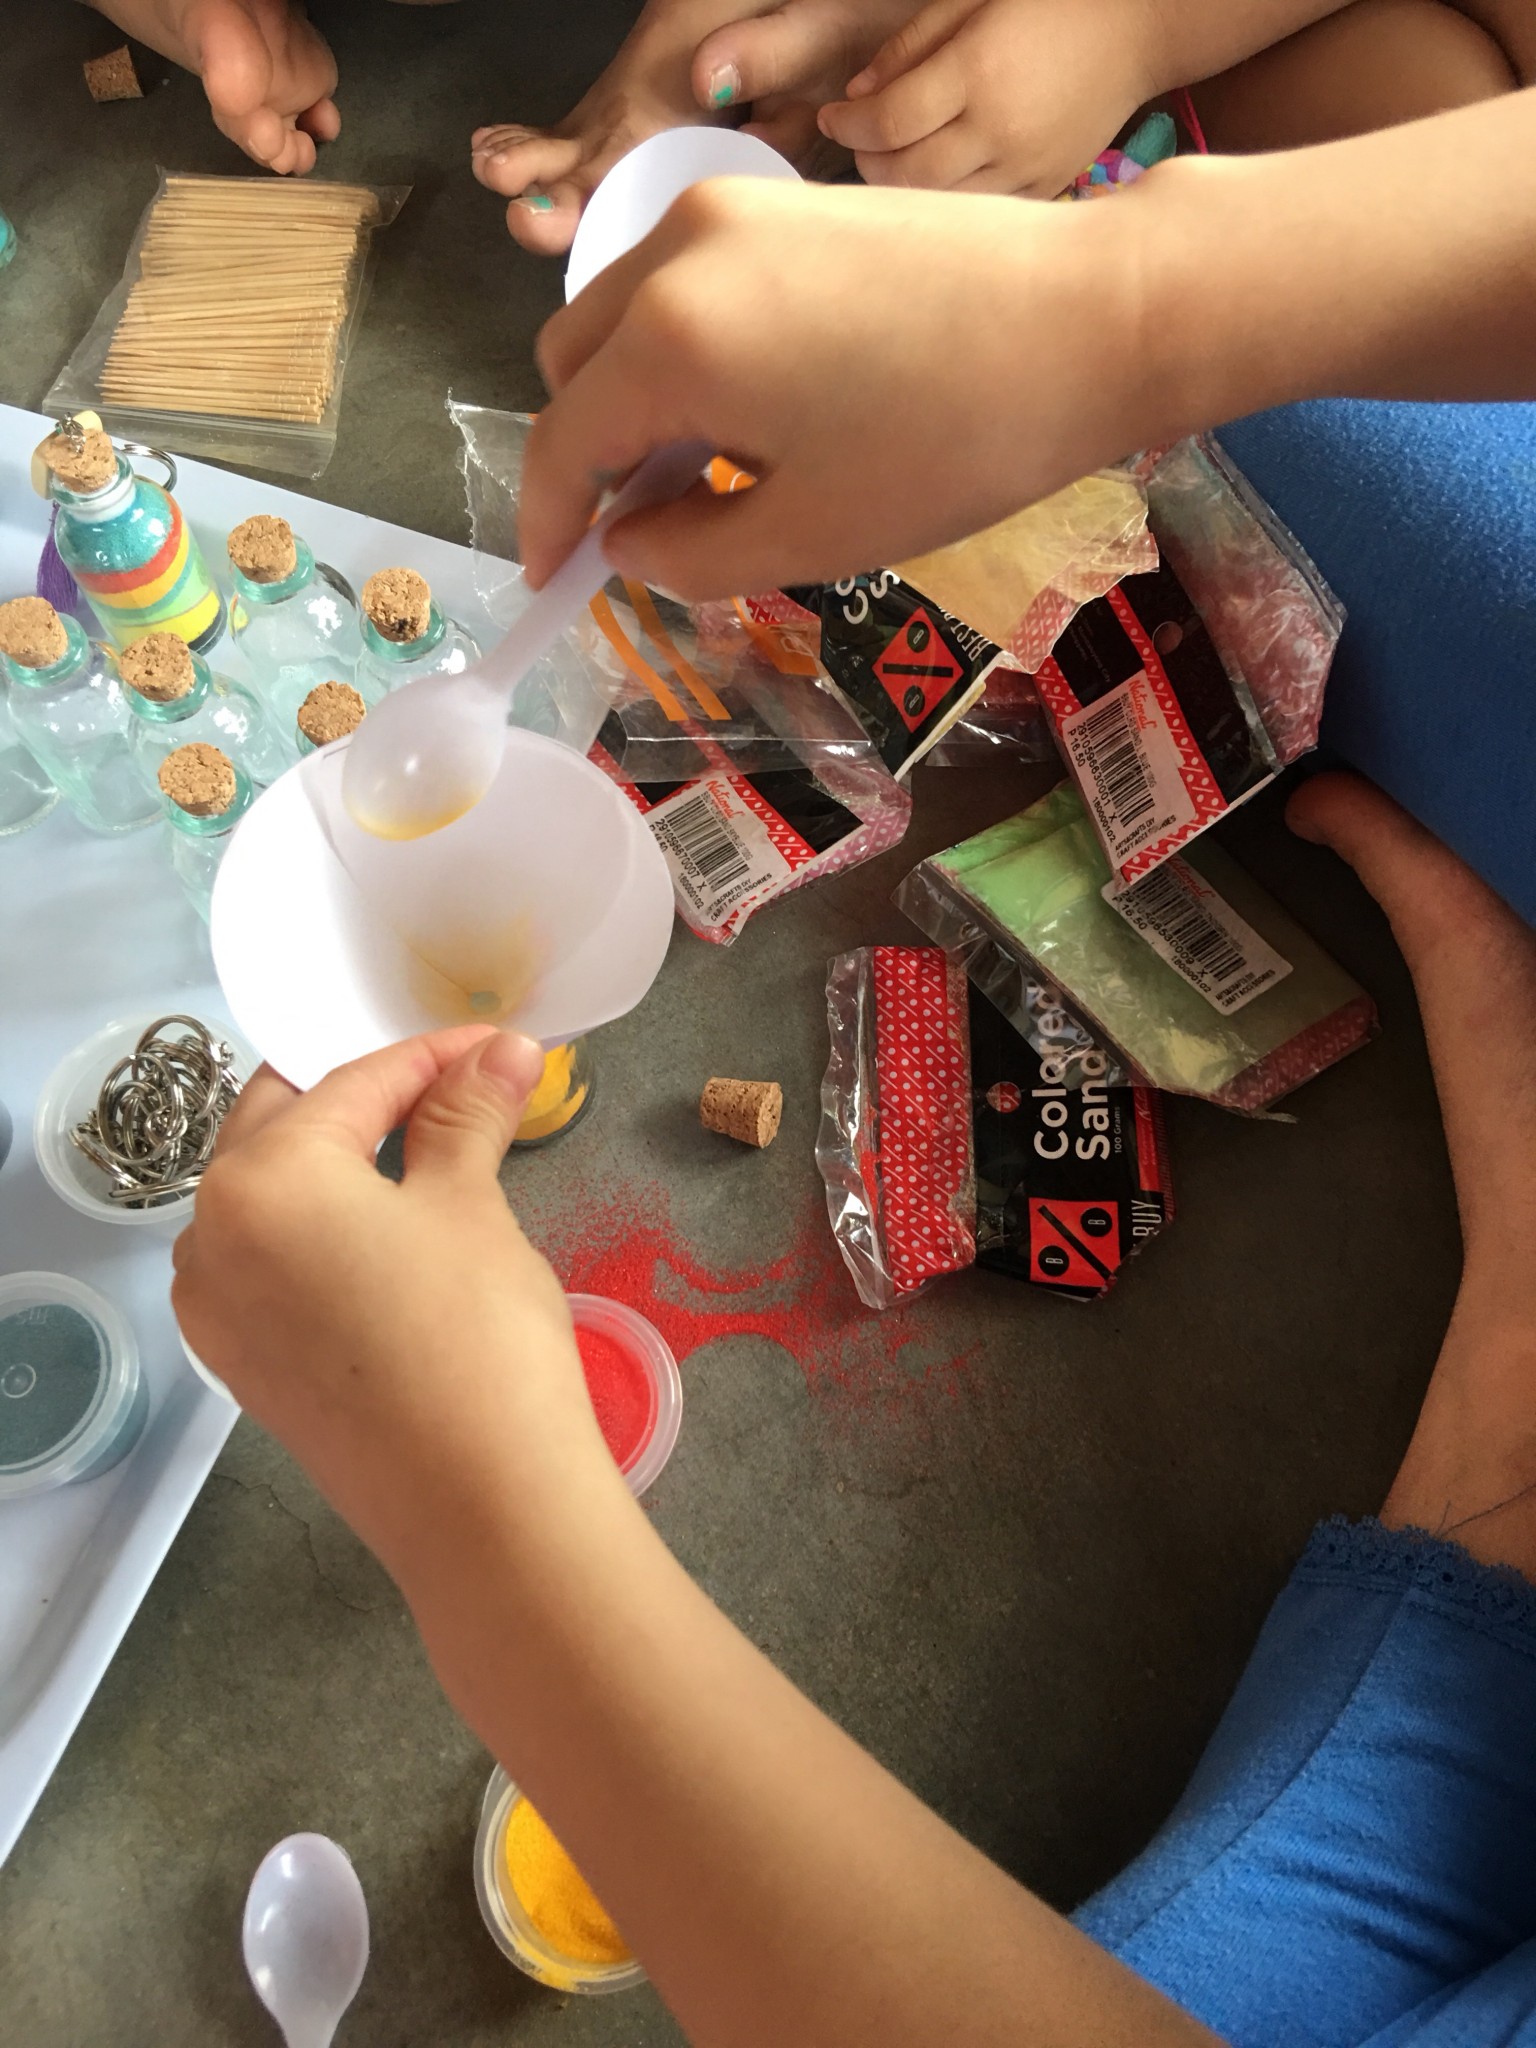
For sand art – (bead trays, glass jars, key chain holders, connectors, colored sand, flat wood beads for engraving letters, portable engraver, mini-colored beads)
For earrings – (hooks, various beads, acrylic flower petals, connectors, nylon, wire, bead trays)
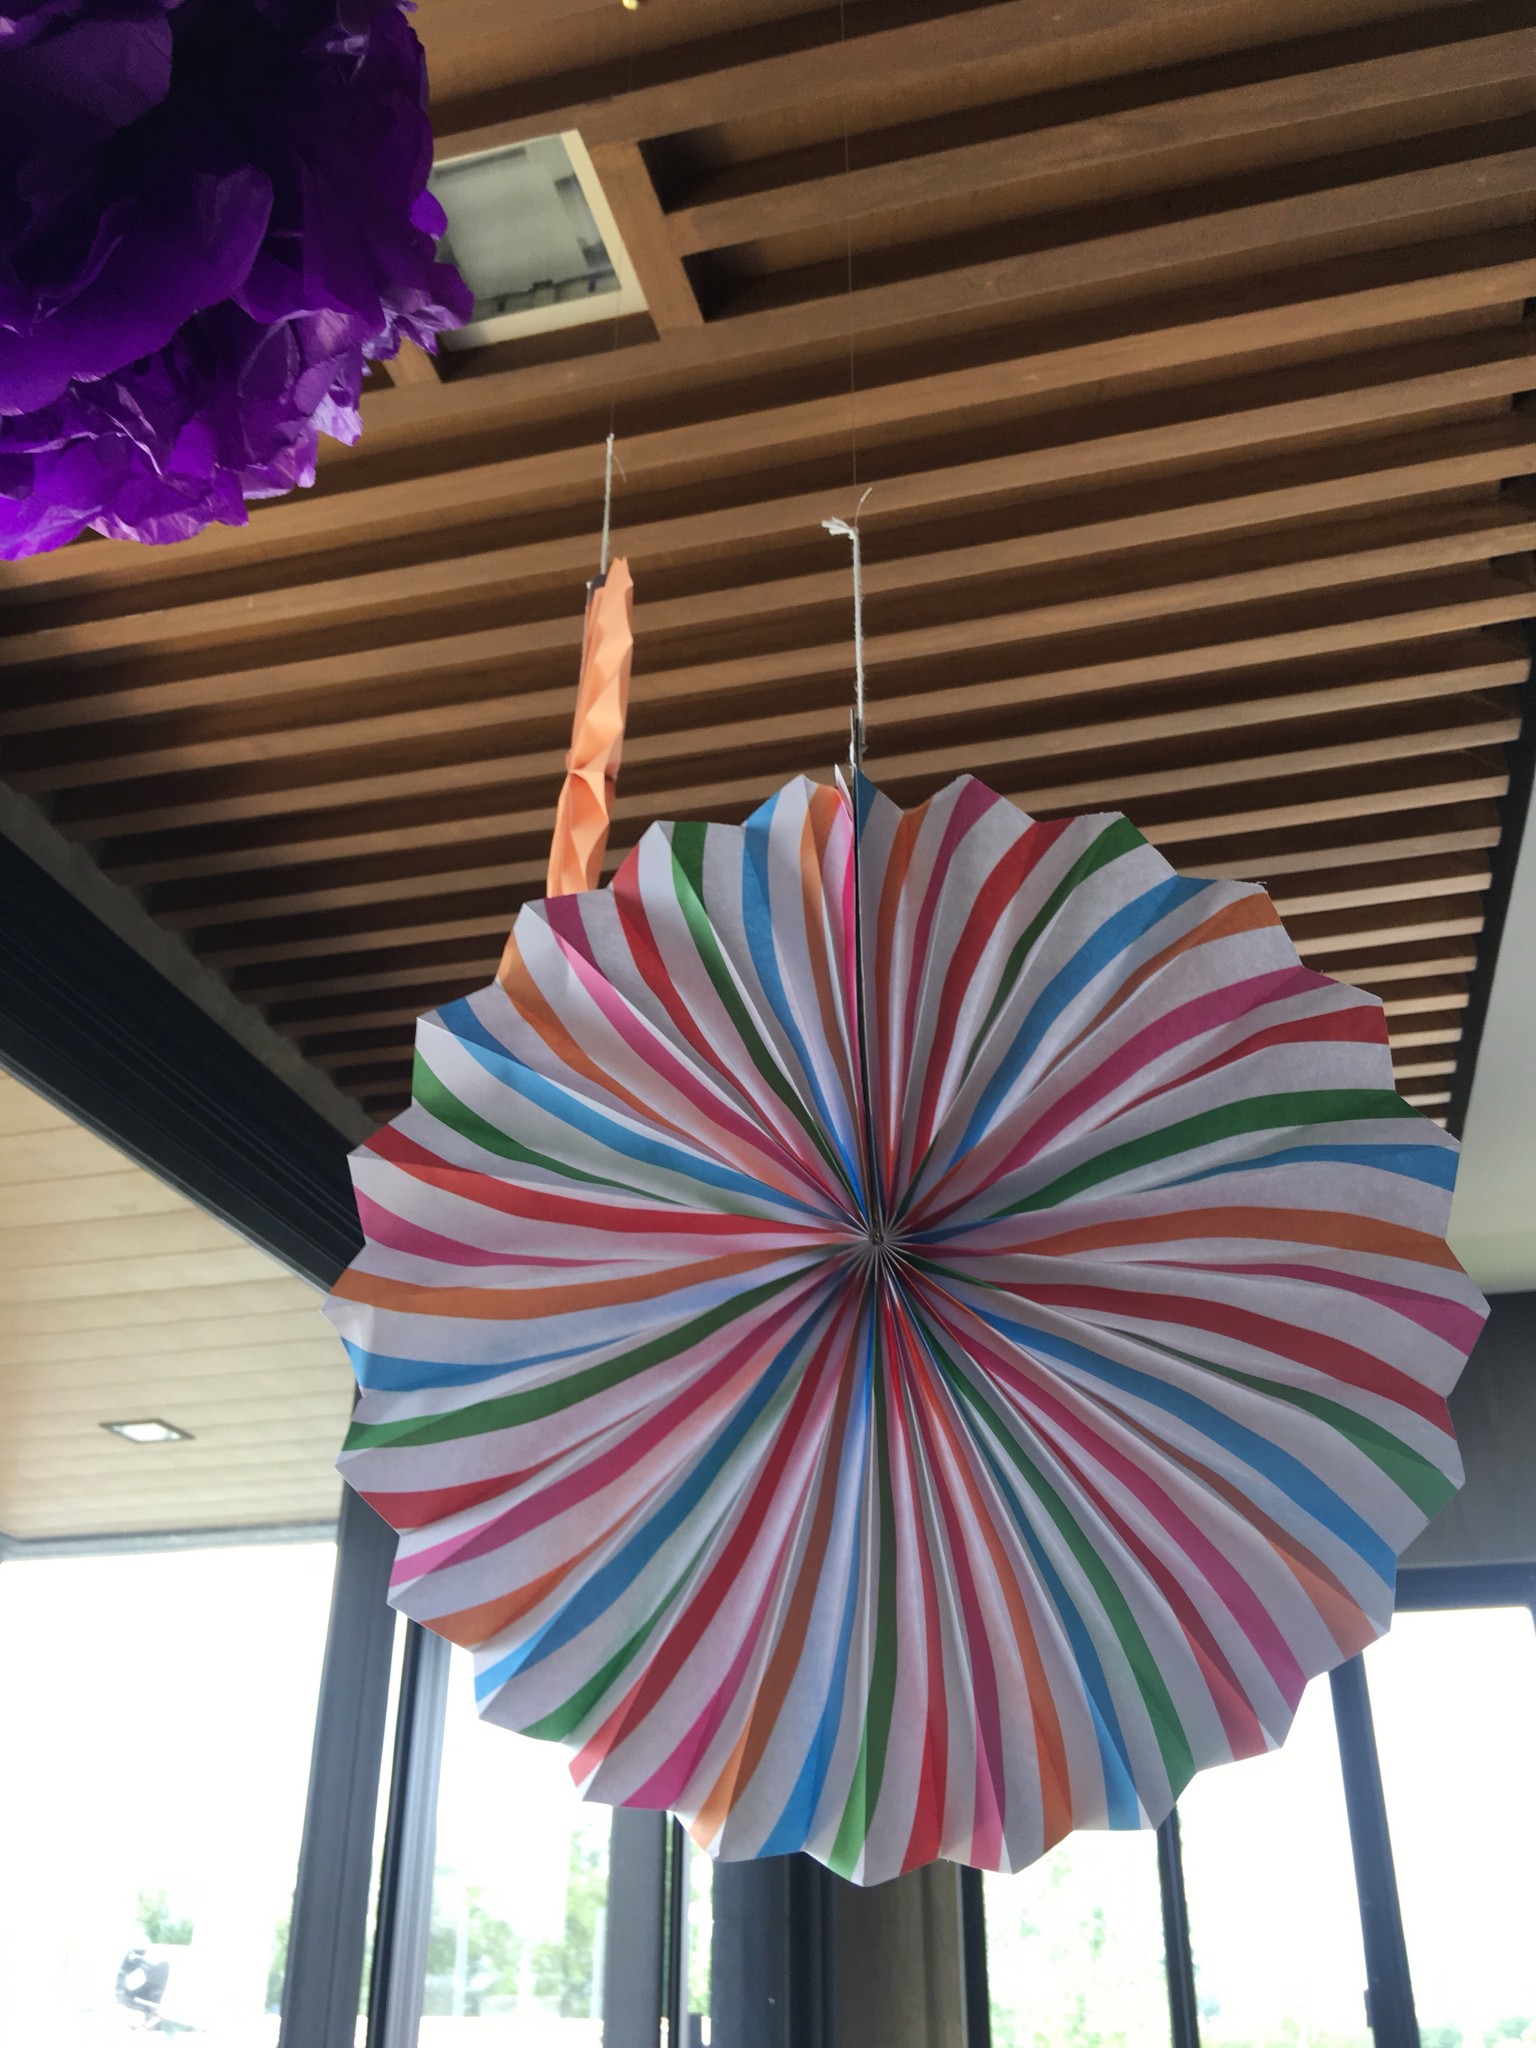
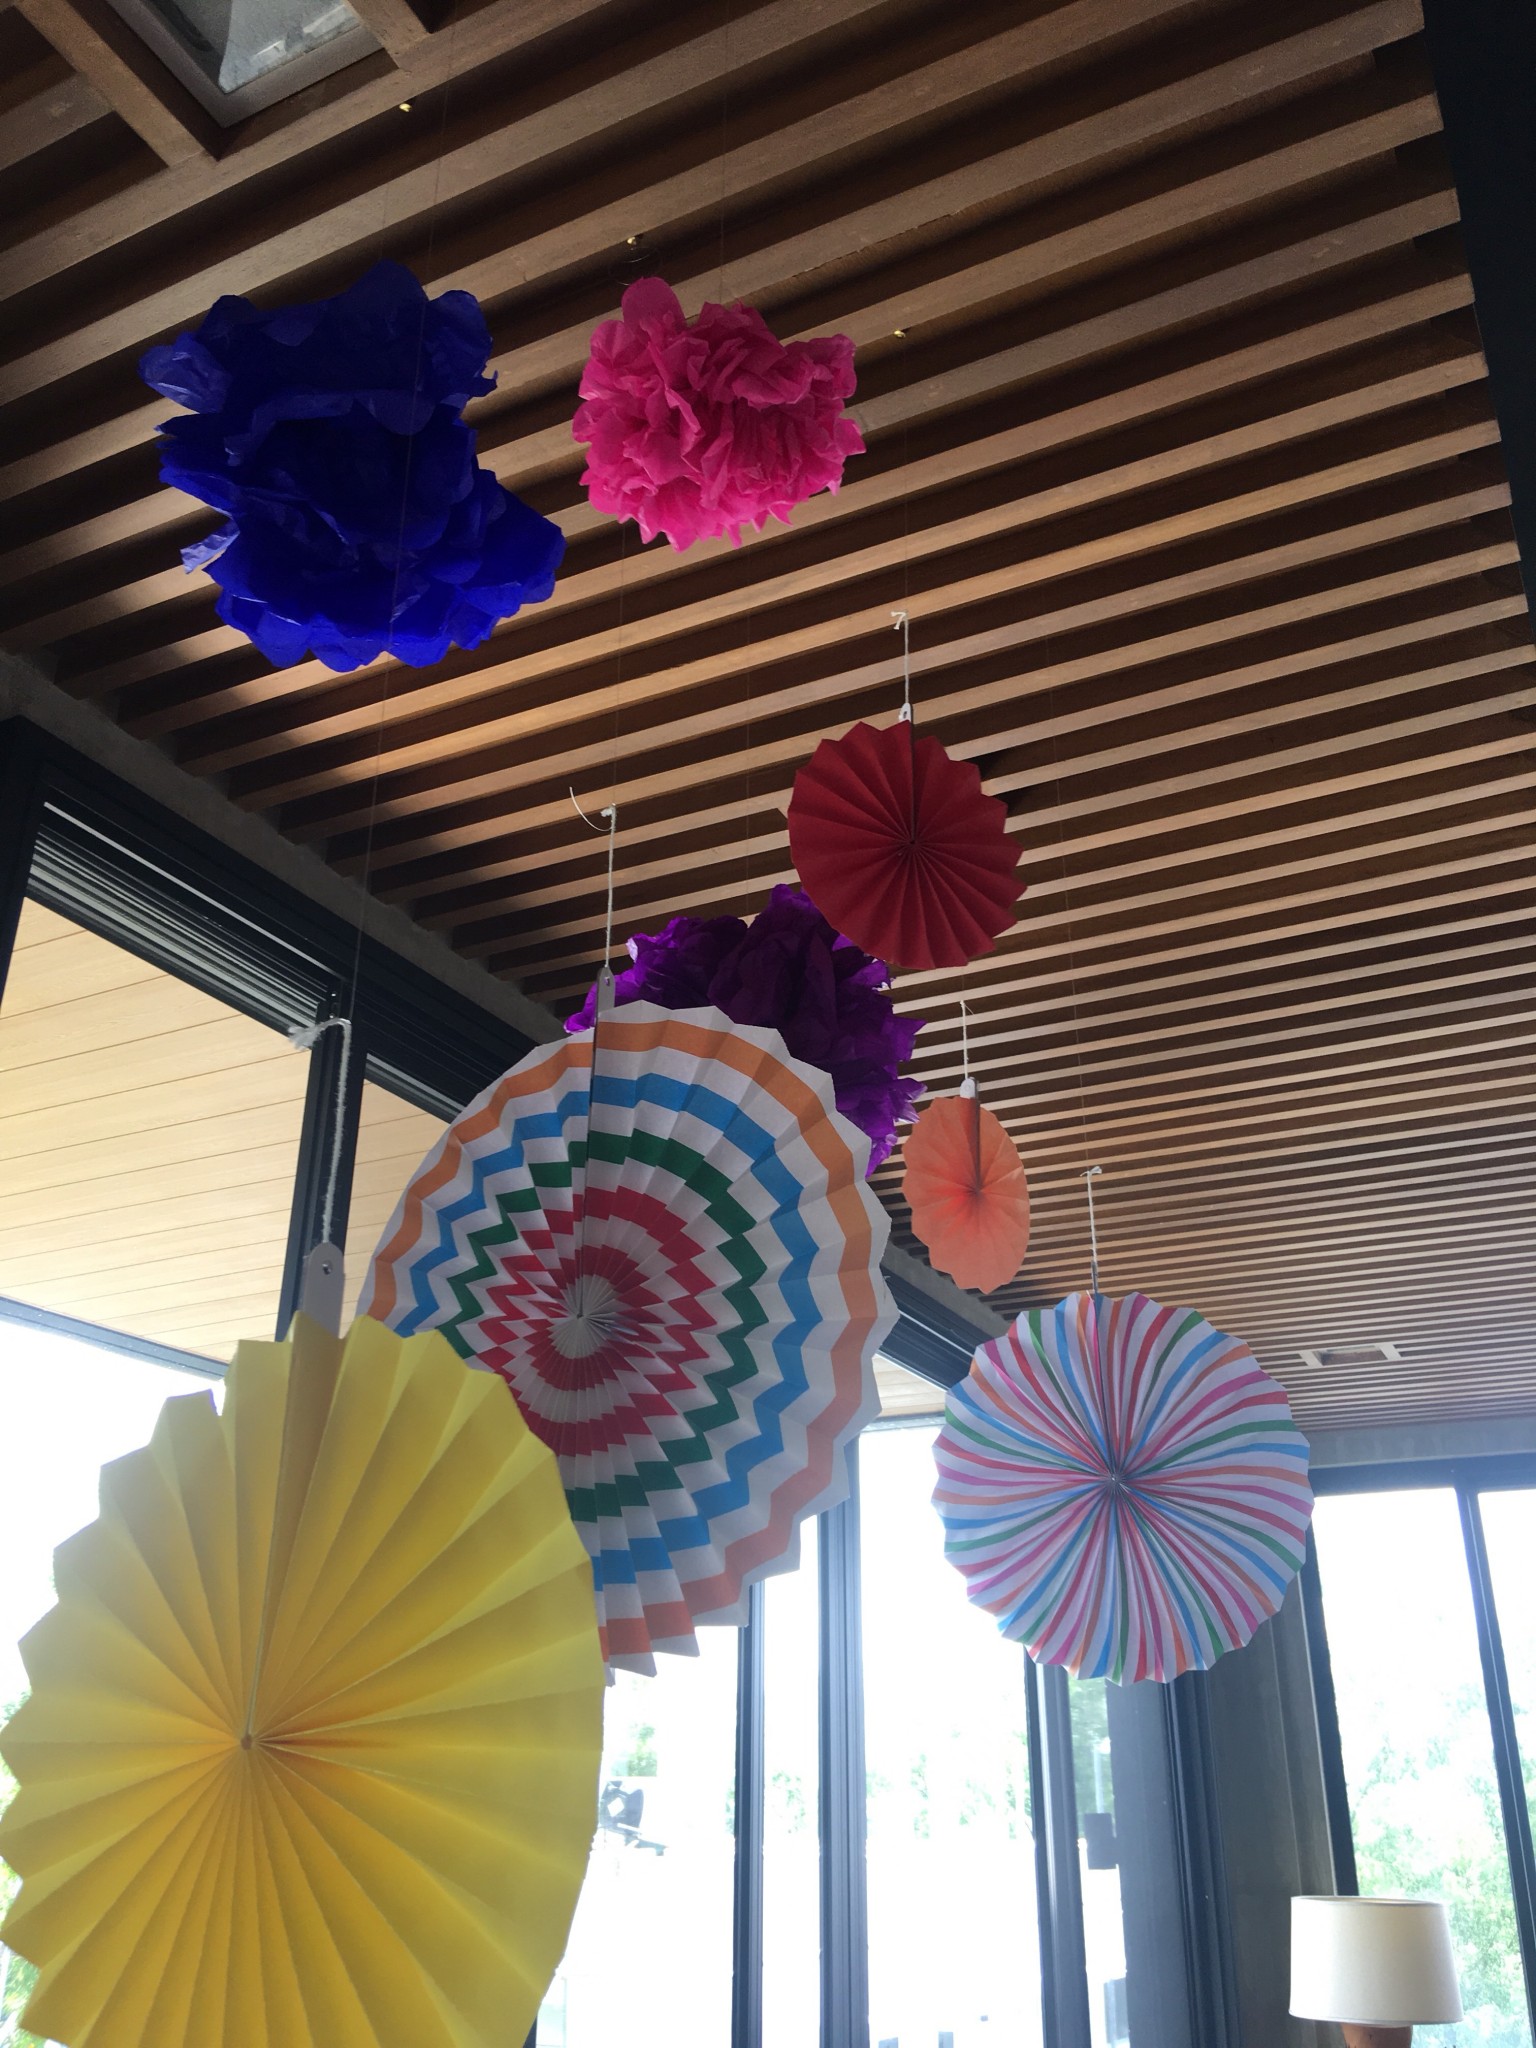
– Decor (paint blobs using colored paper, pom poms and garlands using Japanese paper)
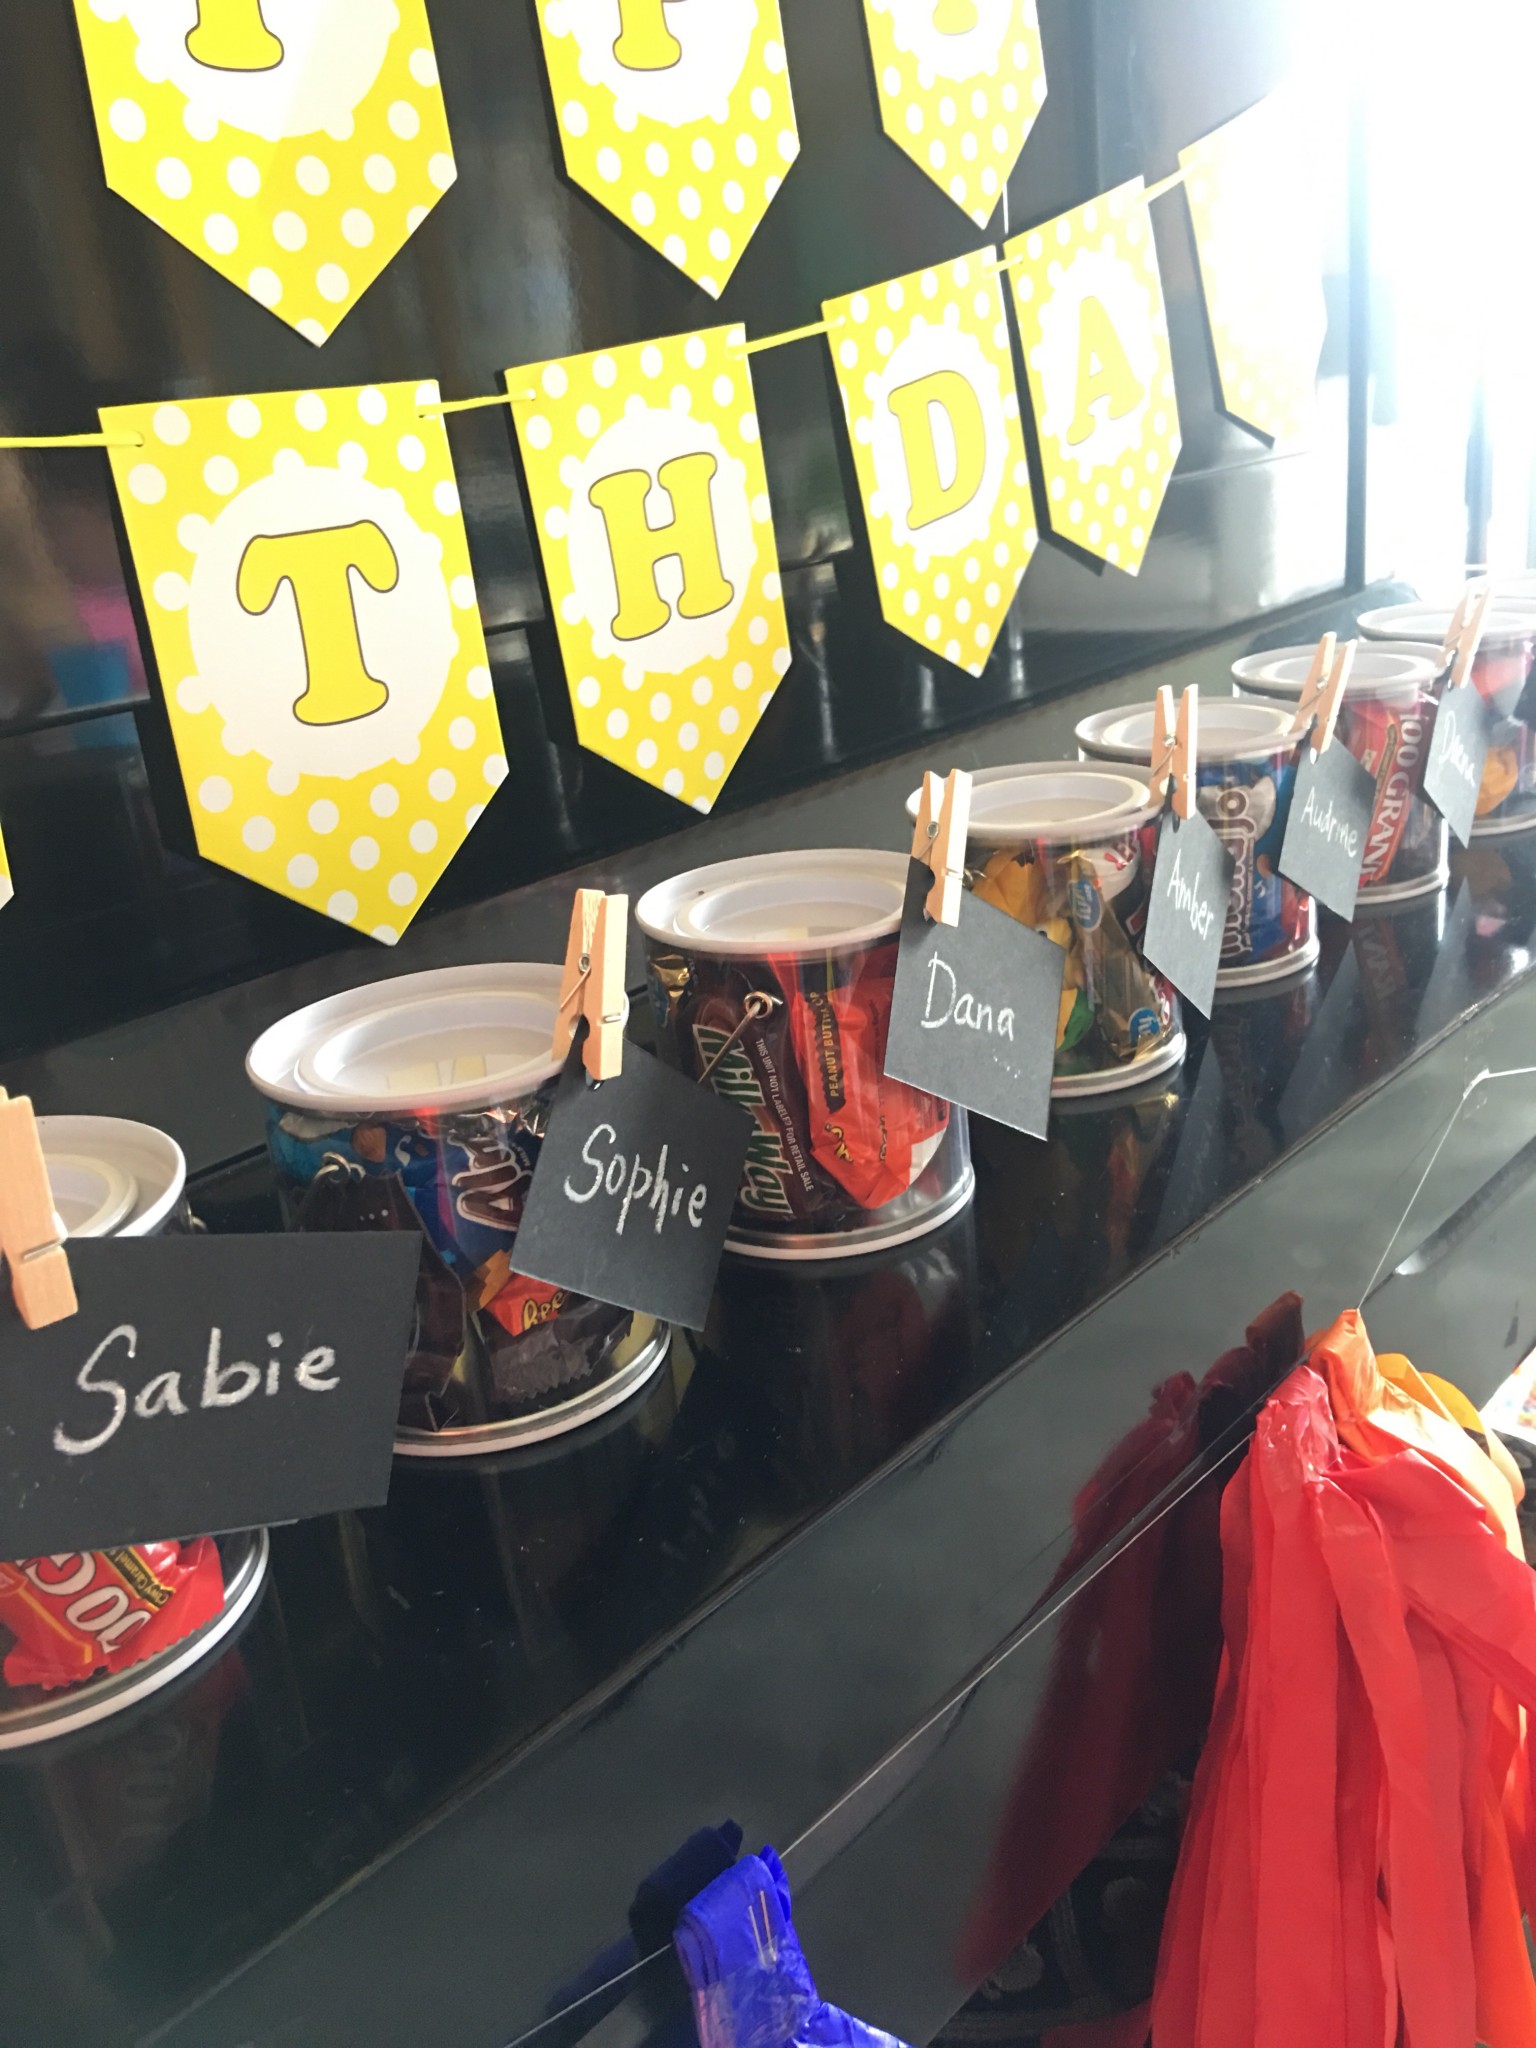
– Giveaways (miniature, clear paint cans, chocolate)
Step 5: Make purchases and consider timing.
– For the buffet table and dessert table food – I went to the grocery (two different ones) a few days before the event. (Spent 10K)
– For the materials – One to two weeks before. I went to Quiapo with my sister-in-law to buy most of the materials for the beading, earrings, and sand art.
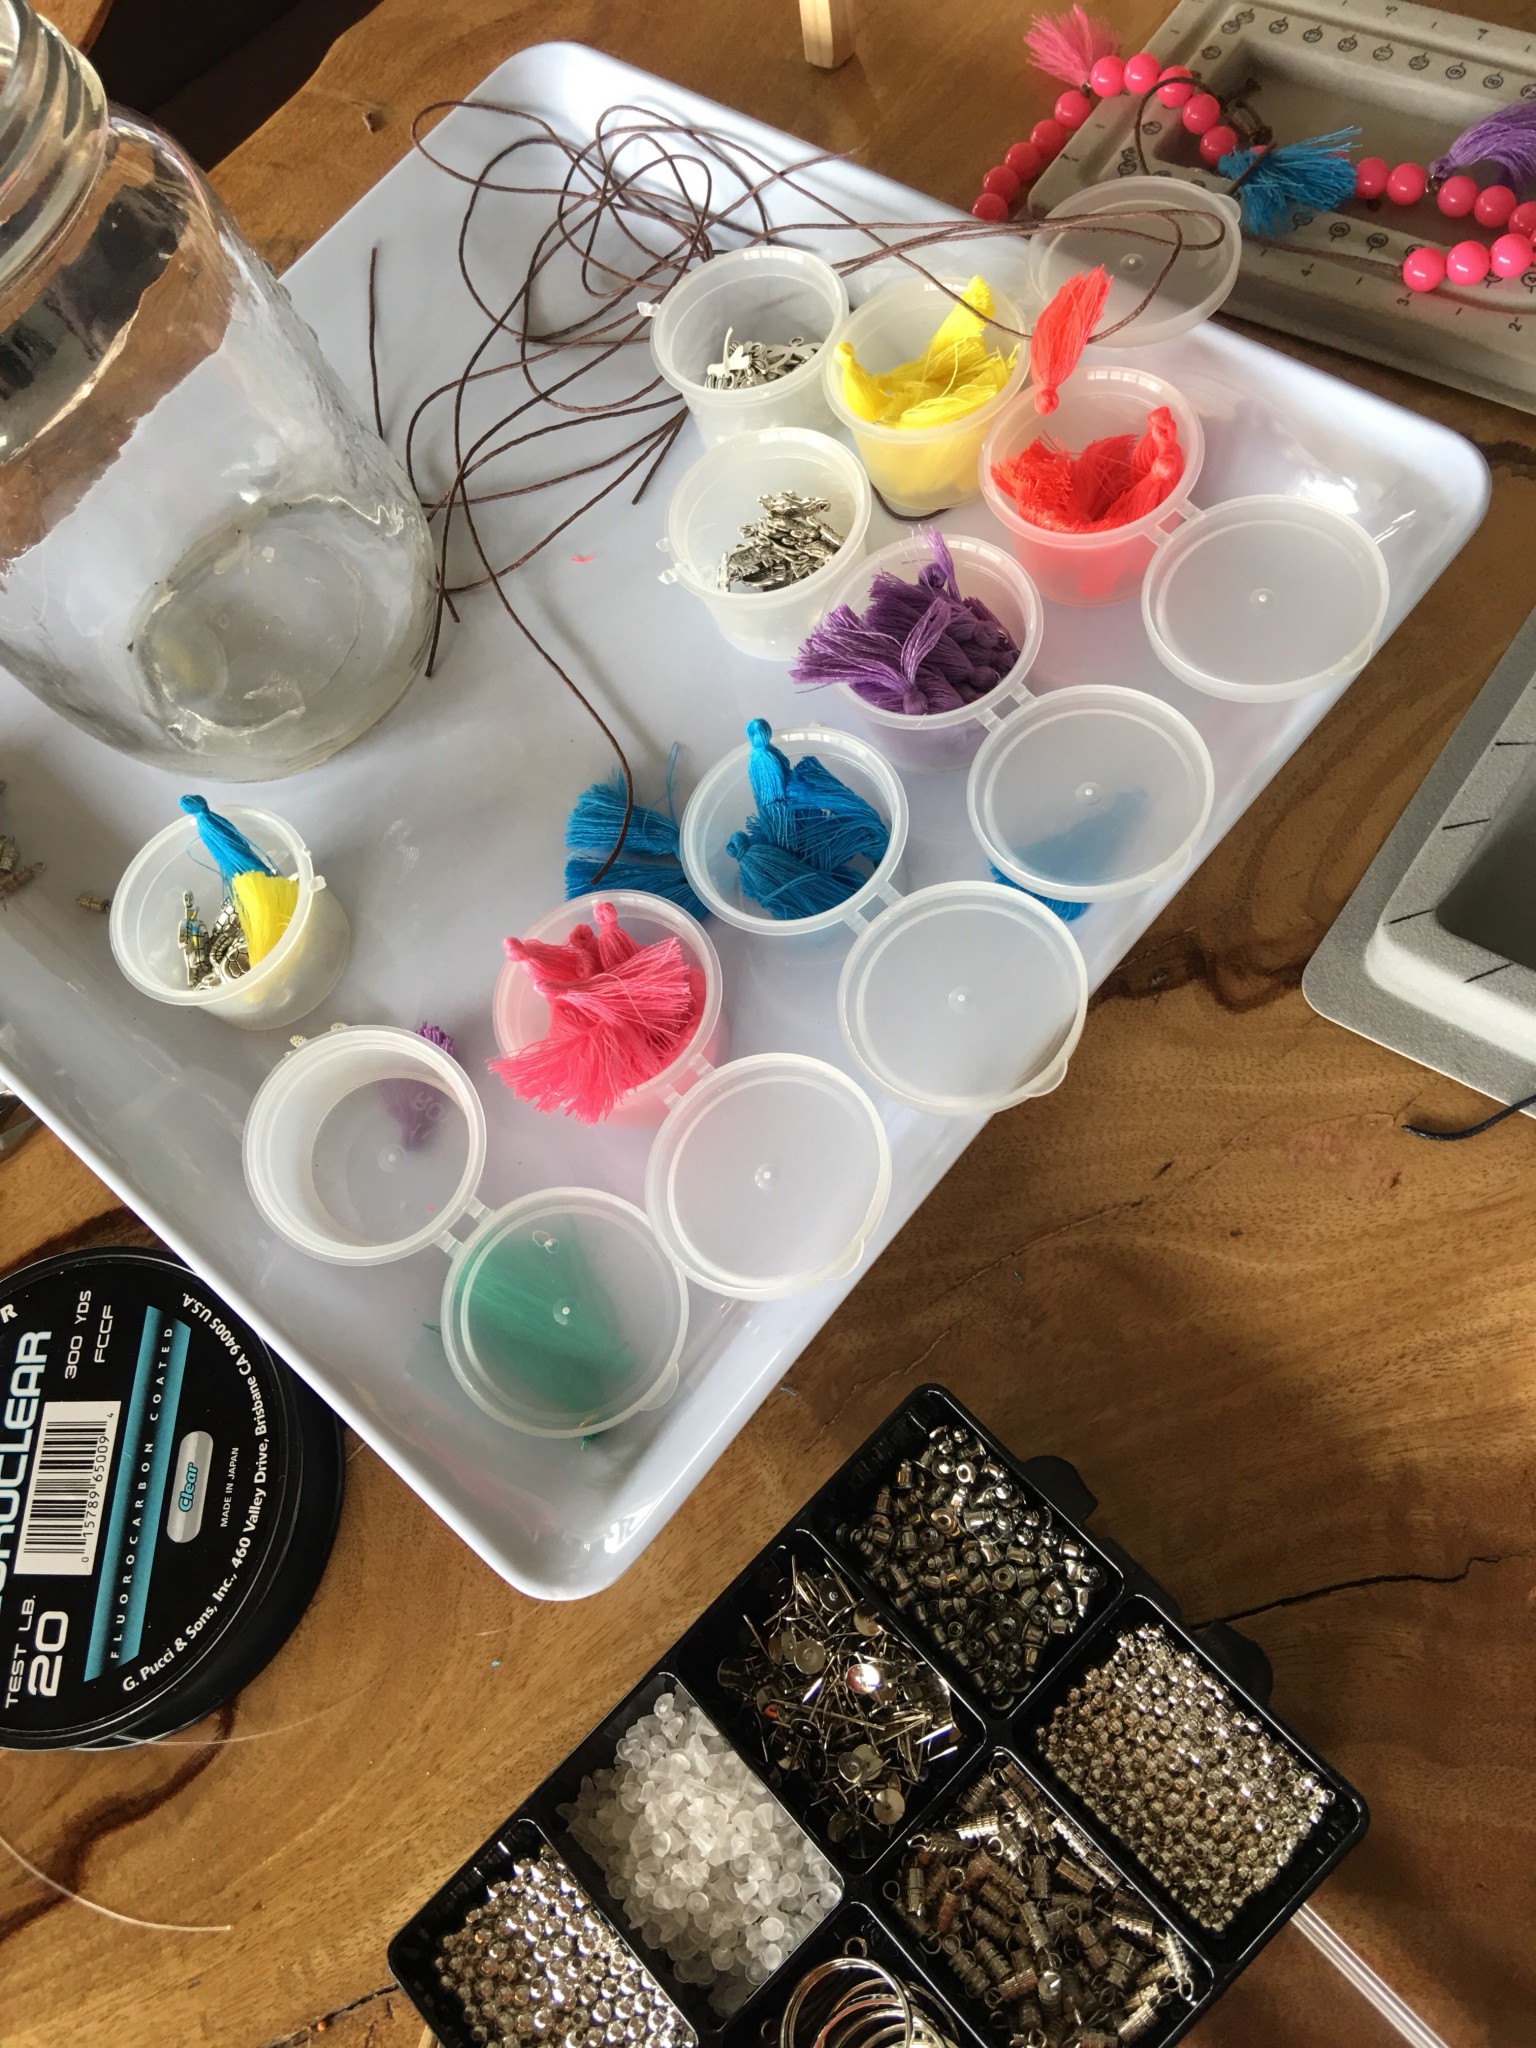
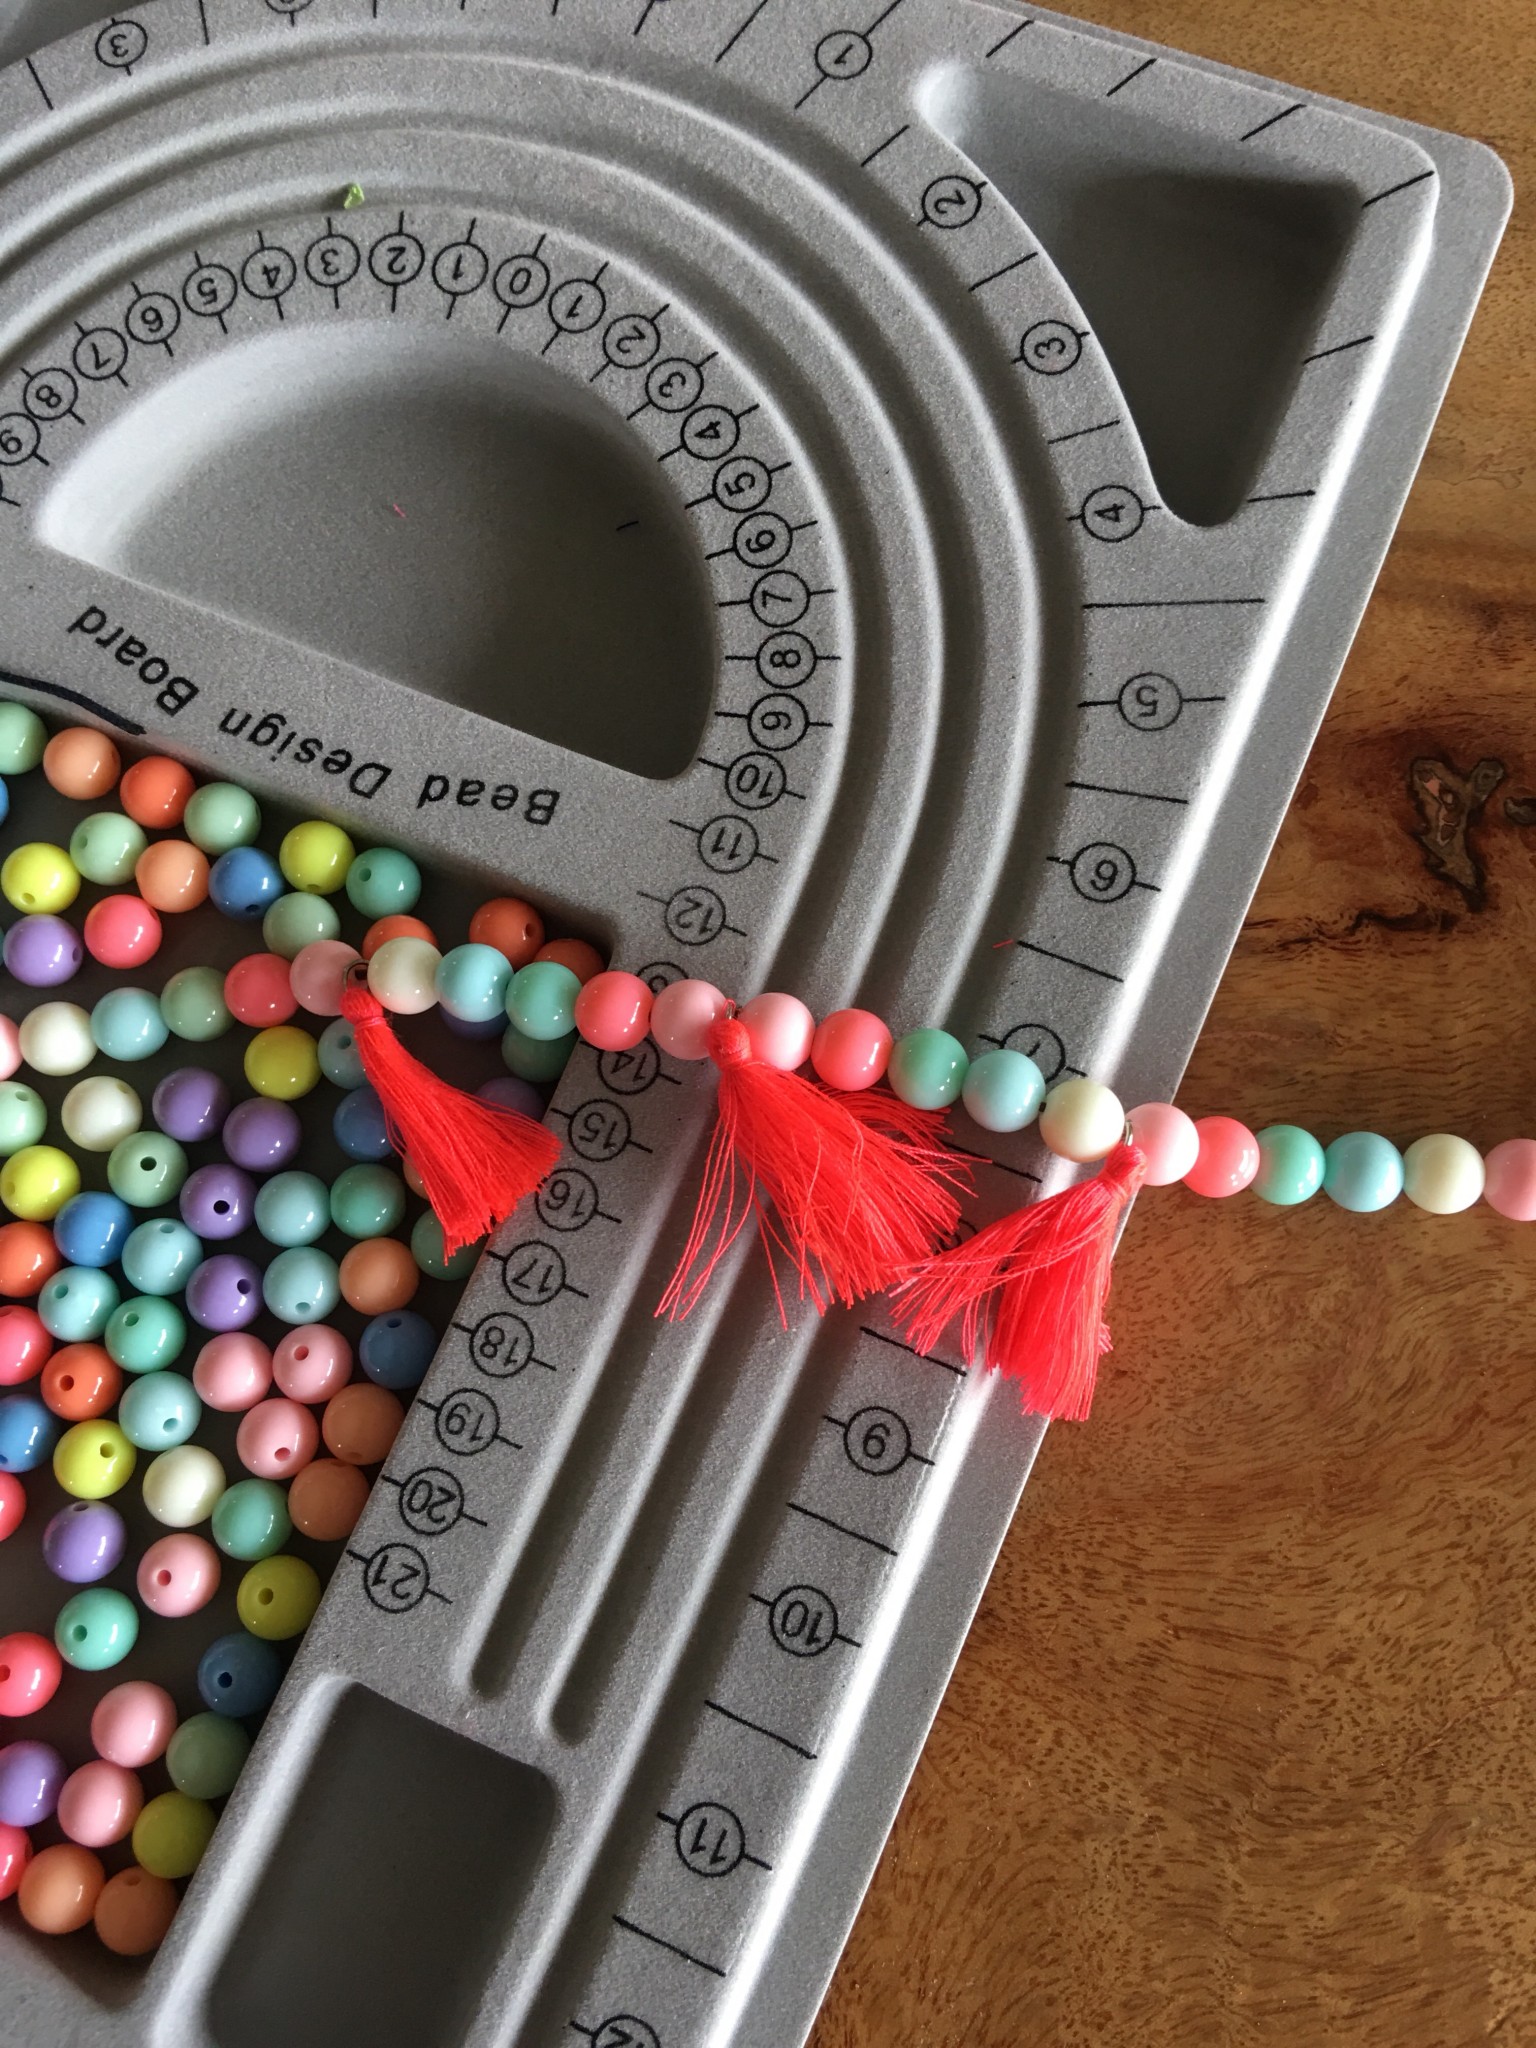
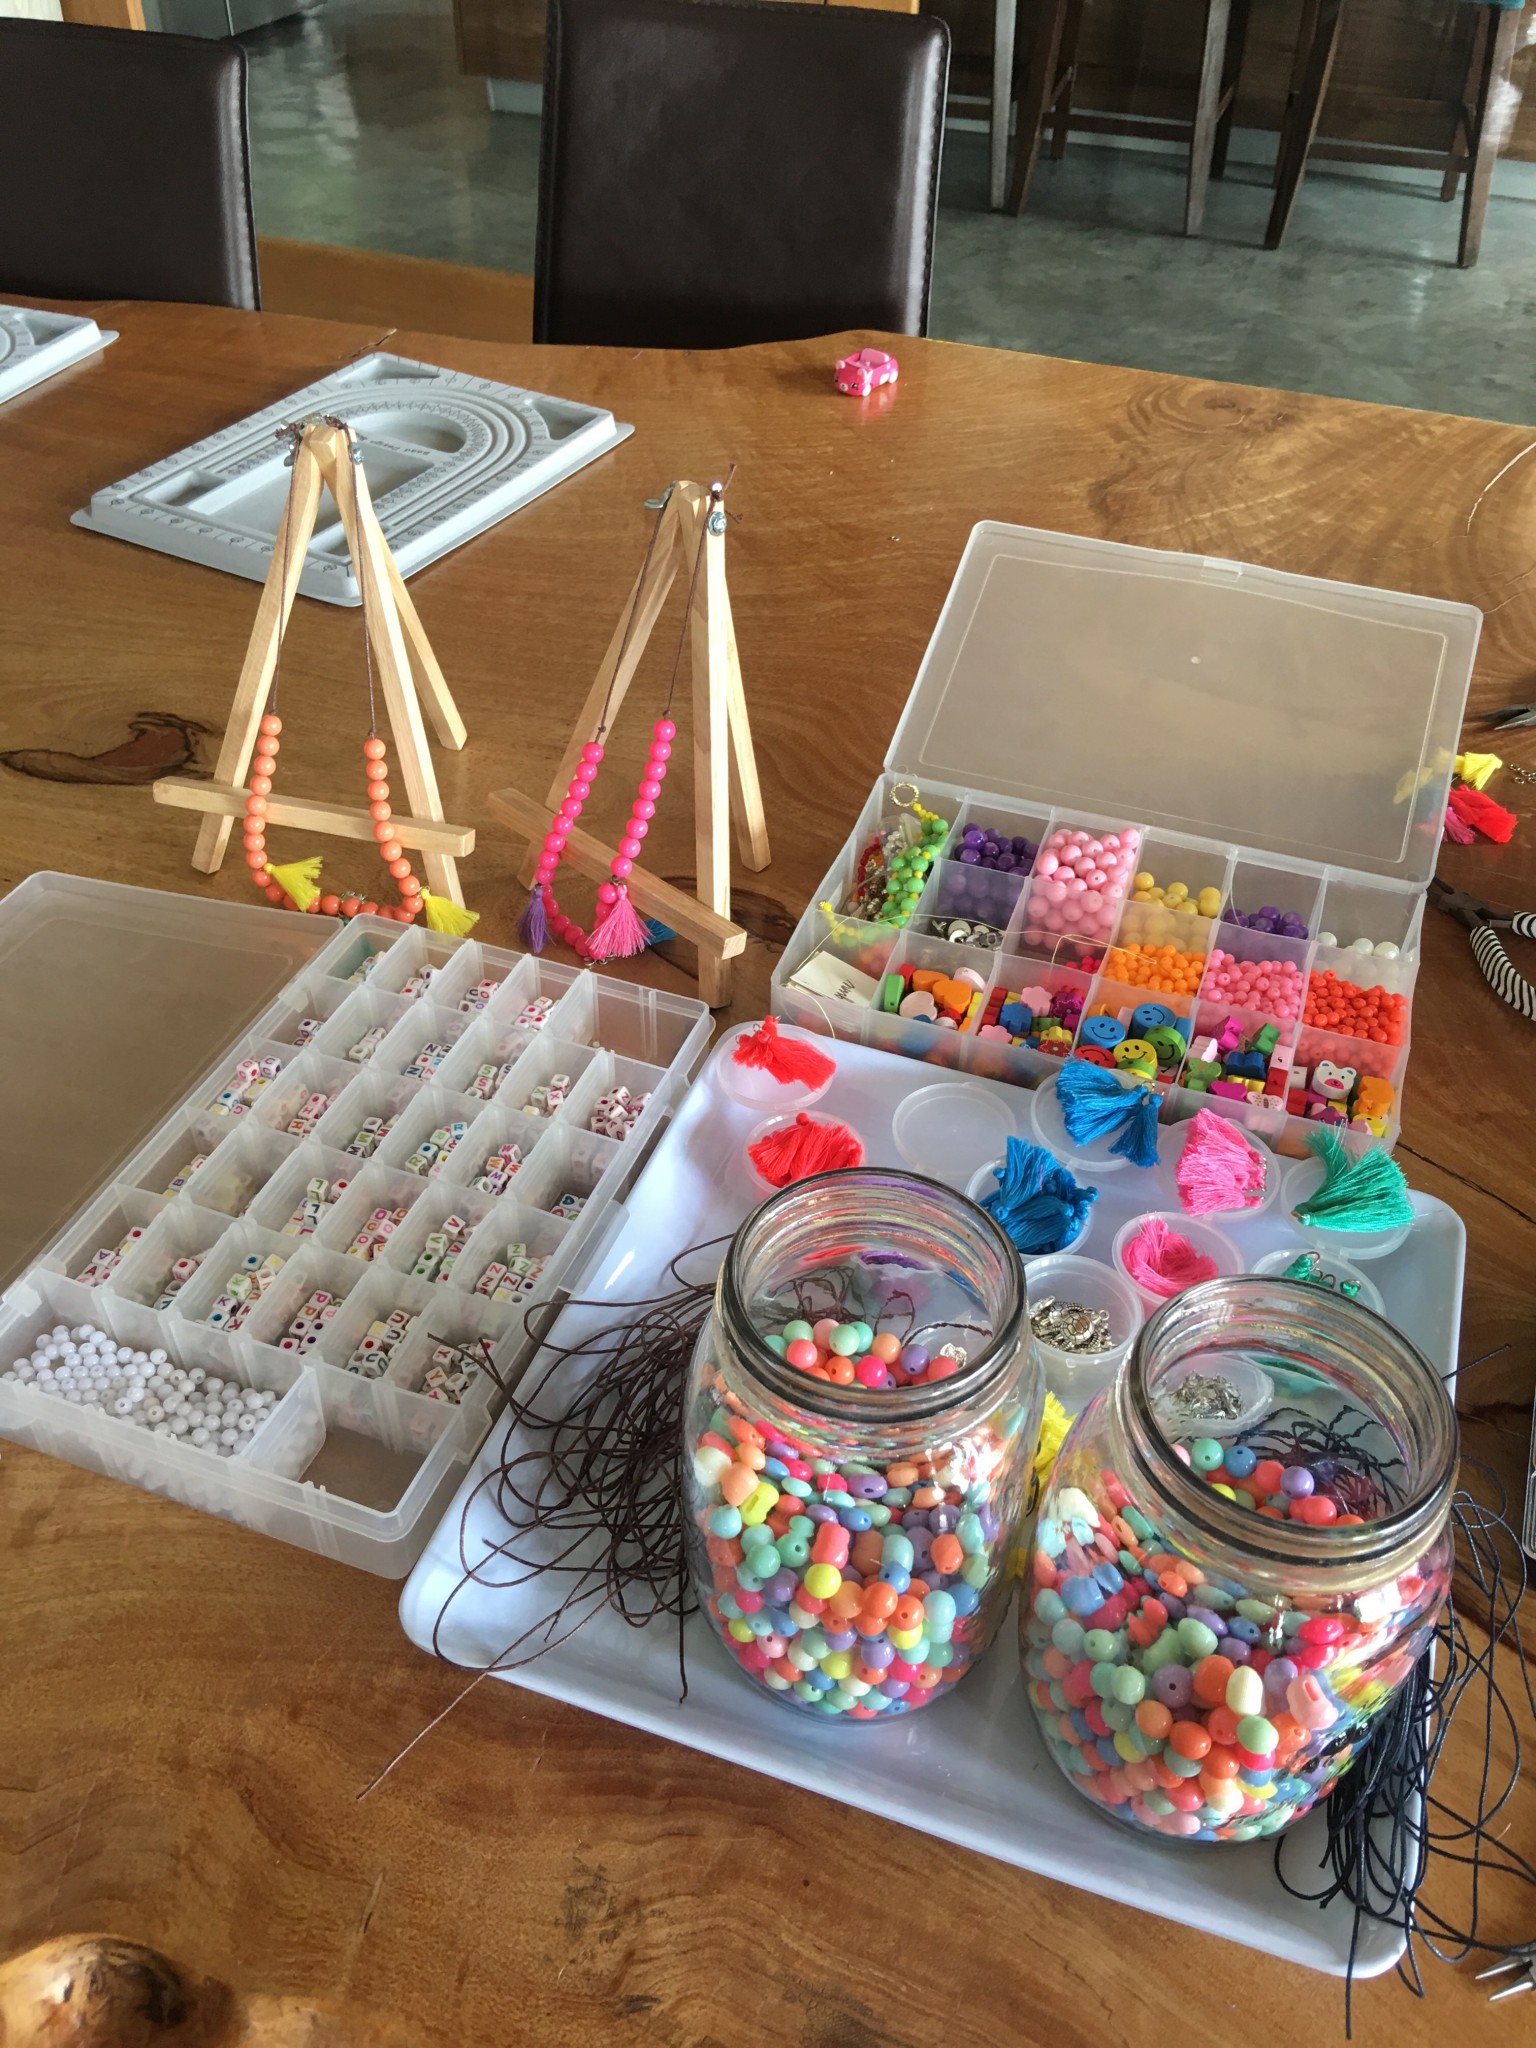
 She lent the bead trays, too. Daiso and Japan home had the easels and paint trays.
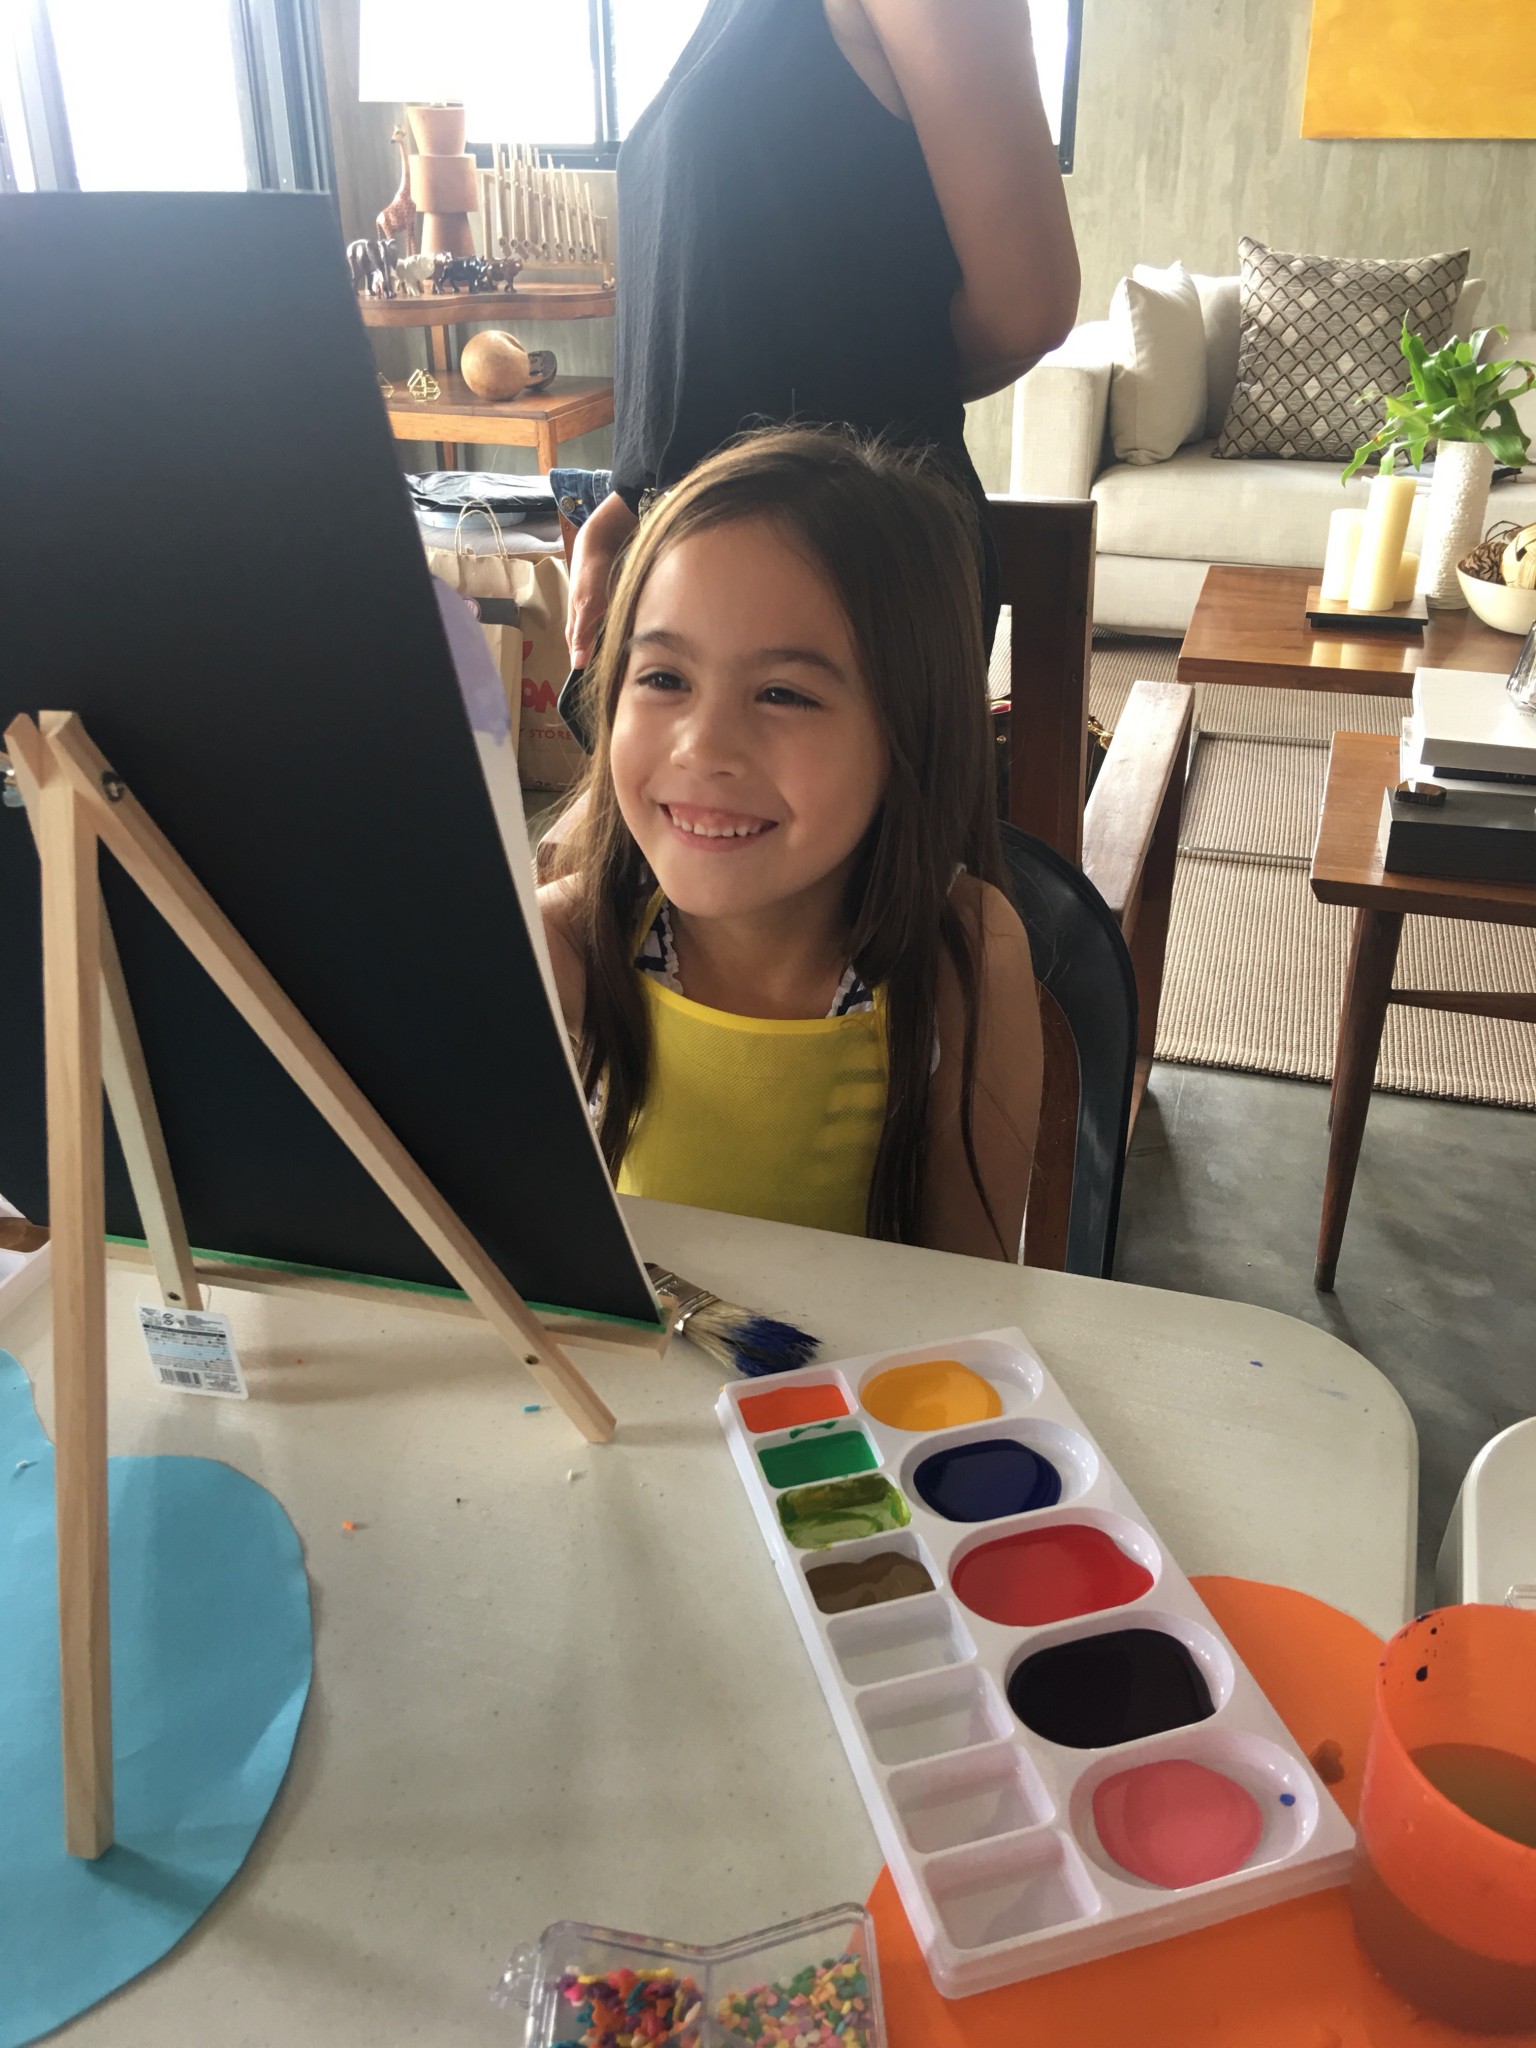 Aprons were ordered in advance from Amazon and hand carried by my parents. Maams and Moms provide the non-toxic Tempra paint and sponges.
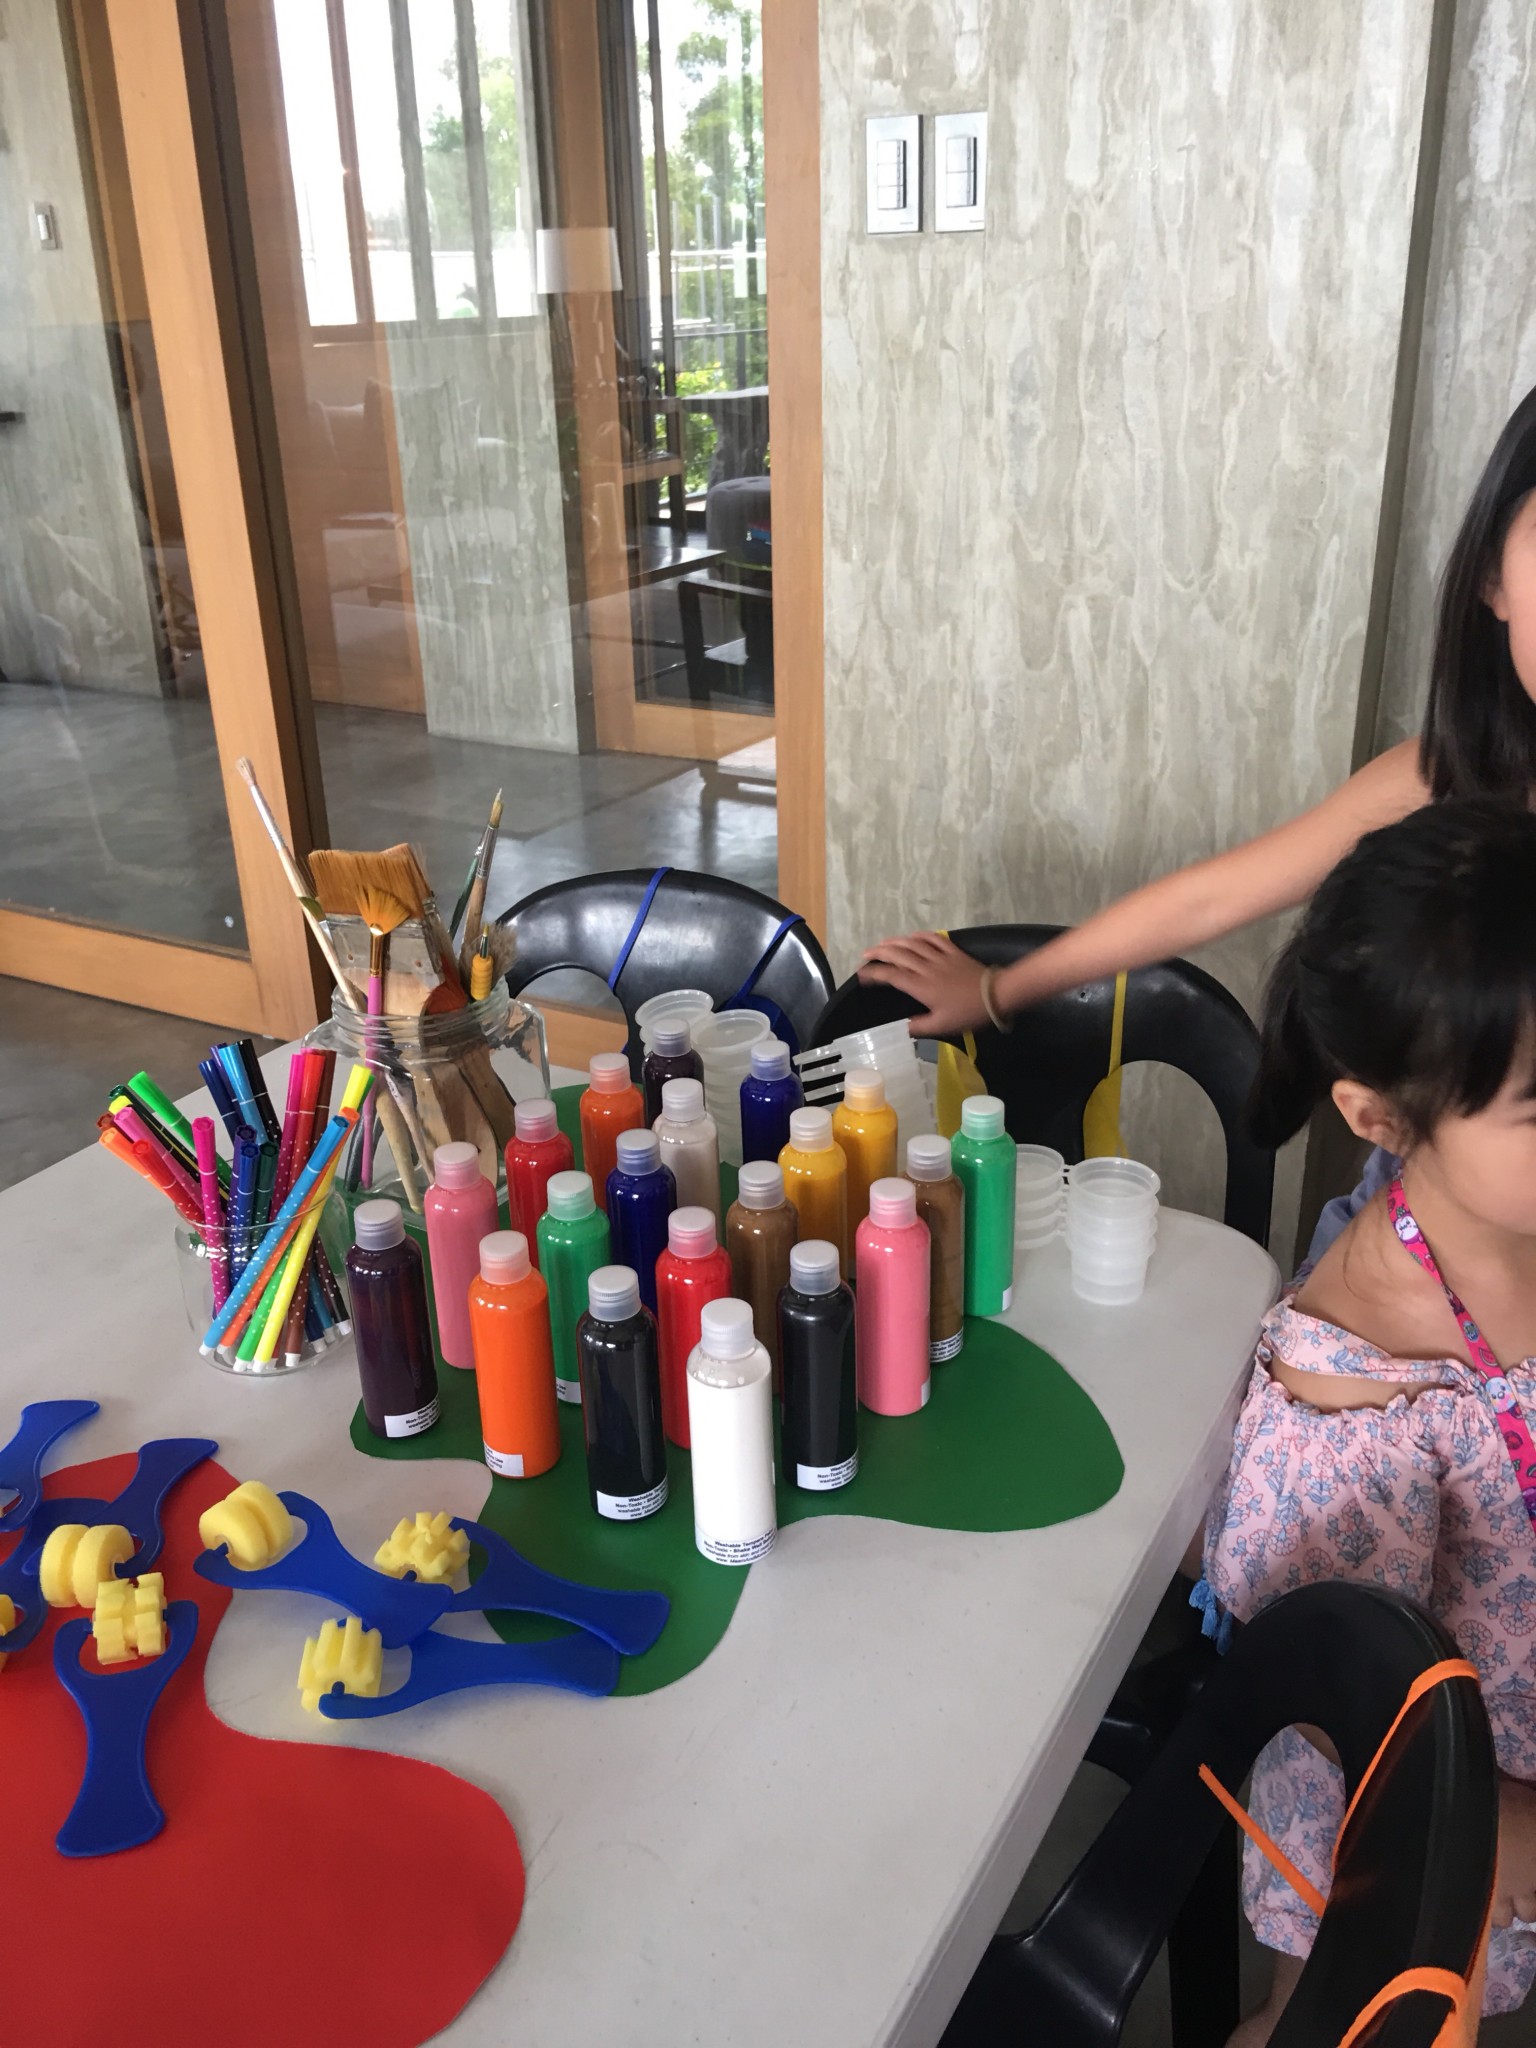
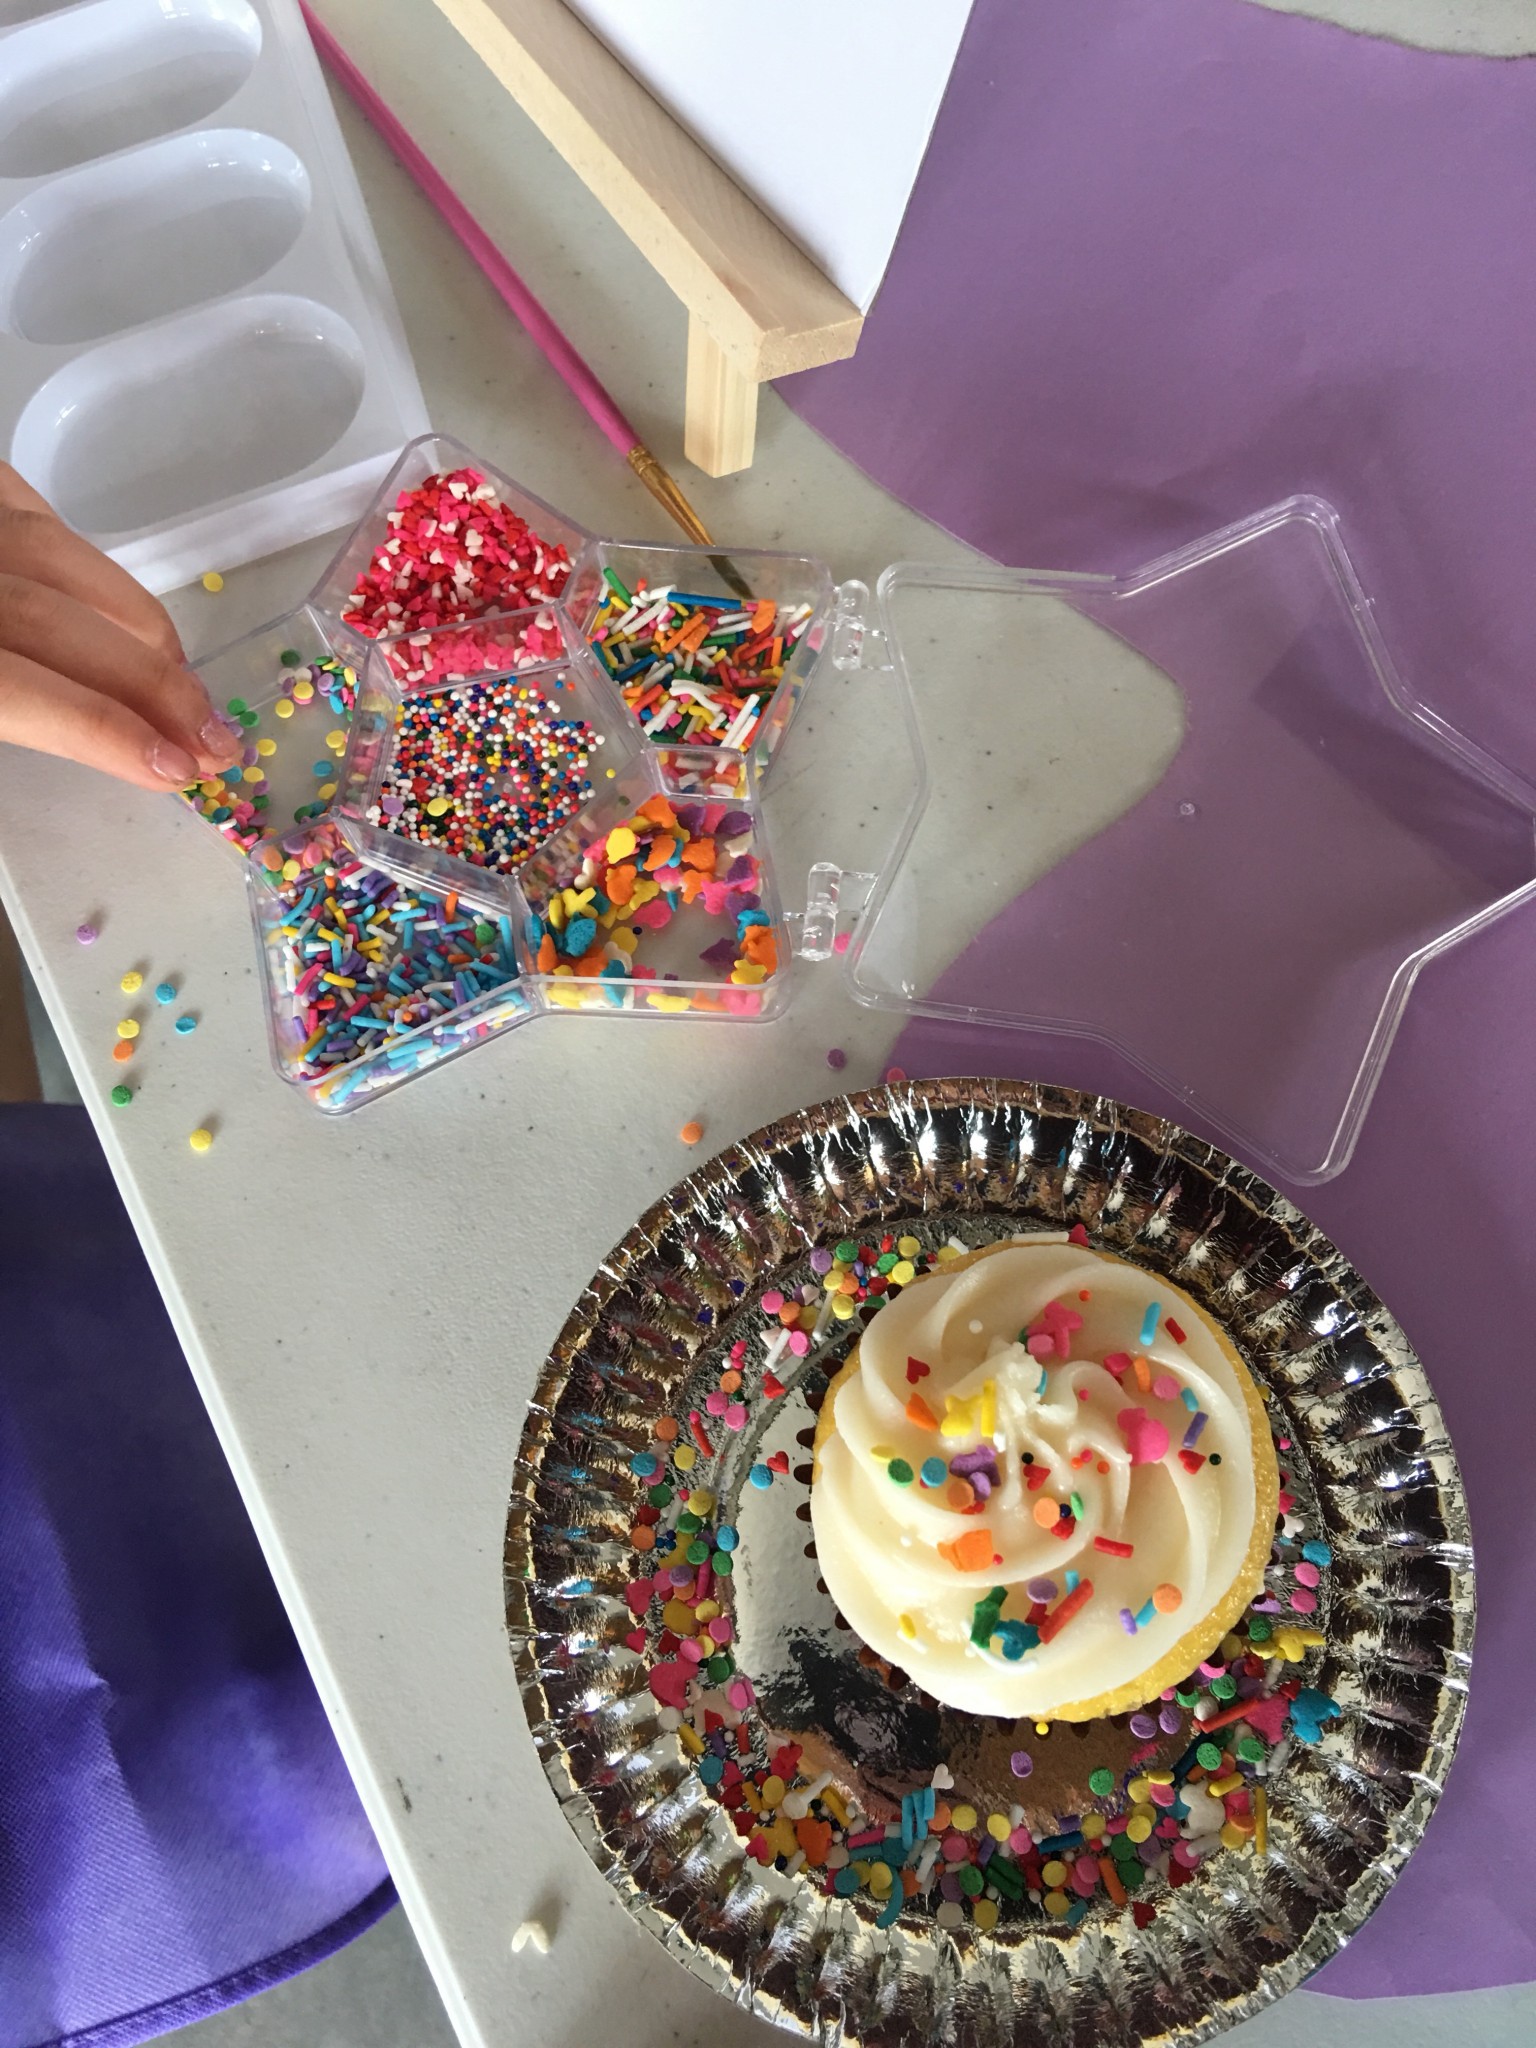
I purchased the colored sand, illustration board and hard paper, Japanese paper, and Cartolina at the bookstore. The containers for the sprinkles used to decorate the cupcakes were from Carolinas. (I should have gotten these at Quiapo for much cheaper.)
Clear paint jars and other decor were available at Celebrations in SM Megamall. If I had more time I would have tried Shopee or Divisoria for these.
I also rummaged through my own household things to provide whatever else was missing such as the portable engraving tool, cups for the water while painting, paint brushes, milk jars stored in my basement. (Spent 12K)
Step 6: Assign roles and set-up areas. Thankfully, my household helps are used to me hosting events and activities, so they were a huge help in terms of the food and assisting me with the pom poms. Whenever I plan an event, I give them a checklist for the menu ahead of time in case any ingredients or items are missing. And this allows them to sequence food preparation. If there’s something they don’t know how to cook, I may have to demonstrate it first, but for bigger groups, I stick to simple recipes my household helps are very familiar with. If it’s smaller gatherings, exploring new dishes is fine, but not for larger groups. Too risky!
I asked Tiana to help me prepare for this party to teach her how to think about others and how to be a blessing, not a “taker.” She gladly assisted me with making samples for the activities and setting up the decor.
To avoid last minute stress, I tried my best to decorate the areas ahead of time, little by little two days before the event. The kitchen was used for the buffet, and the living room was divided into several parts. A long table was set up for Tiana and her friends, each seat had supplies for painting and cupcake decorating. (I did this the night before to avoid cramming the next day.)

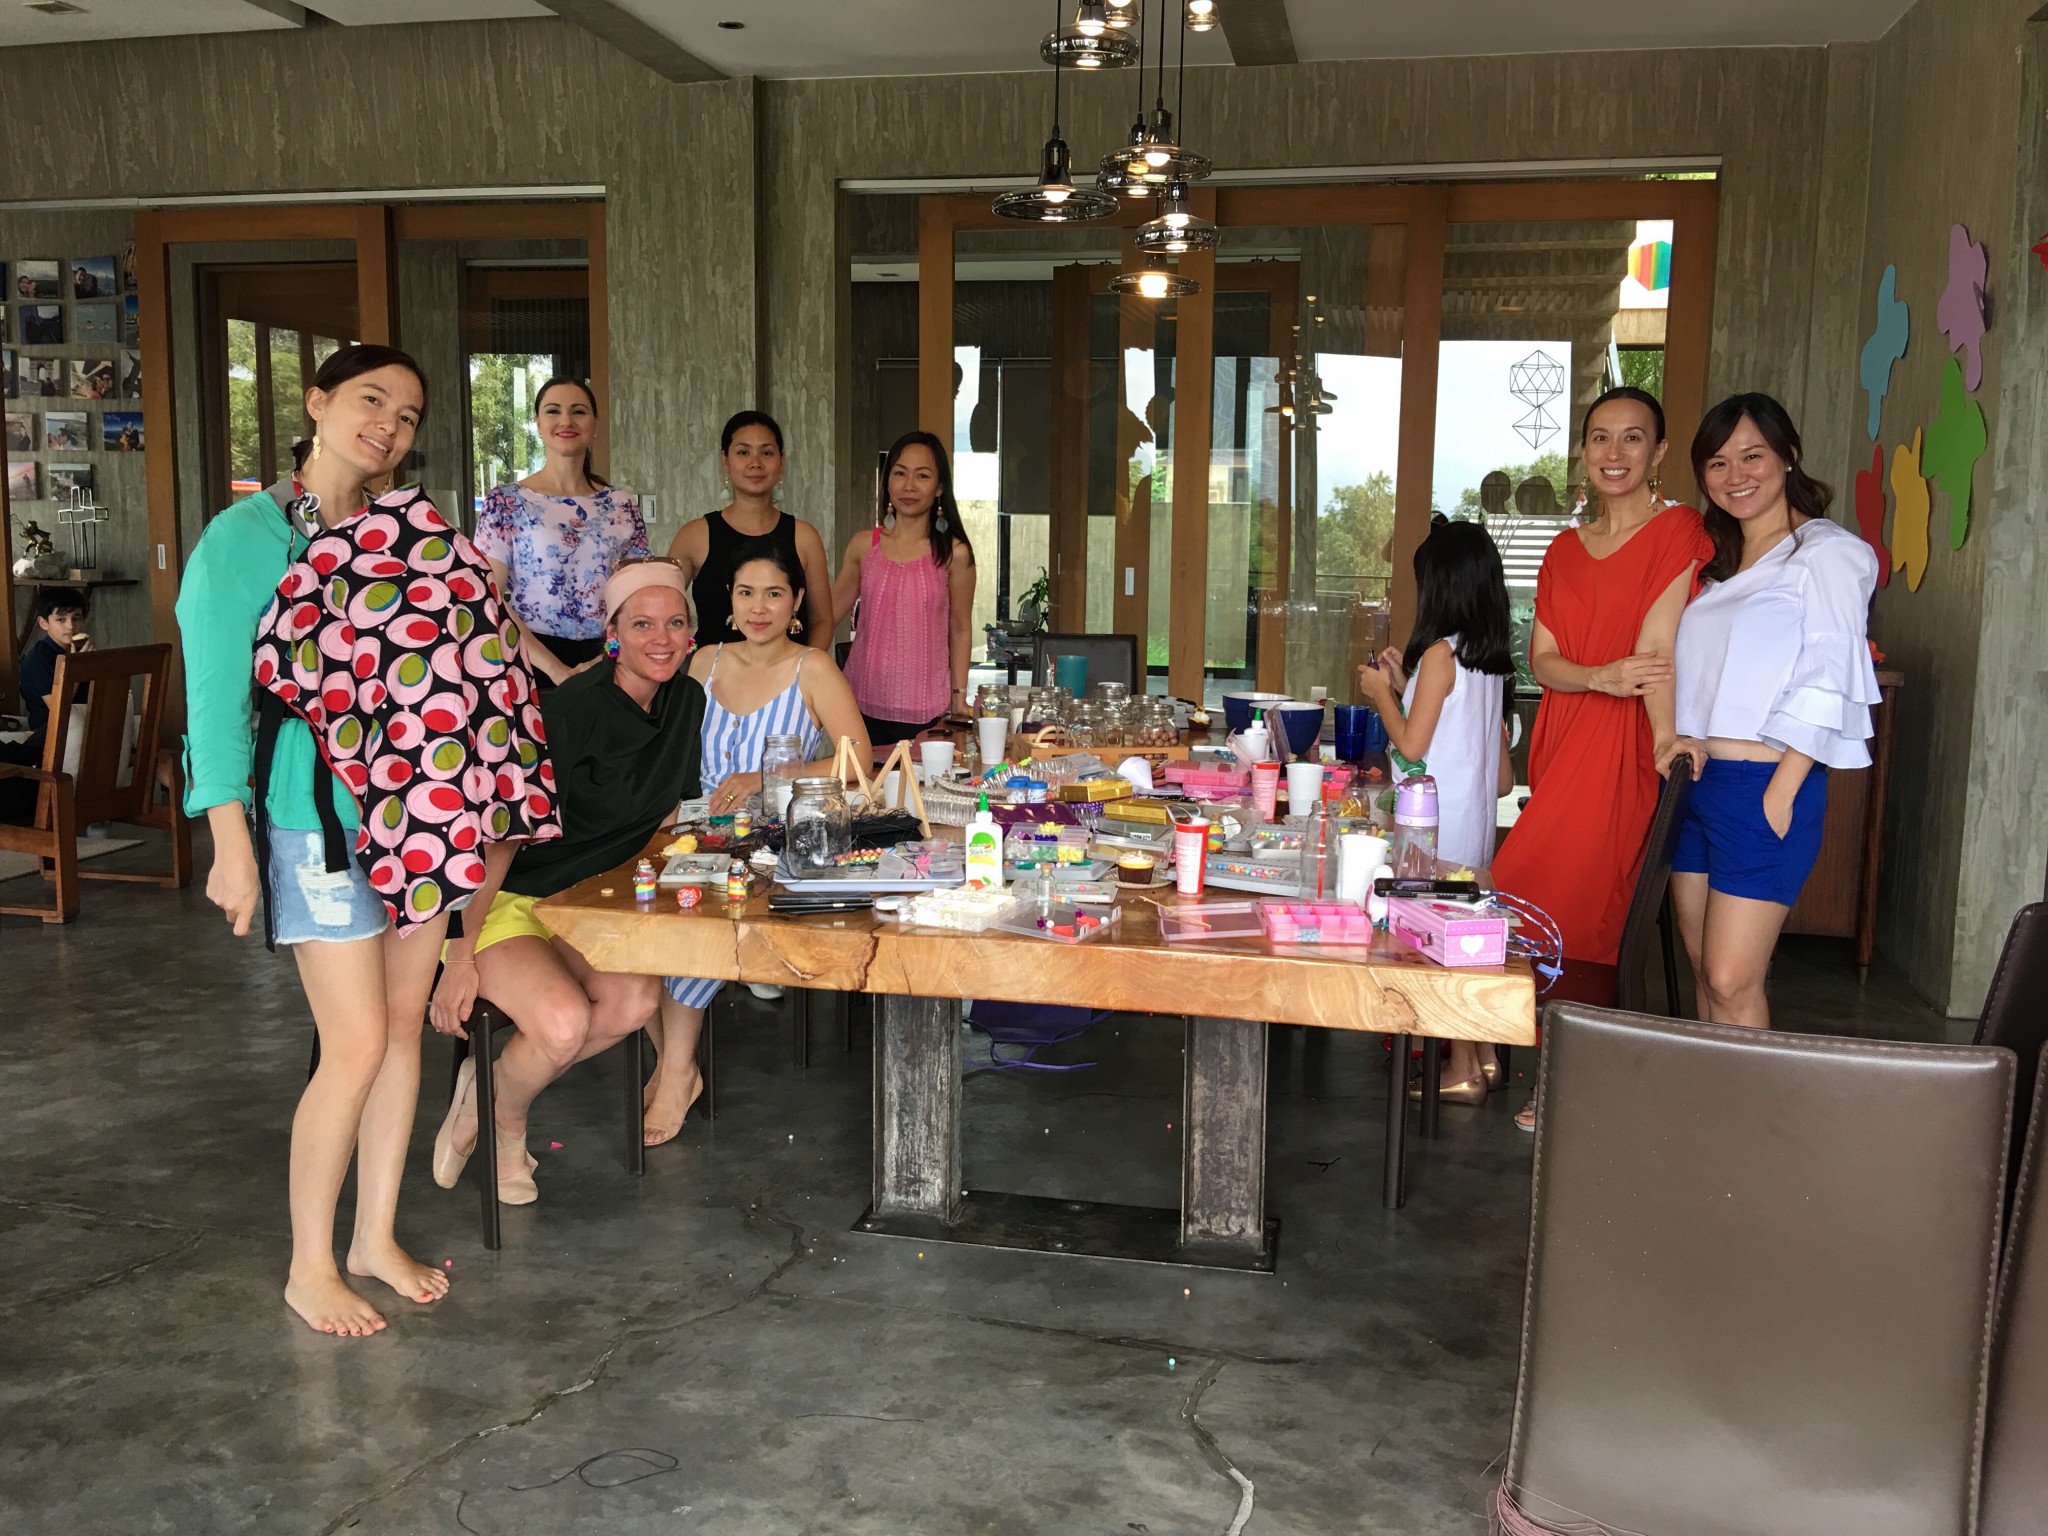
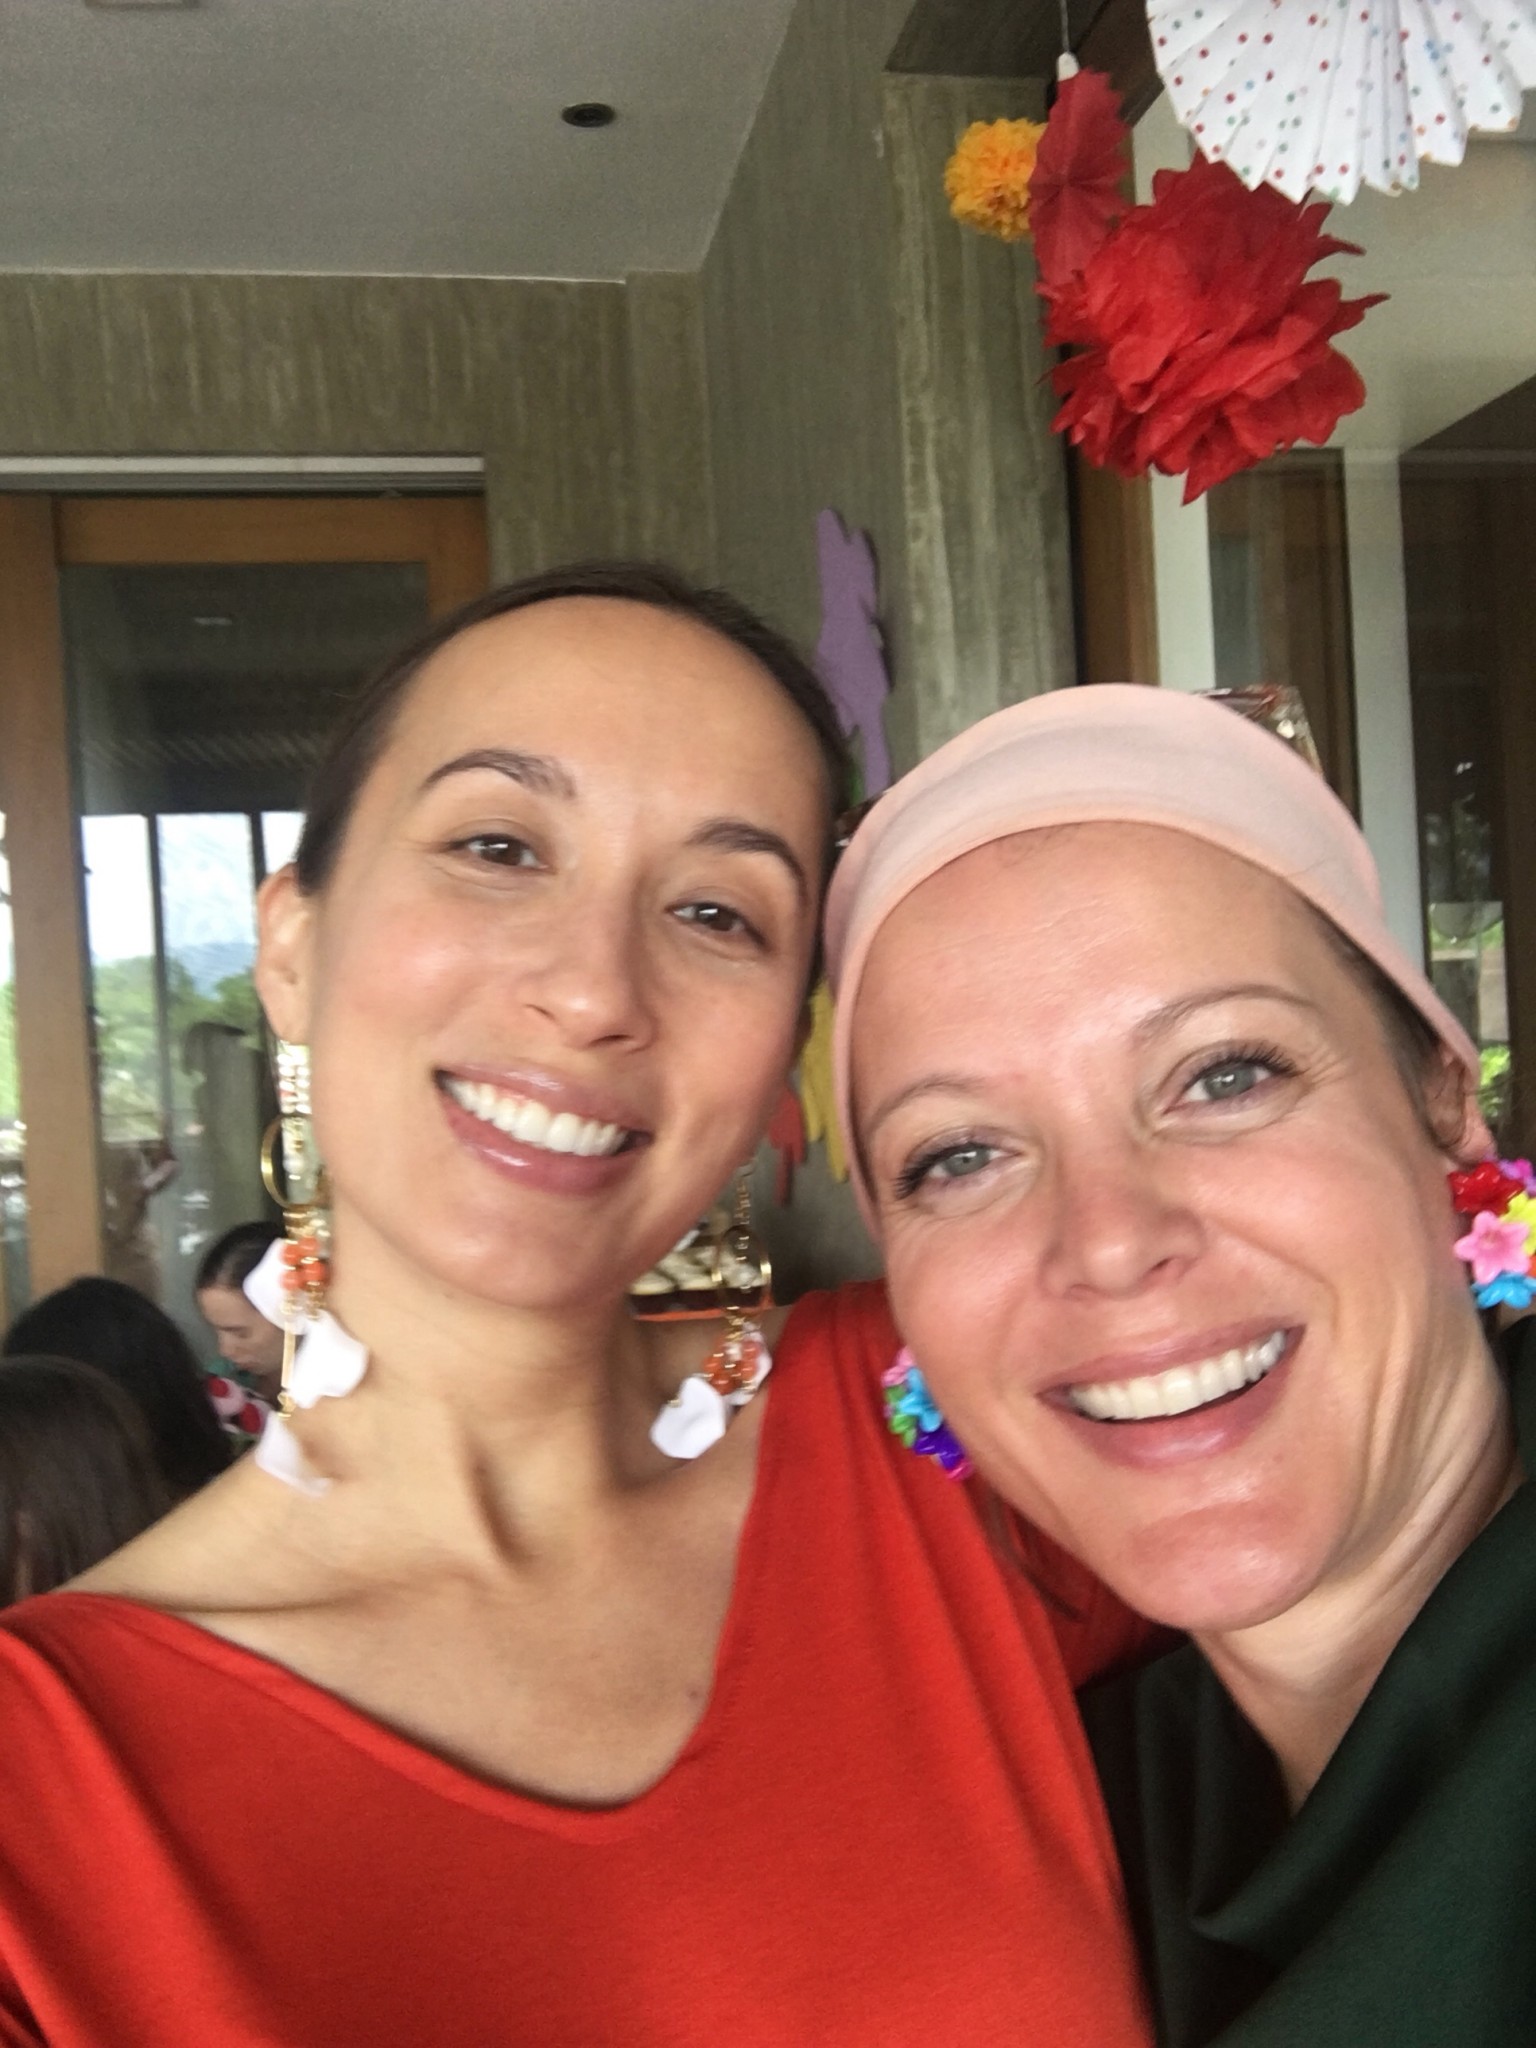
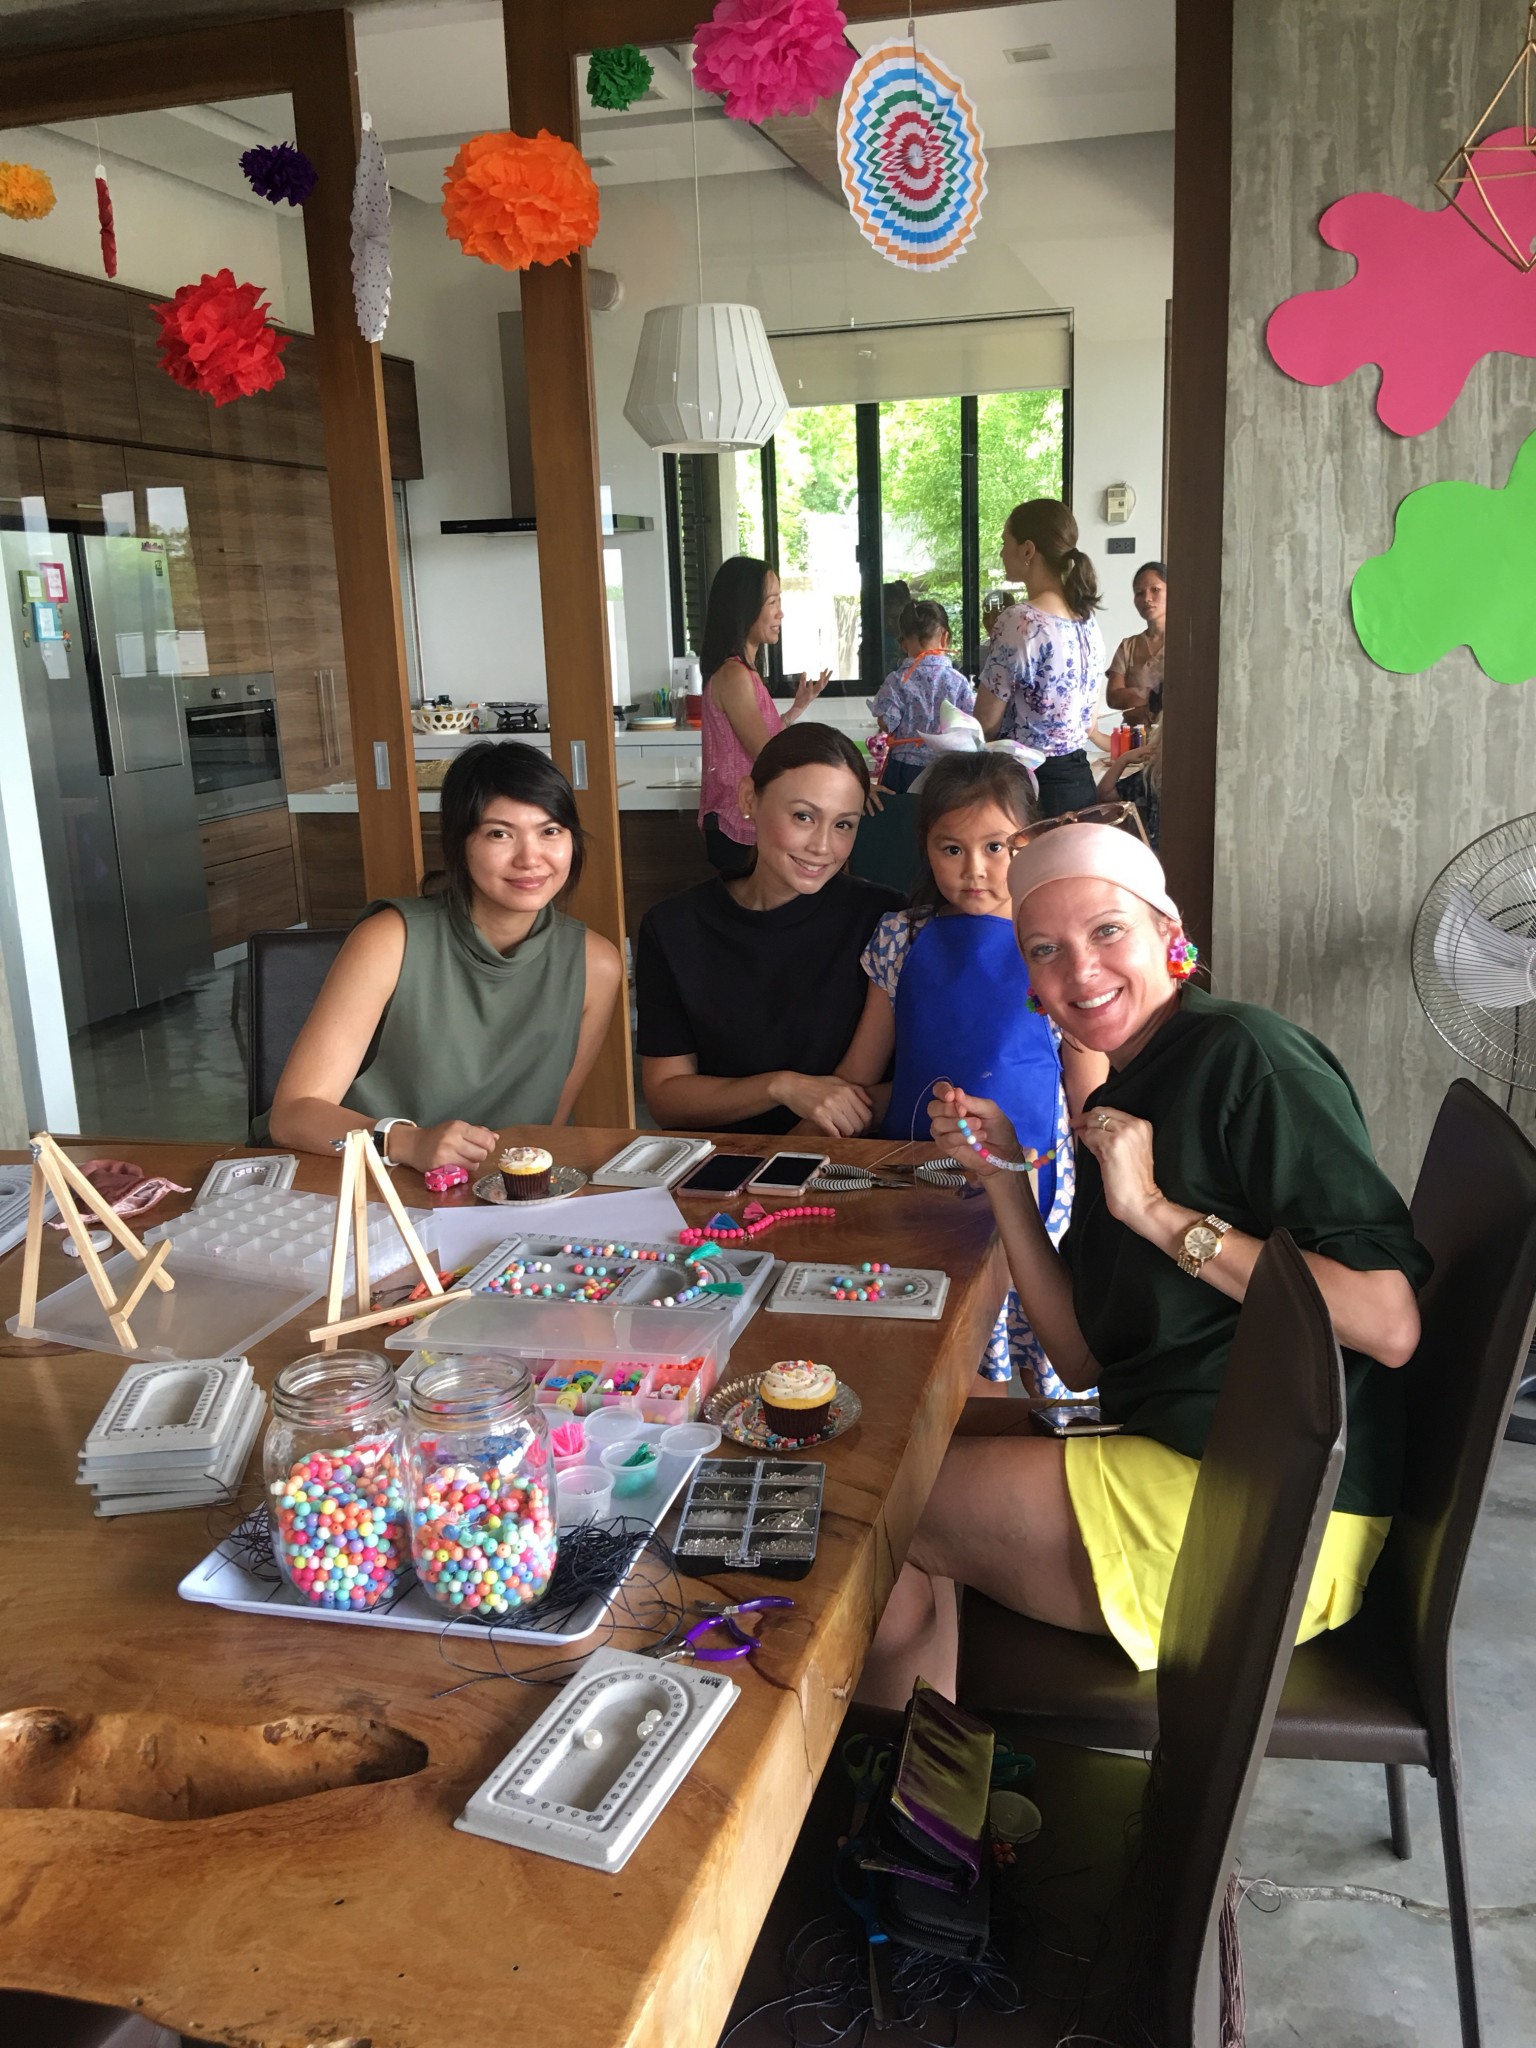
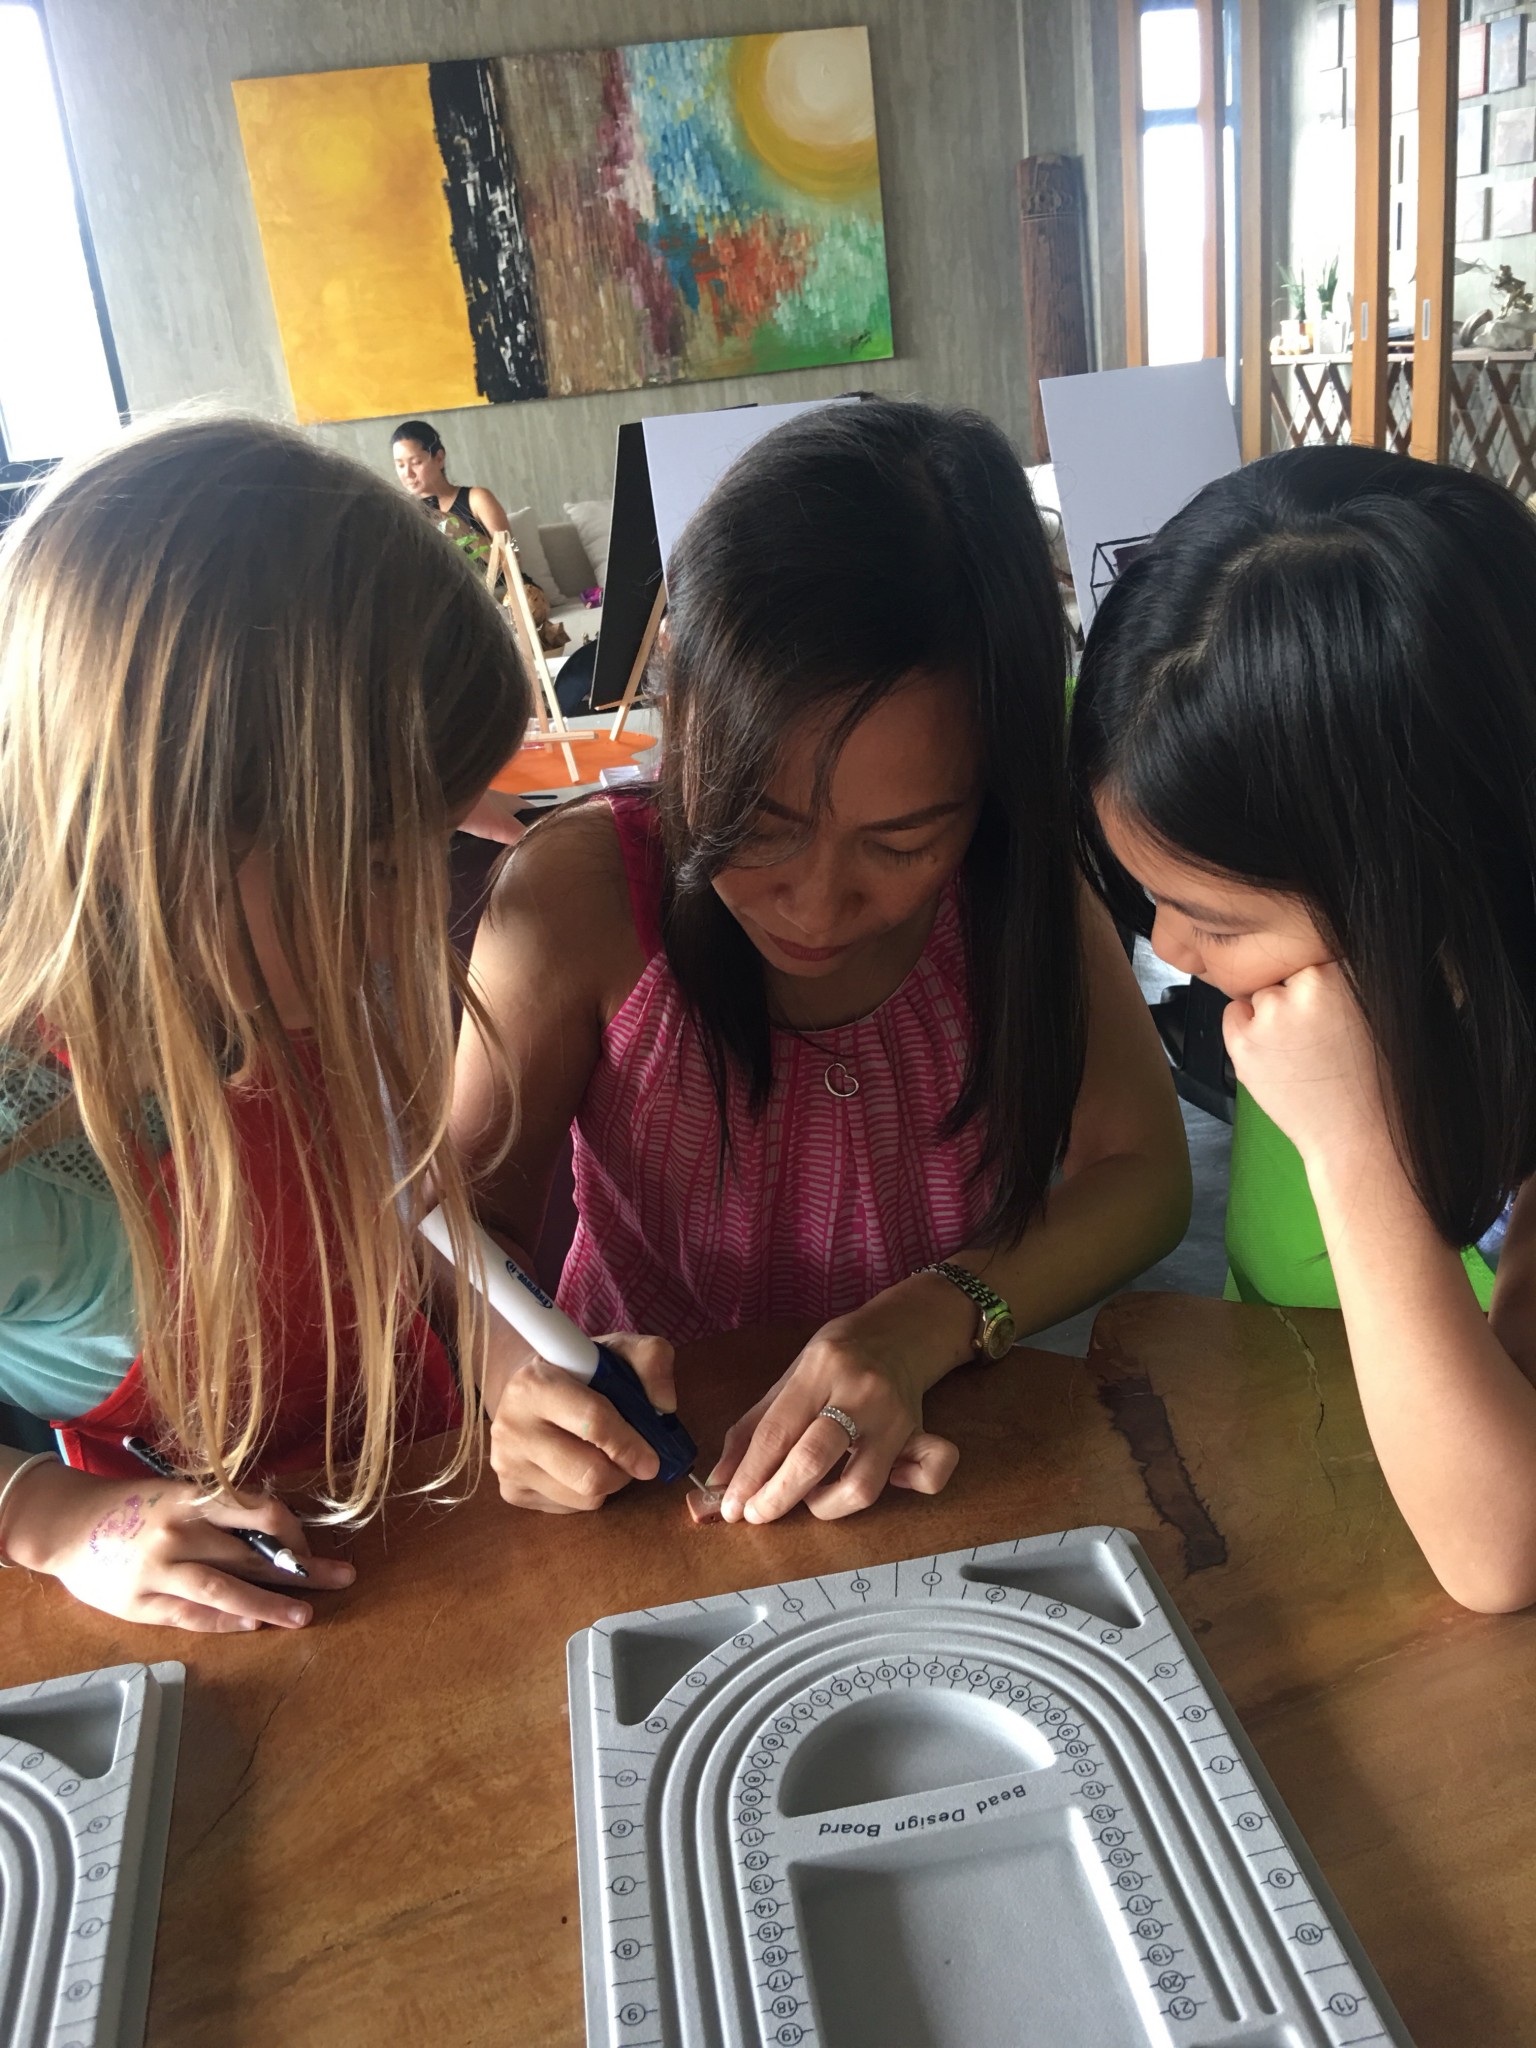
The dining table was for the beading and jewelry making activities, where the moms convened and made their own earrings, too.

The simple dessert table…
The girls used the floor for their sand art.
 My sister in law, Jennifer, was a big part of the success. She taught the kids and moms how to bead and make jewelry. Check out her designs on Instagram: JLTJewelry
Boys and younger siblings stayed upstairs most of the time.
Step 7: Execute and enjoy!
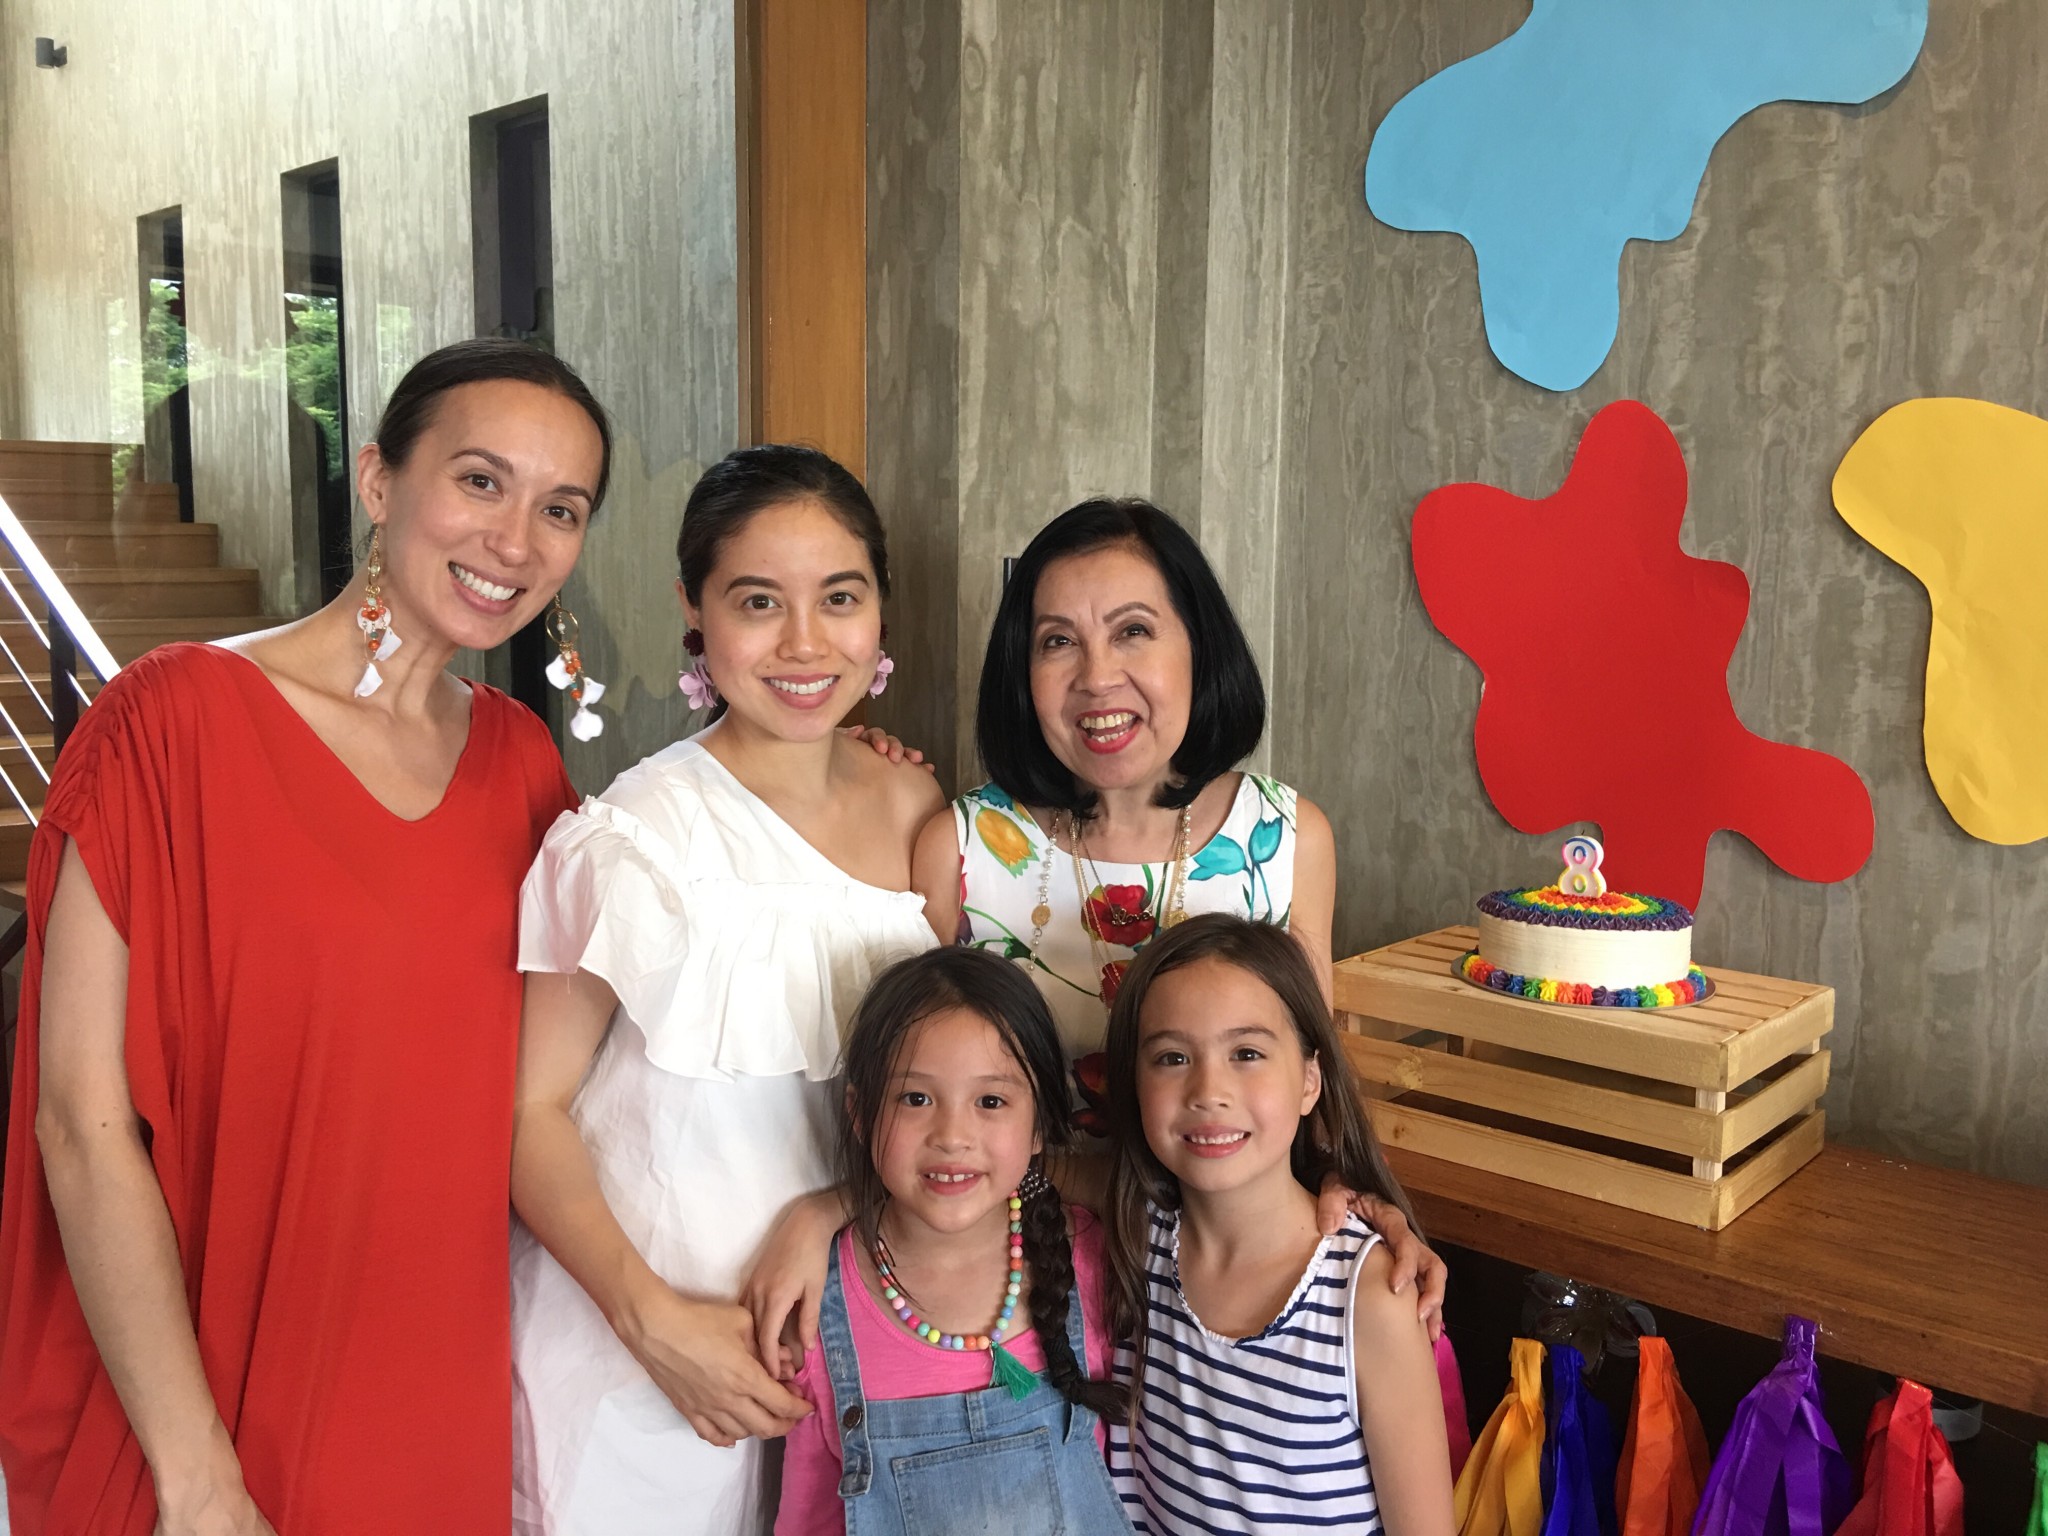
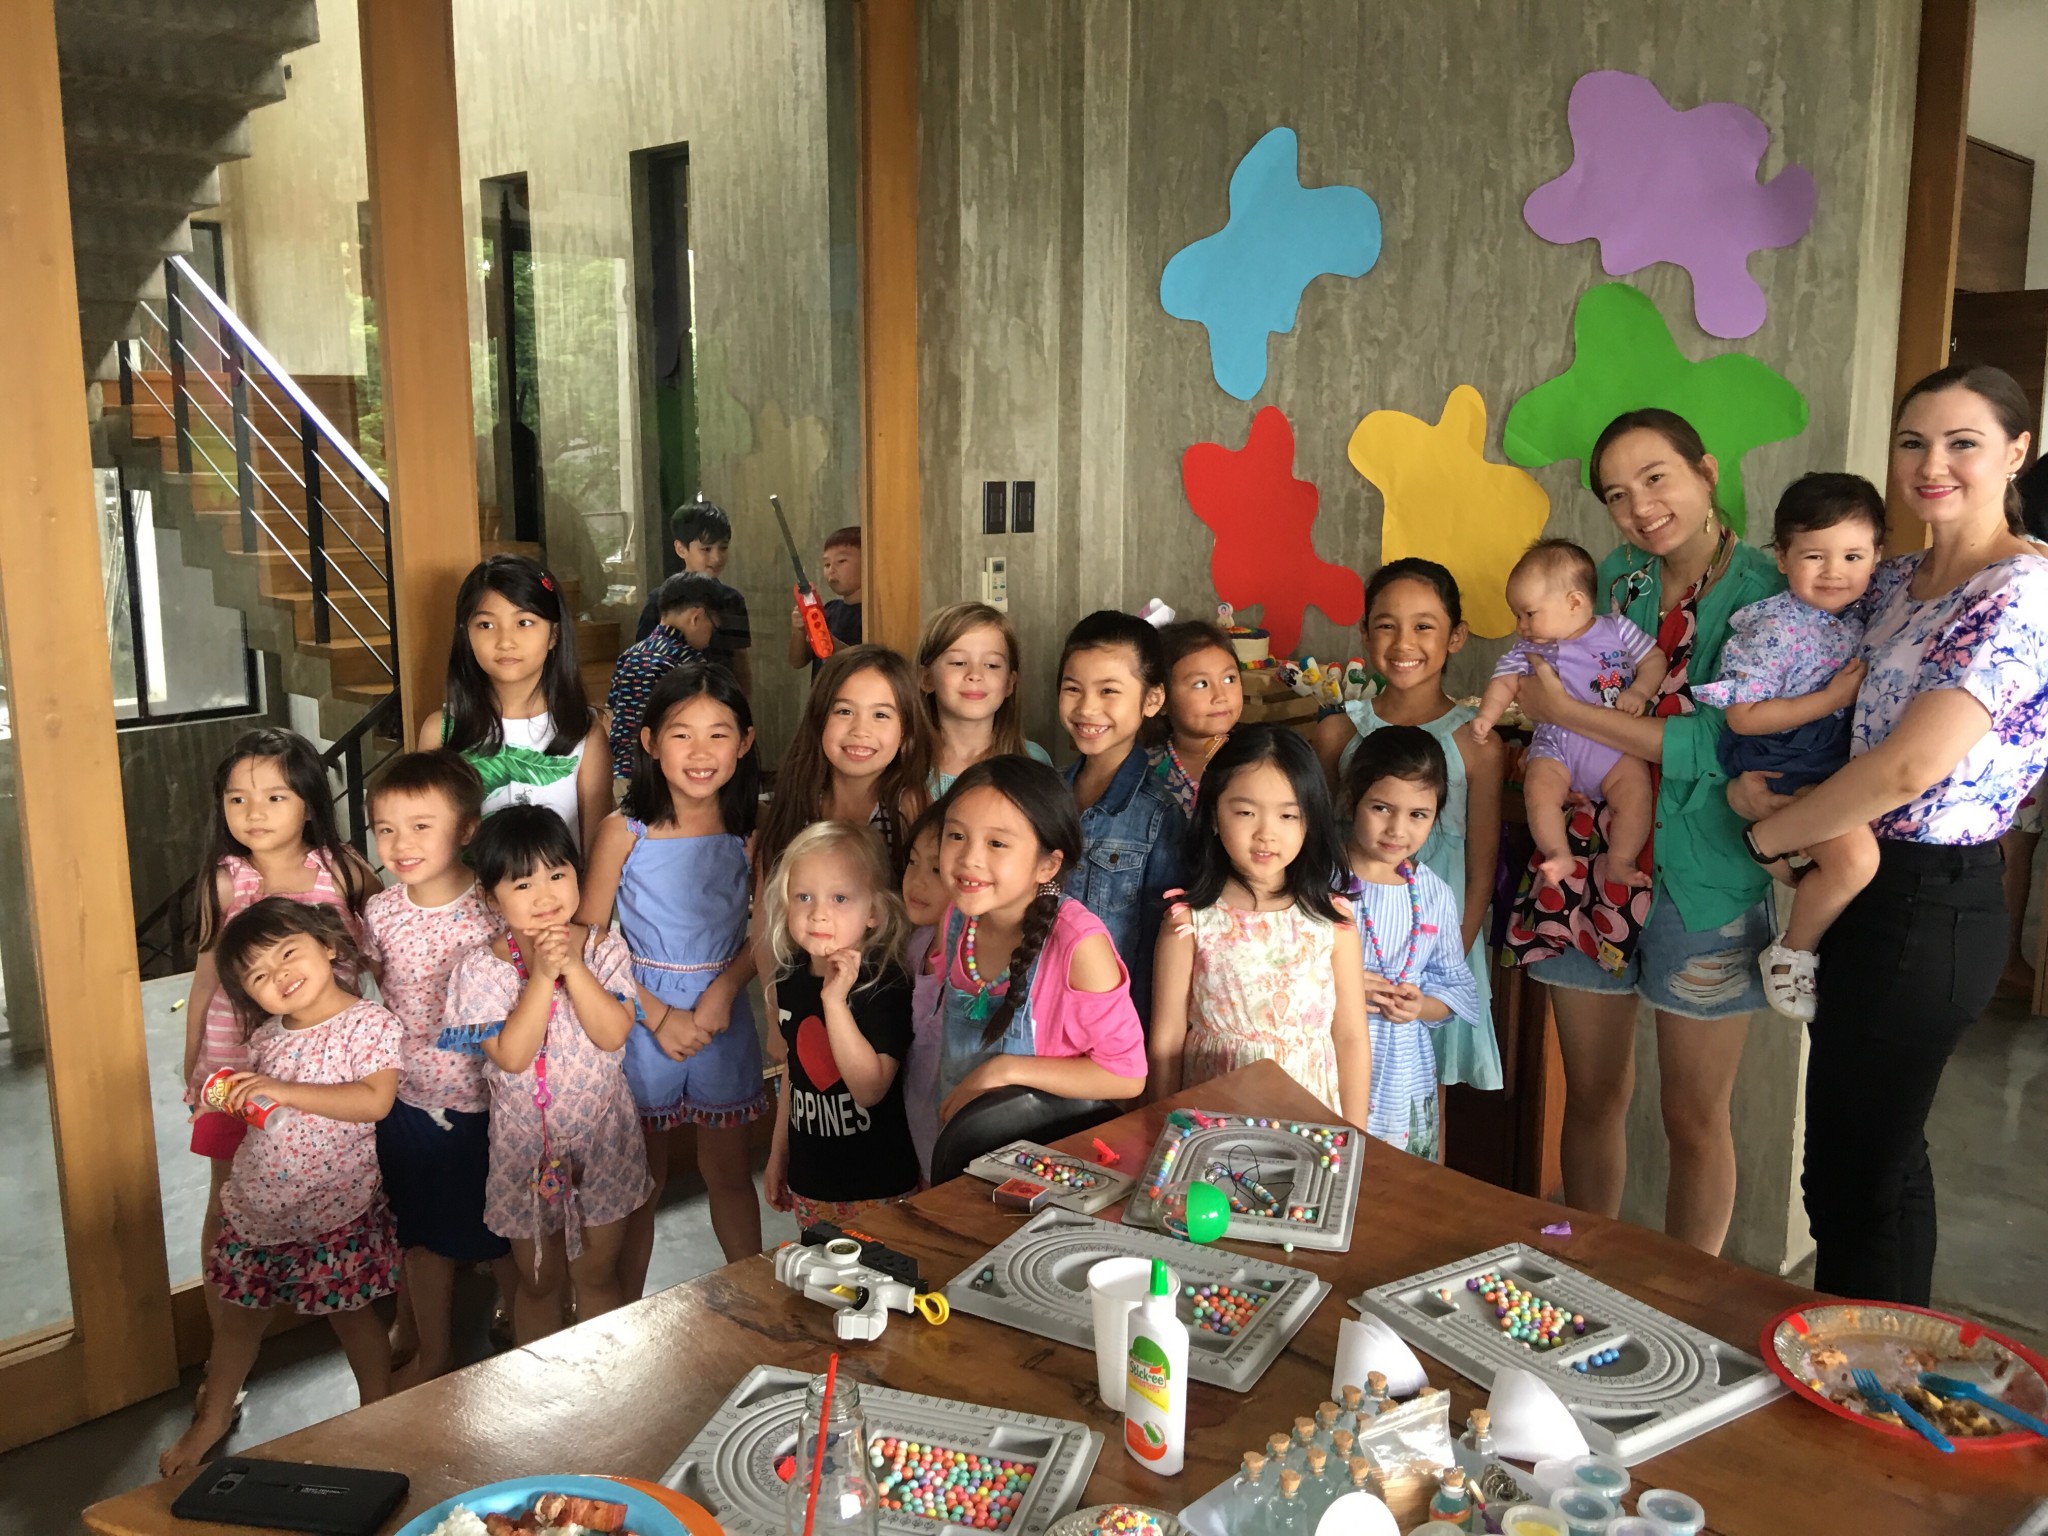
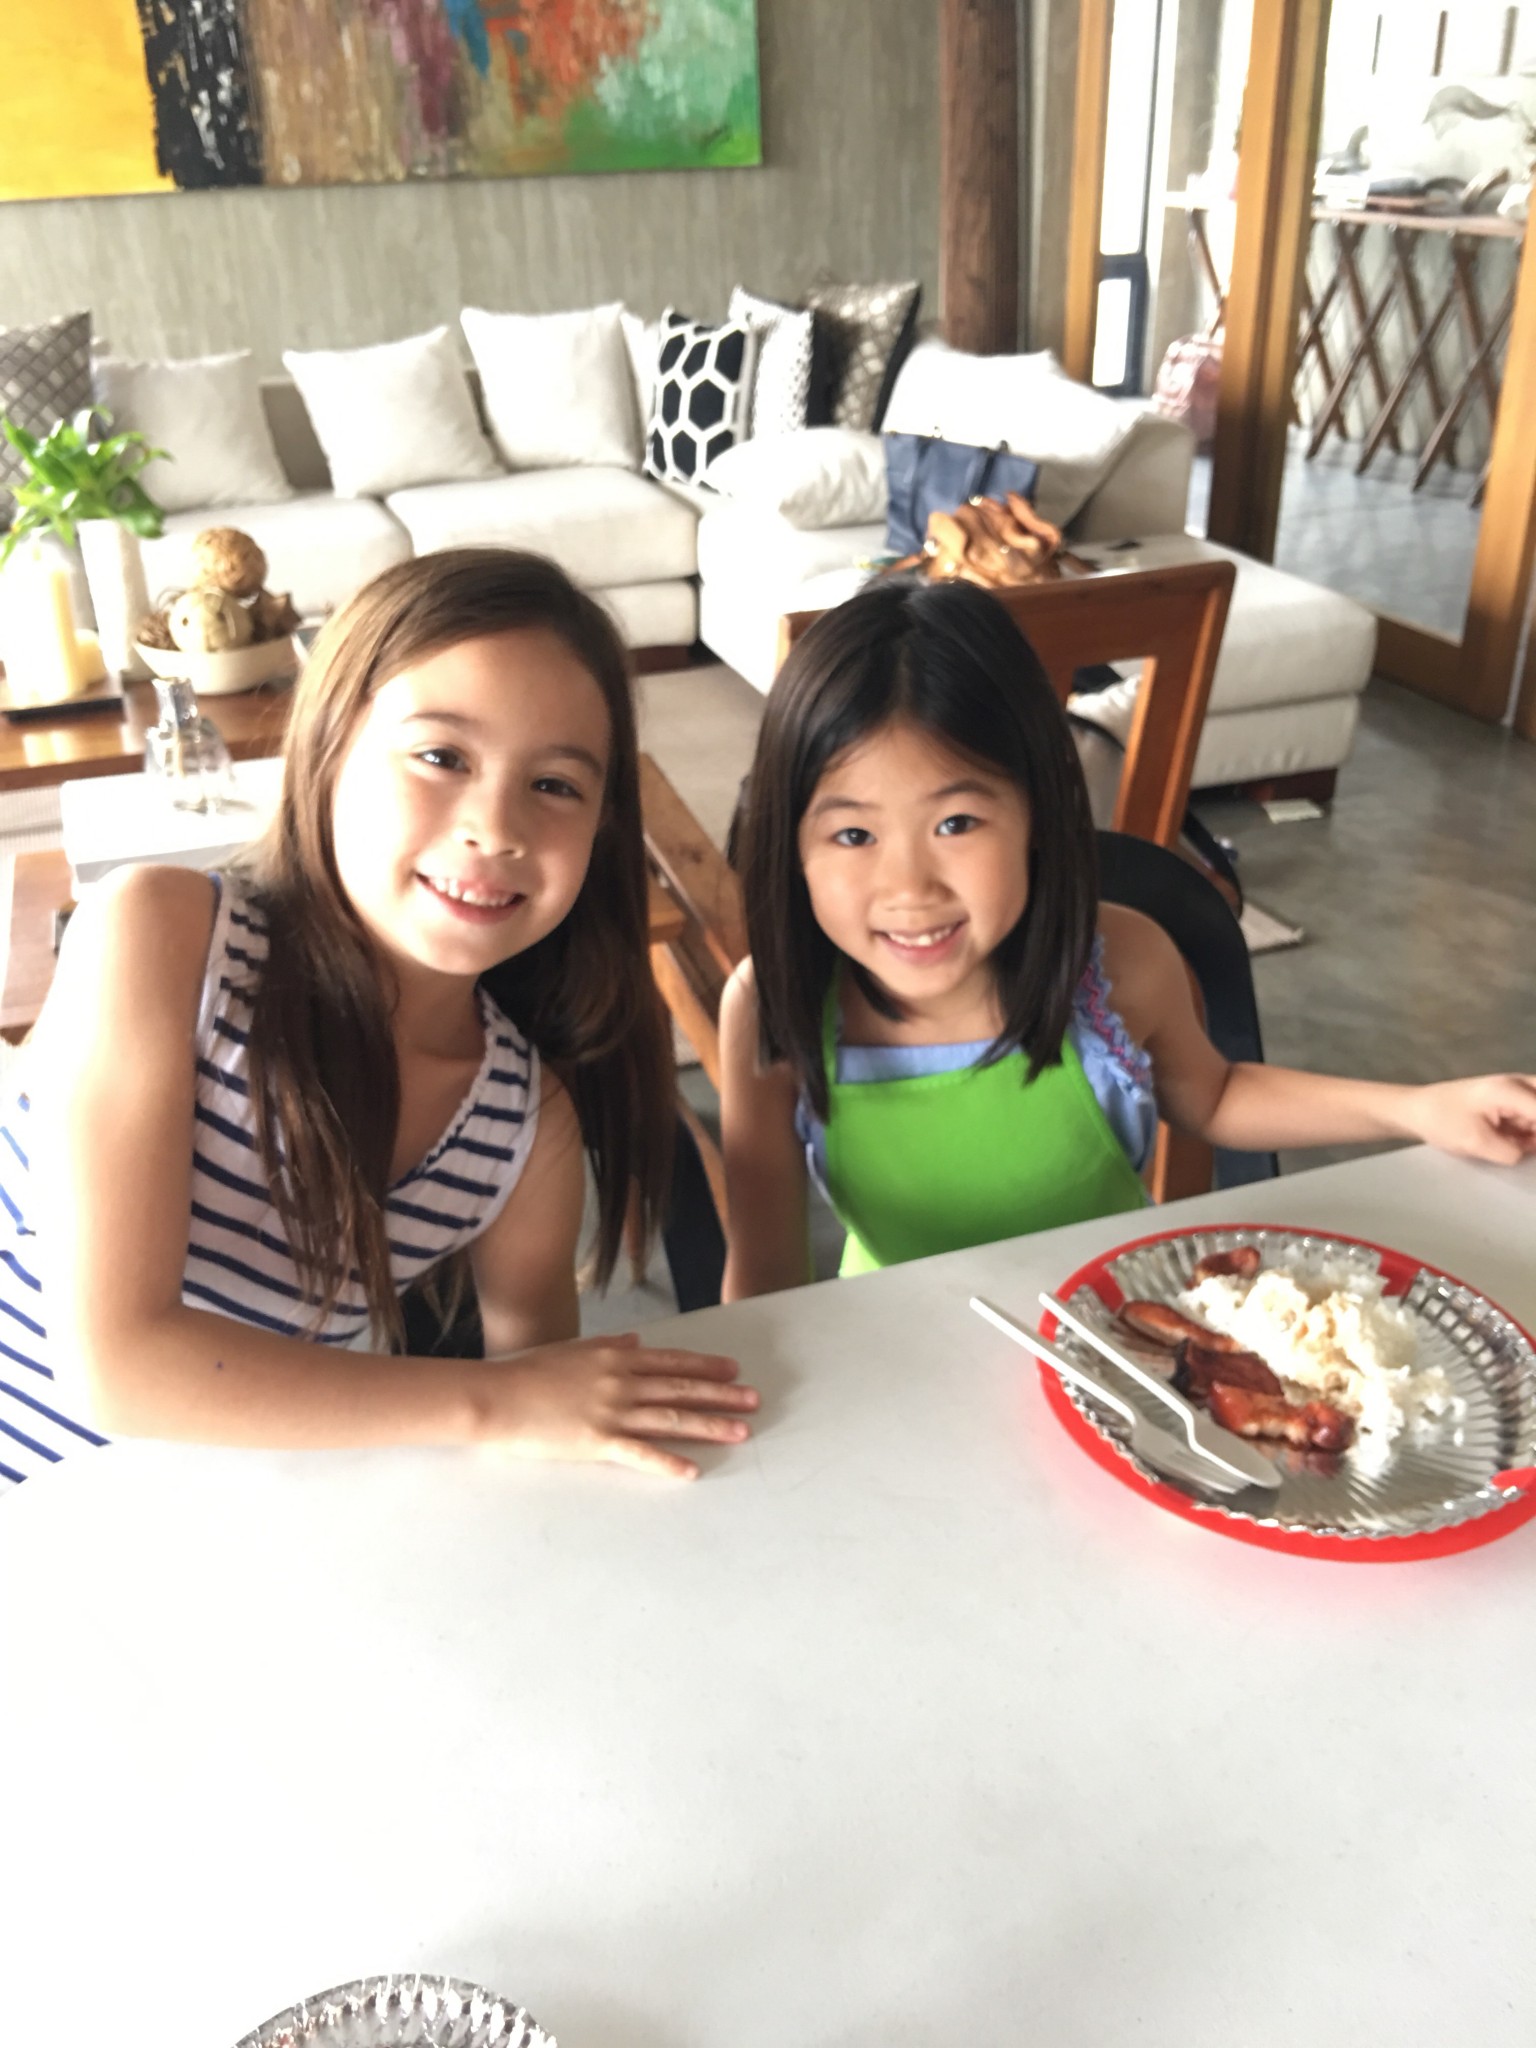
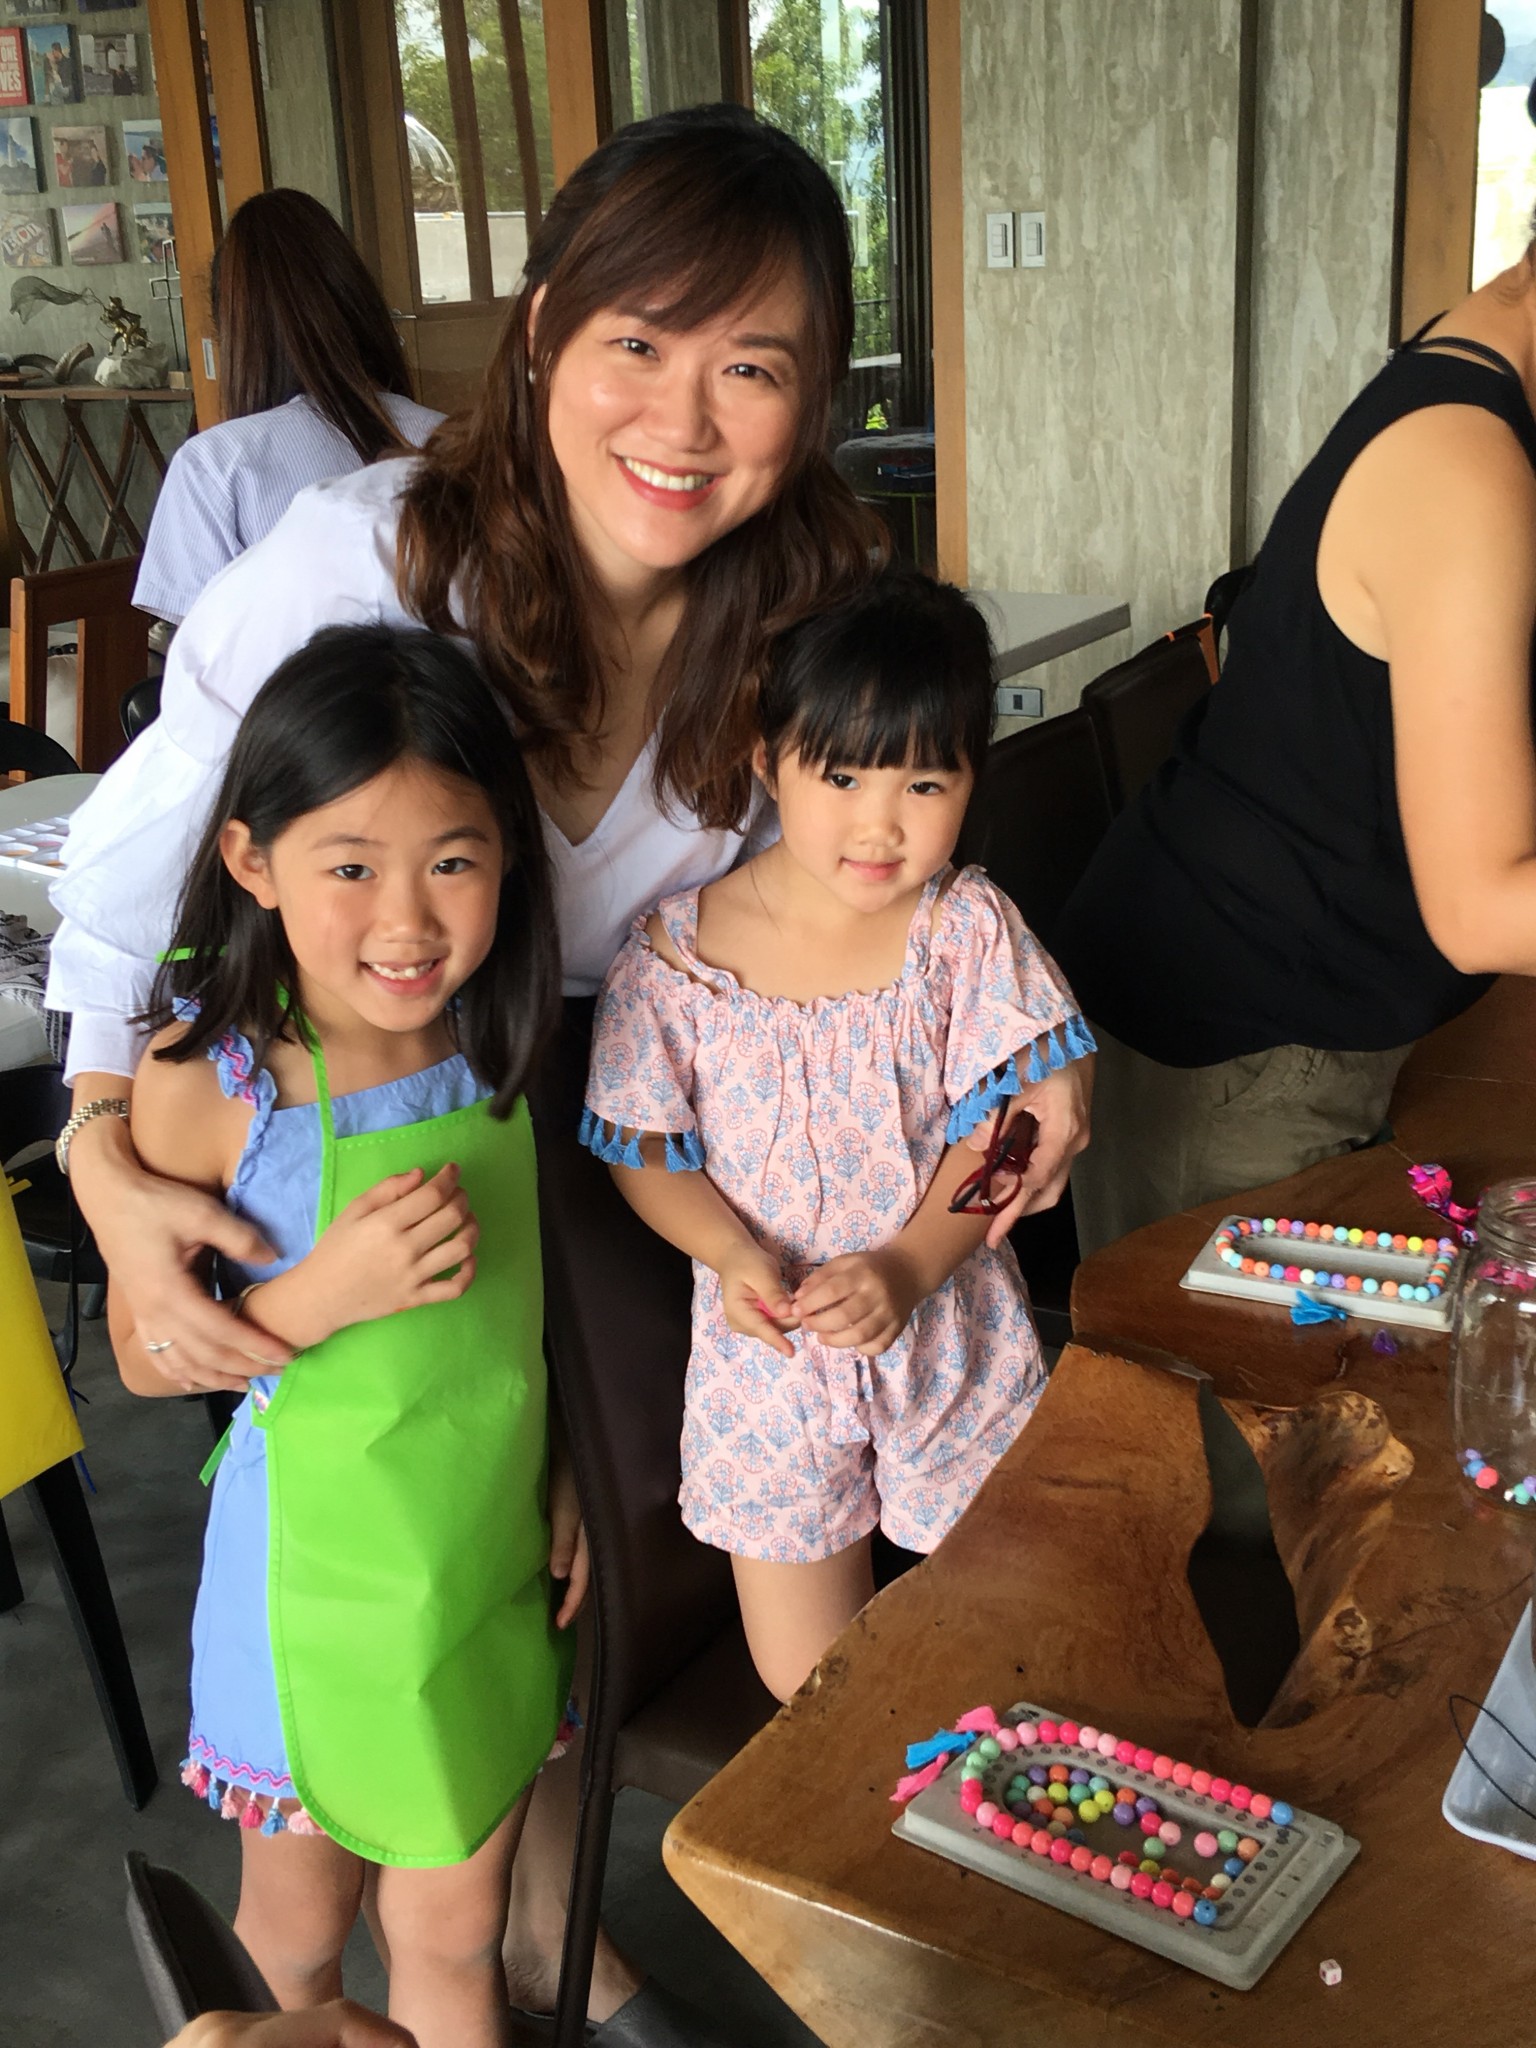
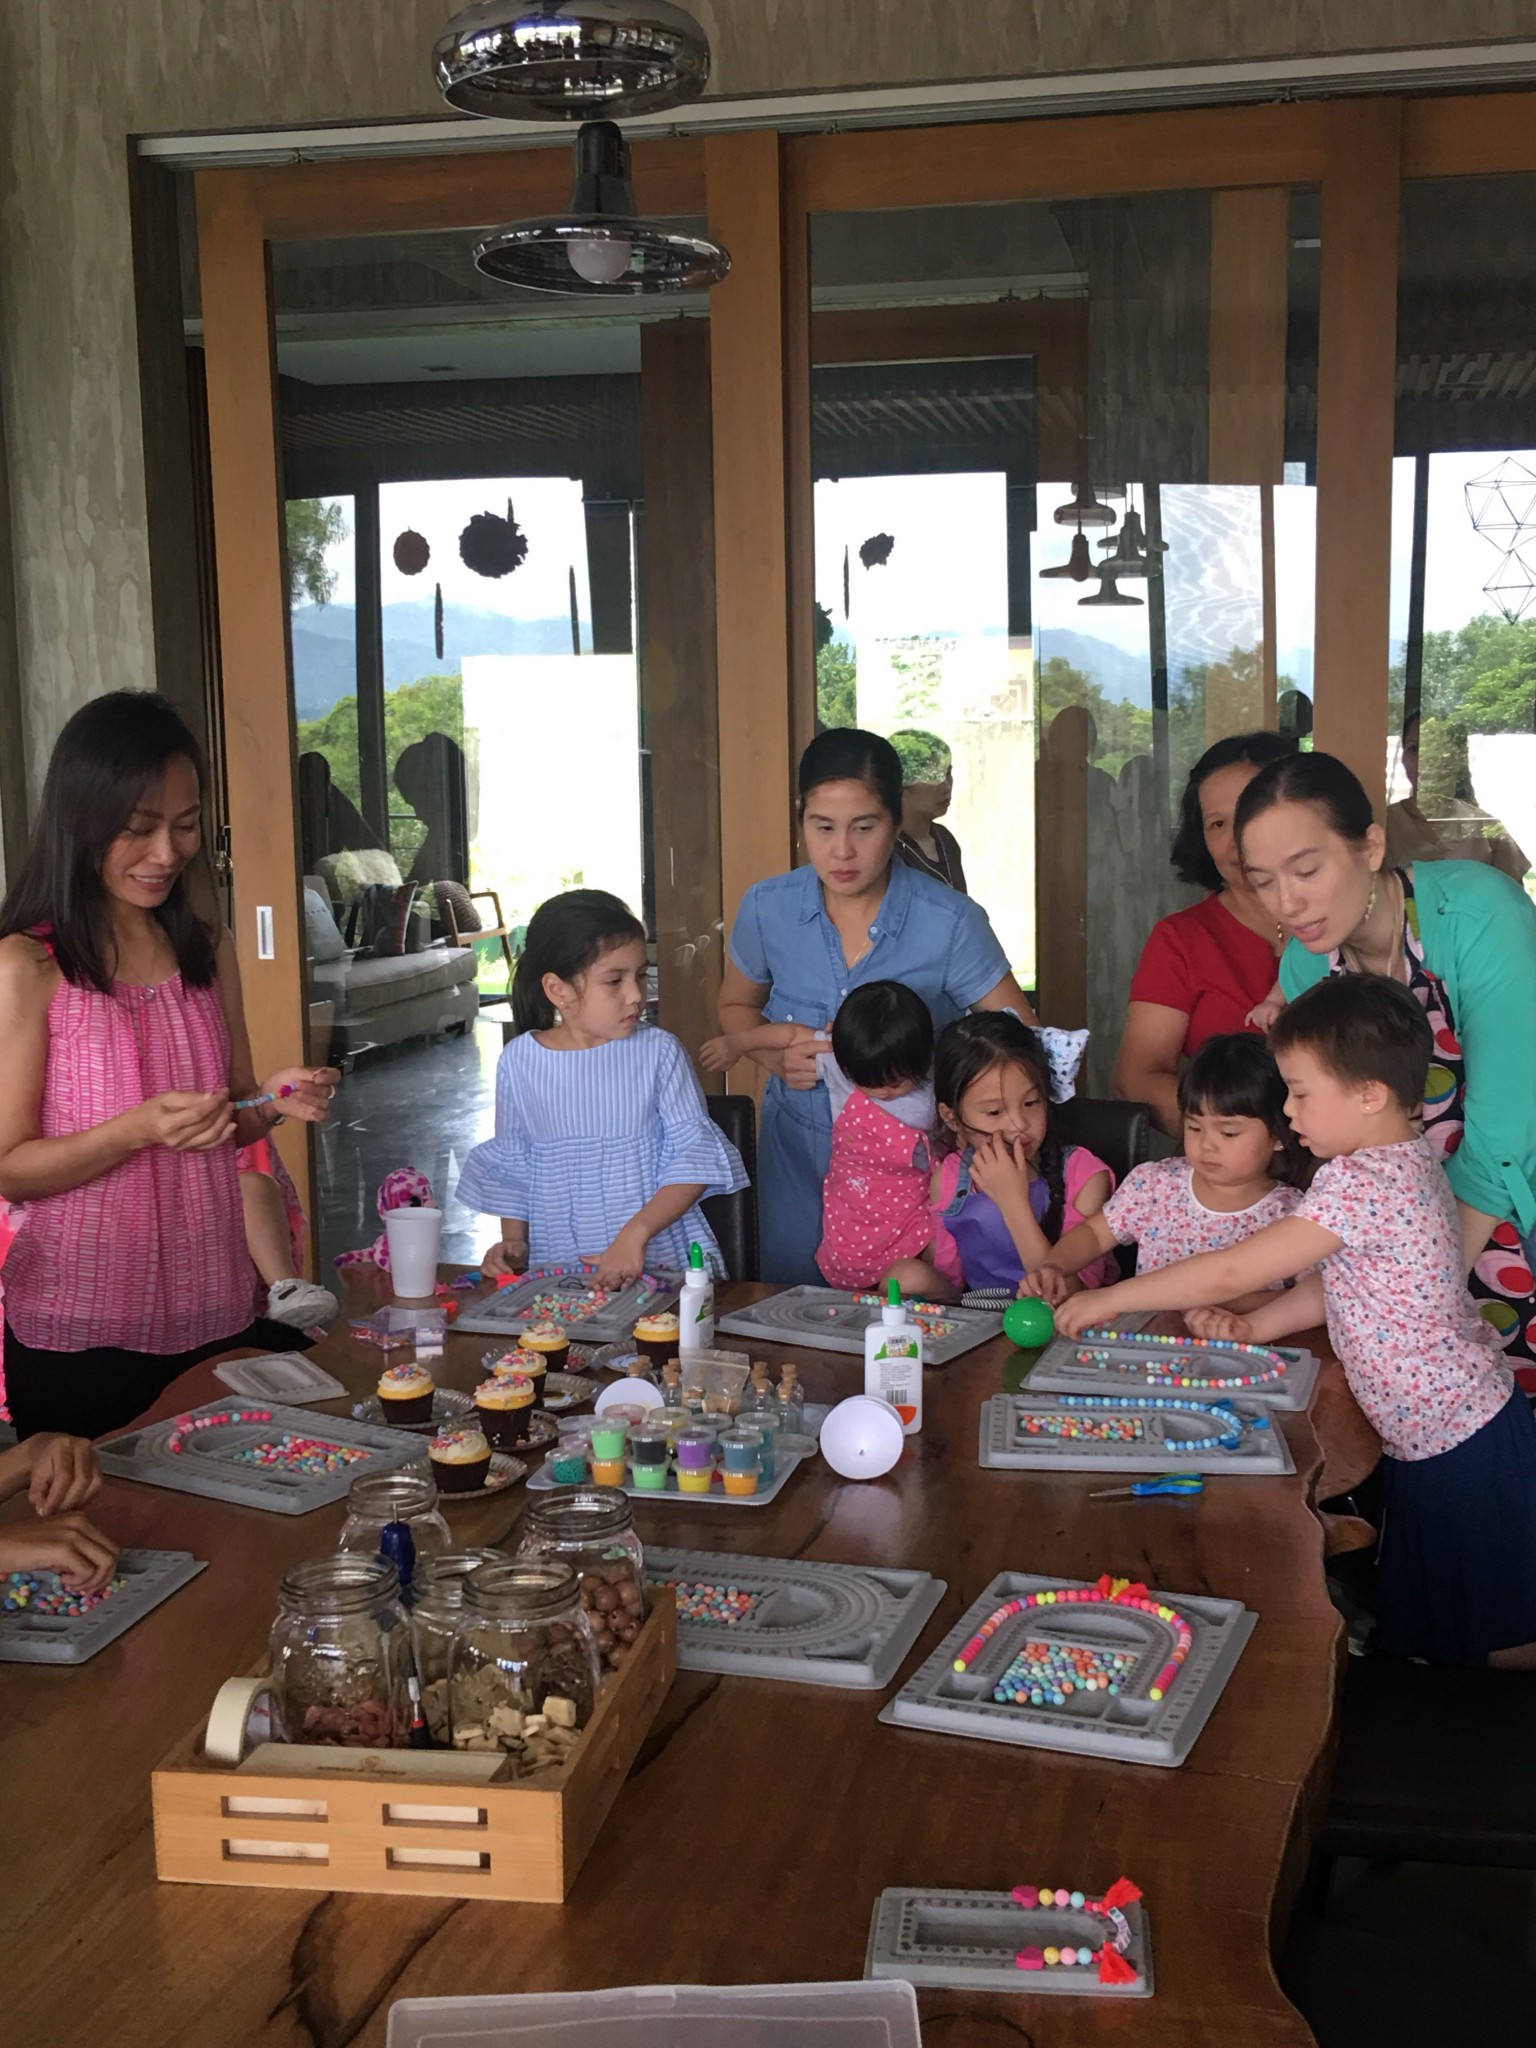
Step 8: CRASH. DIY parties are super fun to organize if you don’t mind conceptualizing and putting in the grunt work to make it come together. I knocked out by 8:30 PM that day from utter exhaustion. It wasn’t just the pregnancy, it was the physical and emotional fatigue of prepping for, executing, and enjoying a five-hour long party! Next time, I will book myself a massage for the evening!
Thank you to all Tiana’s family and friends who came, and for all the thoughtful gifts. Special mention to Friso Four for her craft toys (perfect for the theme and consistent with our family values of creating and building), and Cetaphil for her very girly, Piny Pon, which she played with right away!
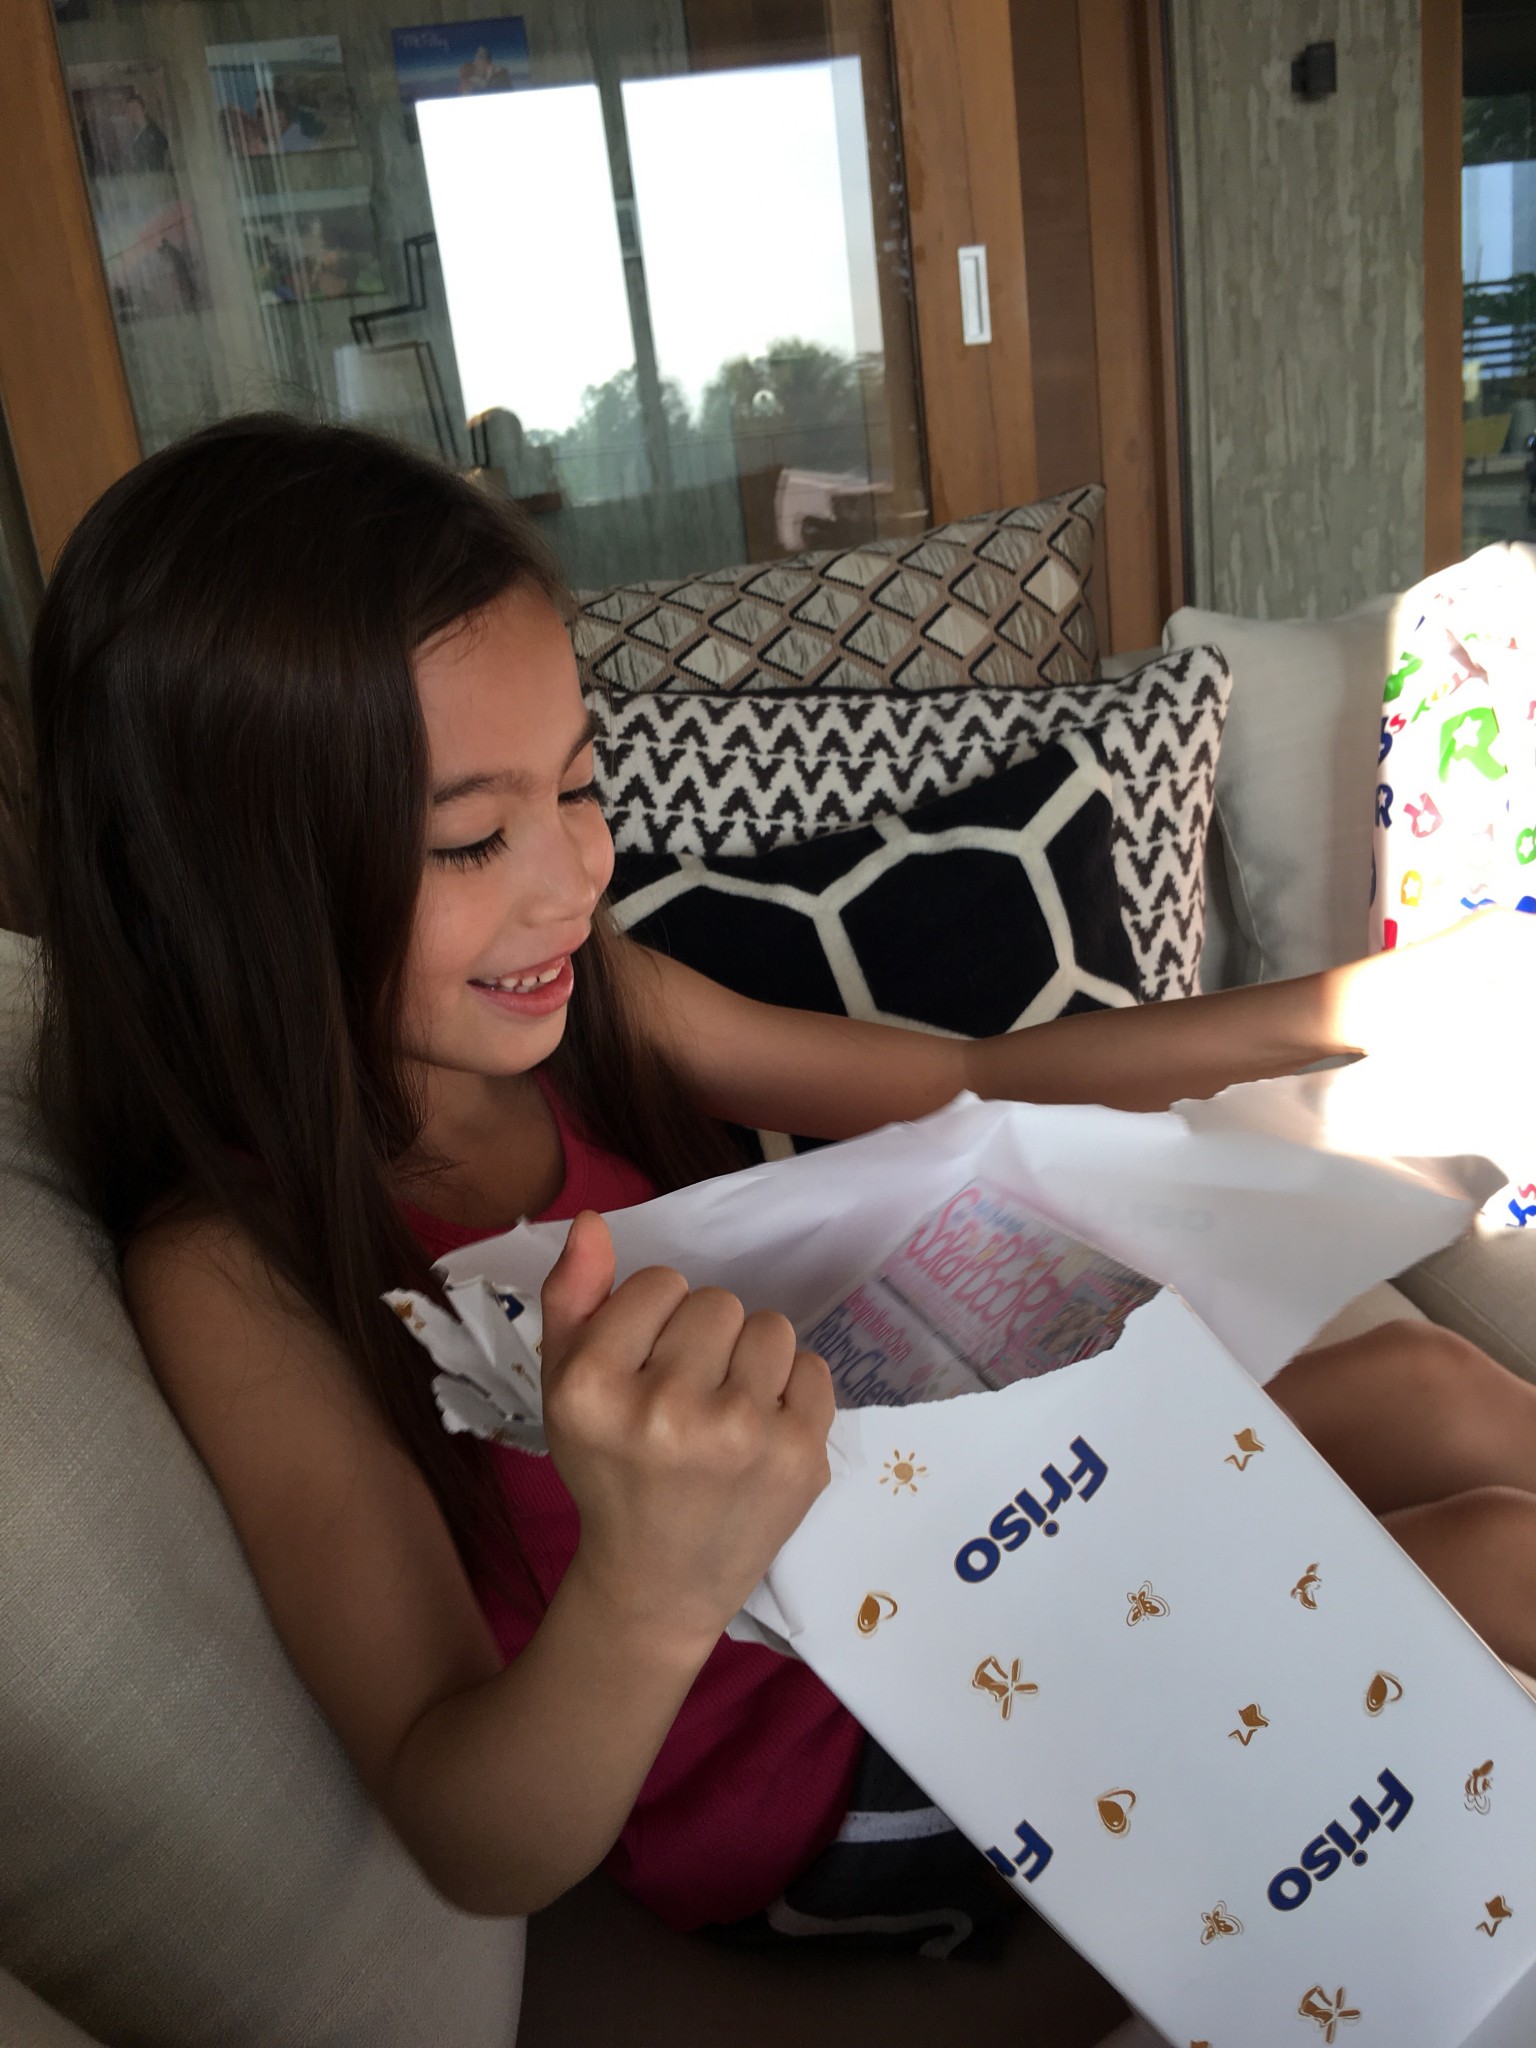
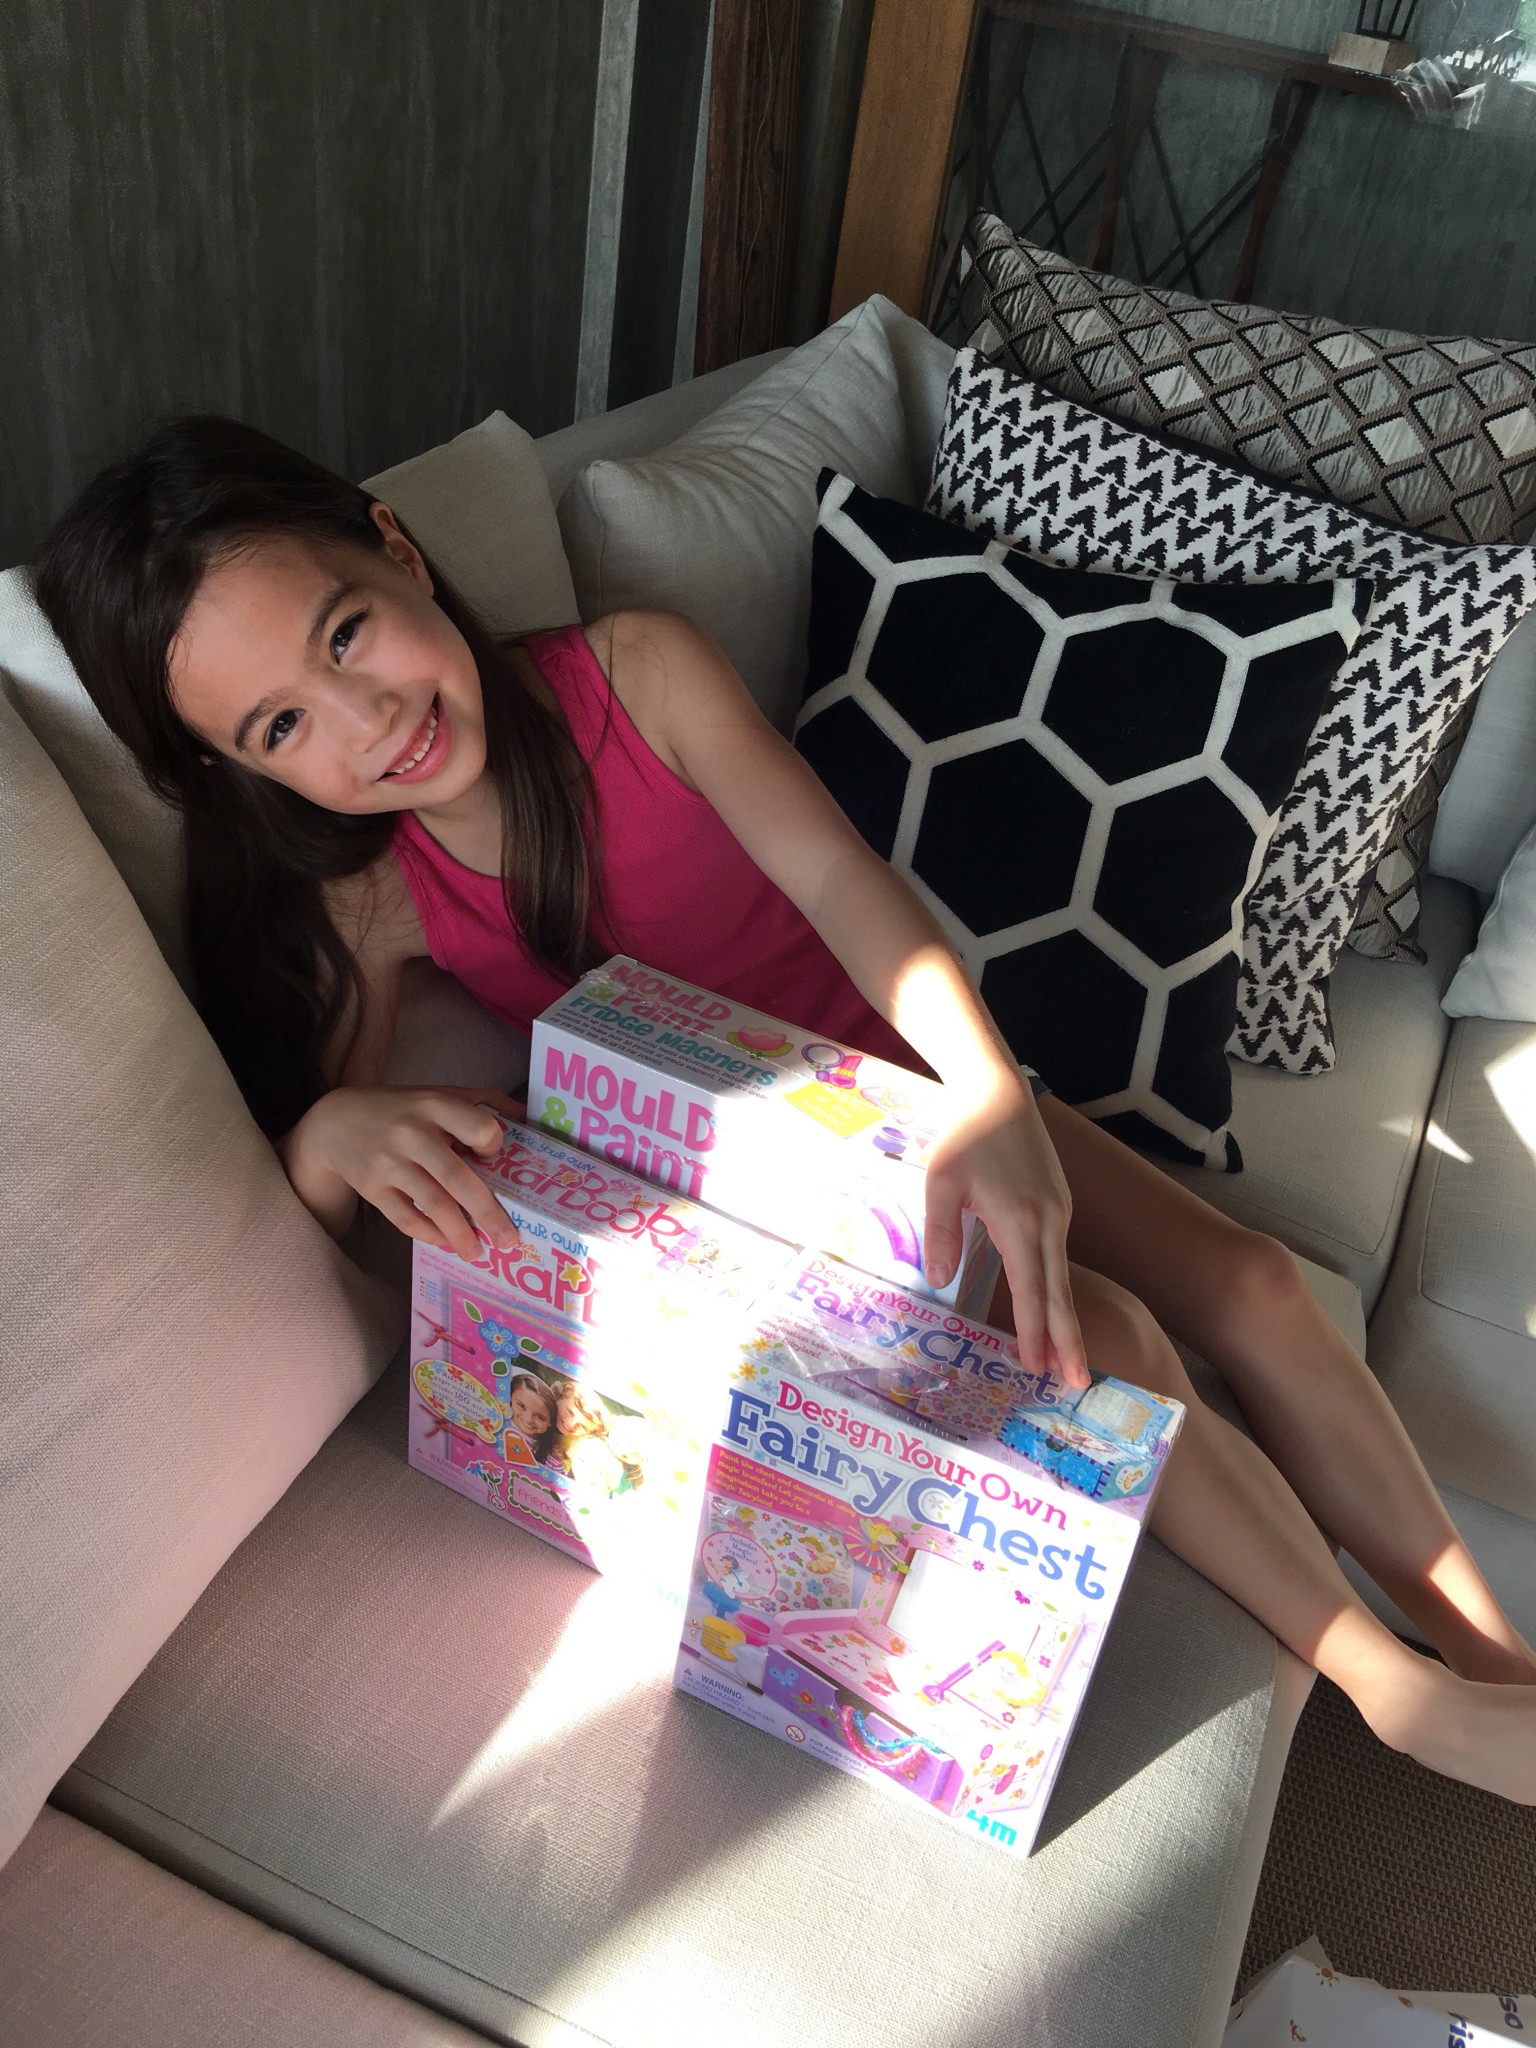
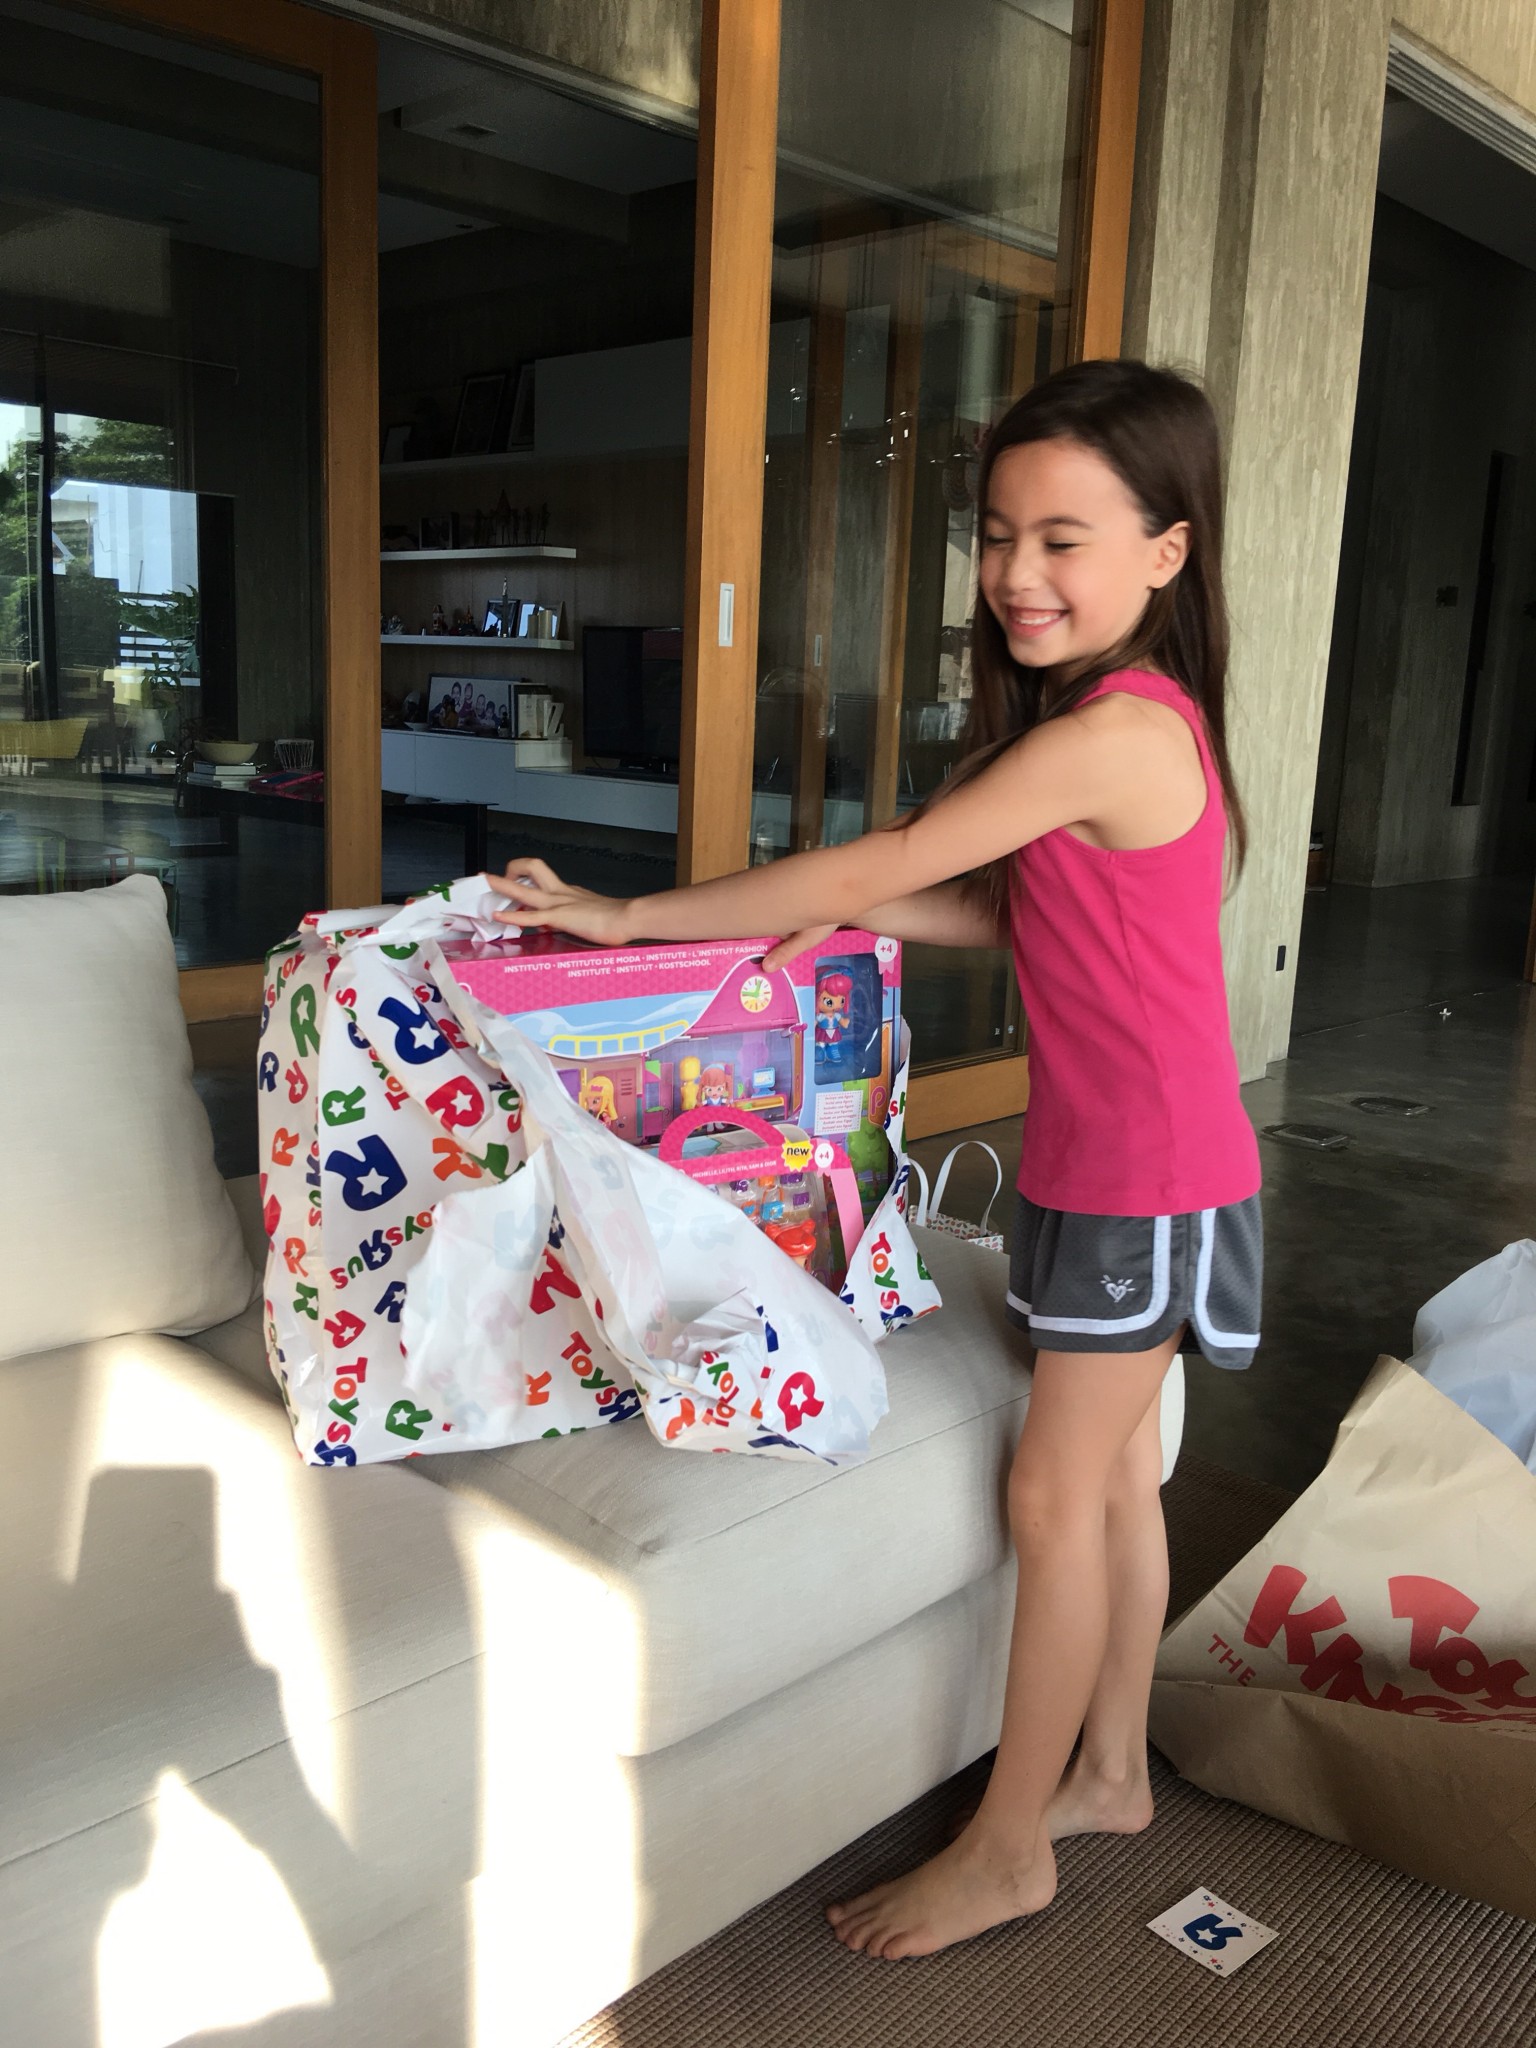
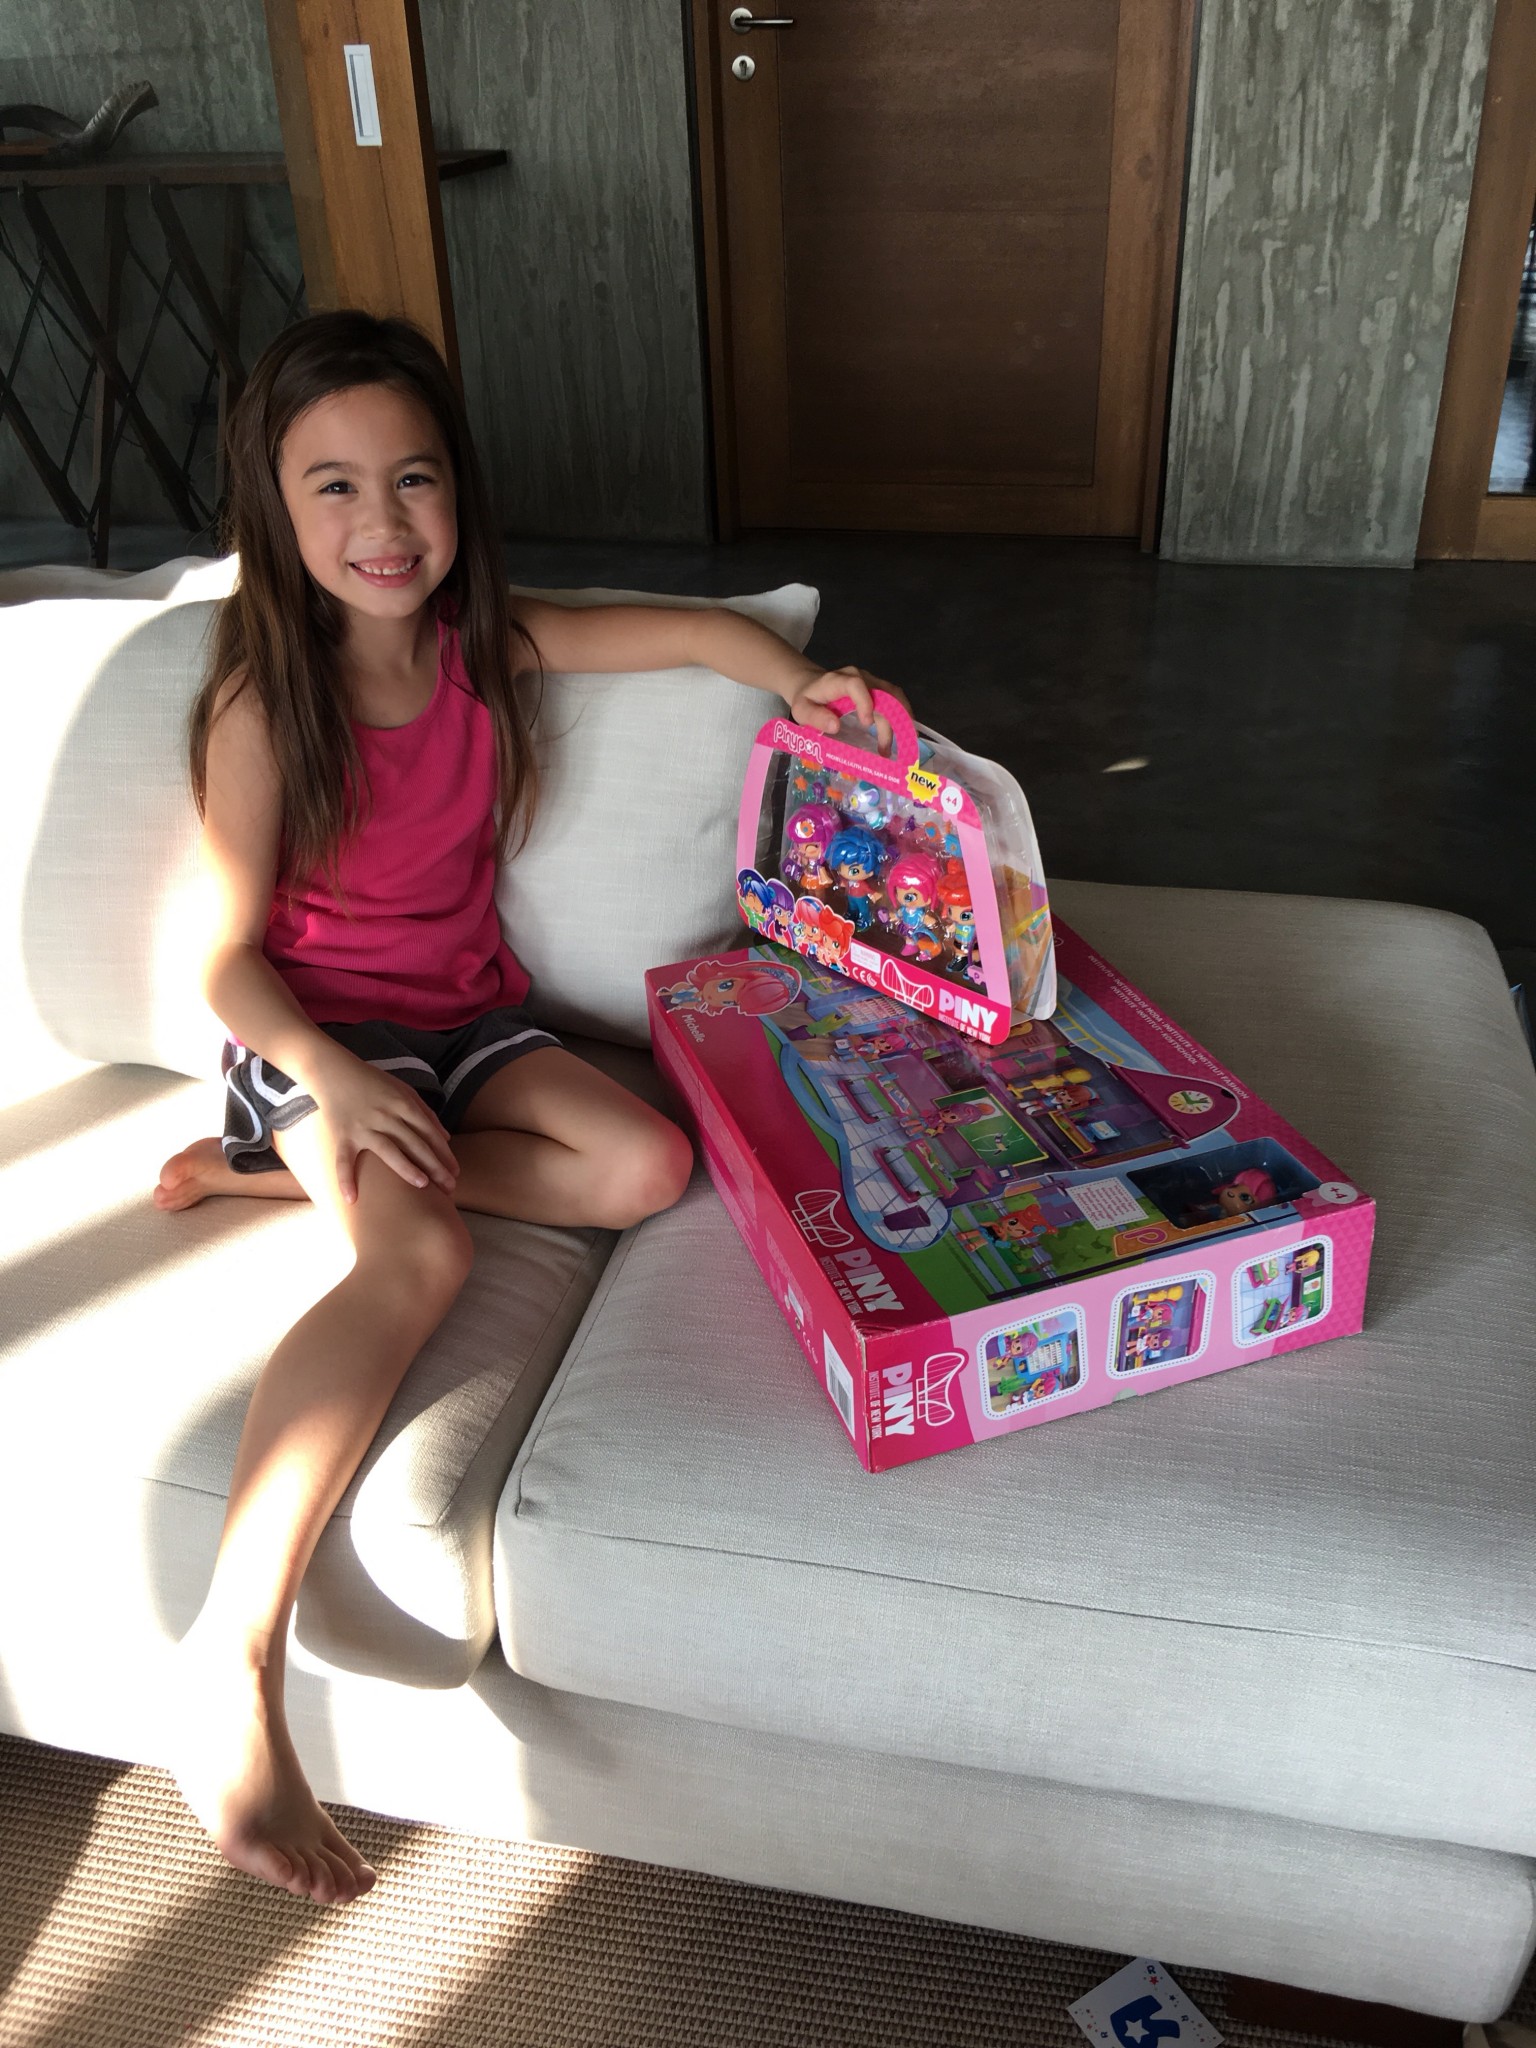
This was one happy eight year old at the end of the day…
